This is the full developer documentation for Vespy API
# Vespy API
> One REST API for the whole portfolio — properties and leases, rent and trust accounting, maintenance, and the integrations that tie them together.
Start here
[Quickstart](/getting-started/quickstart/) gets you an access token and a first authenticated request. [Authentication](/getting-started/authentication/) covers token lifetimes and refresh.
Every endpoint
The [API reference](/api/) is generated from the OpenAPI contract that ships with the server, so it never drifts from what the API actually does.
Workflows
The [guides](/guides/onboarding-a-property/) walk through multi-step flows — leasing, rent and payments, trust accounting, maintenance, and migration.
Try it live
The [playground](/playground/) runs requests against the spec in your browser.
## Conventions
[Section titled “Conventions”](#conventions)
* **Base URL** — `https://api.getvespy.com`. Every path is prefixed with `/api`.
* **Authentication** — `Authorization: Bearer ` on every endpoint except the [webhook receivers](/getting-started/webhooks/), which authenticate by provider signature.
* **Money** — always integer cents in a `*Cents` field. There are no floating point amounts.
* **Dates** — `YYYY-MM-DD` for calendar dates, RFC 3339 UTC timestamps for everything else.
* **Identifiers** — UUIDs. Every resource is scoped to the `organizationId` on your token.
## For agents and tools
[Section titled “For agents and tools”](#for-agents-and-tools)
The spec and the prose are both machine-readable:
| URL | What it is |
| ---------------------------------- | ----------------------------------------------------------------------------------------------------------- |
| [`/llms.txt`](/llms.txt) | Start here — links everything below |
| [`/llms-api.txt`](/llms-api.txt) | Every endpoint in one file: method, path, auth, parameters, body, responses |
| [`/llms-full.txt`](/llms-full.txt) | The hand-written guides as one document |
| [`/openapi.json`](/openapi.json) | The public OpenAPI 3.0 document, with complete JSON Schemas |
| `.md` | That page as raw markdown — e.g. [`/getting-started/authentication.md`](/getting-started/authentication.md) |
Operation pages live at `/api/operations//`, and `operationId` is derived deterministically from the method and path — `GET /api/work-orders/{id}` becomes [`get-api-work-orders-by-id`](/api/operations/get-api-work-orders-by-id/). Links into the reference keep working when routes are reordered or moved between modules.
# Authentication
> Access tokens, refresh tokens, roles, and how the Vespy API scopes every request to one organization.
Every endpoint except the [webhook receivers](/getting-started/webhooks/) expects a bearer token:
```http
Authorization: Bearer
```
## Tokens
[Section titled “Tokens”](#tokens)
| Token | Lifetime | Where it lives |
| ------------- | ---------- | -------------------------------------------------------------------------- |
| Access token | 15 minutes | Returned in the login response body; you store it |
| Refresh token | 7 days | `vespy_refresh_token`, an HttpOnly `SameSite=Lax` cookie set by the server |
`POST /api/auth/login` returns the access token and sets the refresh cookie in the same response.
### Refreshing
[Section titled “Refreshing”](#refreshing)
```bash
curl -X POST https://api.getvespy.com/api/auth/token \
-H 'Content-Type: application/json' \
--cookie 'vespy_refresh_token=…' \
-d '{"grantType":"refresh_token"}'
```
The body accepts either `grantType` or `grant_type`. The response has the same shape as login, including a rotated refresh cookie.
`POST /api/auth/logout` clears the refresh cookie. Access tokens are not revoked server-side, so an already-issued one stays valid until it expires.
Note
Because the refresh token is an HttpOnly cookie, a non-browser client has to keep a cookie jar to stay signed in. `curl --cookie-jar` or an HTTP client with cookie support is enough.
## Organization scoping
[Section titled “Organization scoping”](#organization-scoping)
The access token carries an `organizationId`, and every query is scoped to it — you cannot read another organization’s data by guessing a UUID. A resource that belongs to a different organization returns `404`, not `403`, so ID enumeration reveals nothing.
## Roles
[Section titled “Roles”](#roles)
| Role | Sees |
| --------- | -------------------------------------------------------------------- |
| `admin` | The whole portfolio, plus billing, integrations, and user management |
| `manager` | The whole portfolio, and most mutations |
| `staff` | The portfolio, read-mostly |
| `tenant` | Only their own leases, charges, payments, and maintenance requests |
| `owner` | Only their own properties, statements, and ledgers |
| `vendor` | Only work orders assigned to them |
Endpoints tagged **Portal** and **Vendor Portal** are the ones scoped to a single tenant, owner, or vendor; they derive the subject from the token rather than from a path parameter.
An endpoint your role cannot use returns `403` with a message naming the requirement, for example `Only admins or managers can create vendors`.
## Server-sent events
[Section titled “Server-sent events”](#server-sent-events)
`GET /api/events/stream` is the one authenticated endpoint that does not take an `Authorization` header — `EventSource` cannot set headers, so it takes the access token as a `token` query parameter instead.
# Errors
> The shape of every Vespy API failure response, and what each status code means.
Every failure returns JSON with a `message`, and nothing else is guaranteed:
```json
{
"message": "Vendor not found"
}
```
Two optional fields appear depending on how the request failed:
```json
{
"message": "Invalid payment payload",
"errors": [
{
"path": "allocations",
"code": "custom",
"message": "Allocation total cannot exceed amountCents"
}
]
}
```
| Field | When it appears |
| --------- | ----------------------------------------------------------------------------------------- |
| `message` | Always. Safe to show to a user for 4xx; generic for 5xx. |
| `errors` | Field-level validation detail. `path` is a dotted path into the request body. |
| `code` | A stable machine-readable code, on the errors that have one — for example `rate_limited`. |
Caution
`message` text is not a stable contract. Branch on the status code and on `code` where it is present; treat `message` as human-readable only.
## Status codes
[Section titled “Status codes”](#status-codes)
| Code | Meaning |
| ----- | --------------------------------------------------------------------------------------------------------------------------------- |
| `400` | The request body, query, or path parameter did not validate. Check `errors`. |
| `401` | Missing, malformed, or expired access token. [Refresh it](/getting-started/authentication/#refreshing). |
| `403` | Authenticated, but your role cannot perform this action. |
| `404` | No such resource **in your organization**. Also returned for resources that exist elsewhere. |
| `405` | The endpoint exists but the resource is system-managed — chart of accounts categories, for example. |
| `409` | The request conflicts with current state: an invalid status transition, a payment that cannot be edited, a resource still in use. |
| `412` | A precondition is unmet — most often online payments not yet configured for the organization. |
| `429` | Rate limited. See [Rate limits](/getting-started/rate-limits/). |
| `502` | An upstream provider (Stripe, QuickBooks, Gmail) failed. Safe to retry. |
| `503` | A capability is not configured on this deployment, such as online payments or a webhook secret. |
## Conflicts are not retryable
[Section titled “Conflicts are not retryable”](#conflicts-are-not-retryable)
`409` means the API rejected the request on purpose, and repeating it unchanged will fail the same way. Two common cases:
* **Status transitions.** Work orders move `open → in_progress → completed`, with `cancelled` reachable from either open state. Anything else is a `409`.
* **Immutable records.** `PUT /api/payments/{id}` always returns `409`; payments are reversed and recreated rather than edited.
`502` and `503`, by contrast, are about the environment rather than the request, and are worth retrying with backoff.
# Filtering and sorting
> Pagination, filters, sorting, and date ranges shared by the Vespy API list endpoints.
List endpoints share a small set of query conventions. The [API reference](/api/) is authoritative per endpoint — this page is what holds across them.
## Pagination
[Section titled “Pagination”](#pagination)
```http
GET /api/expenses?page=2&pageSize=50
```
| Parameter | Default | Range |
| ---------- | ------- | ----- |
| `page` | `1` | ≥ 1 |
| `pageSize` | `20` | 1–100 |
Paginated endpoints return the page alongside its totals, so you can size the pager without walking the collection:
```json
{
"expenses": [],
"page": 2,
"pageSize": 50,
"total": 412,
"totalPages": 9
}
```
Not every list is paginated. Bounded collections — the notes on one entity, the units of one property, and some portfolio lists such as `GET /api/properties` — return the whole set with no `page` fields at all. If the response carries no `total`, the endpoint does not paginate and `page` / `pageSize` are ignored.
## Sorting
[Section titled “Sorting”](#sorting)
Where sorting is supported it is two parameters, and `sortBy` is a fixed enum rather than an arbitrary field name:
```http
GET /api/vendors?sortBy=name&sortDirection=asc
GET /api/work-orders?sortBy=priority&sortDirection=desc
```
`sortDirection` is `asc` or `desc`. The allowed `sortBy` values differ per endpoint and are listed on its reference page.
## Date ranges
[Section titled “Date ranges”](#date-ranges)
Calendar dates are `YYYY-MM-DD`. Range filters come in `*After` / `*Before` pairs and are inclusive:
```http
GET /api/vendors?createdAfter=2026-01-01&createdBefore=2026-03-31
```
Reporting endpoints instead take an explicit `startDate` and `endDate`.
## Filters
[Section titled “Filters”](#filters)
Filters are exact-match on an id or an enum, and combine with AND:
```http
GET /api/work-orders?status=open&priority=emergency&propertyId=9c4e…
```
Free-text search, where an endpoint supports it, is a separate `search` parameter. For search that spans resource types, use `GET /api/search` rather than filtering each list.
Caution
Endpoints differ on how they treat an unrecognized query parameter, so do not rely on either behaviour. Stricter endpoints reject it:
```json
{
"message": "Invalid vendor query",
"errors": [
{ "path": "root", "code": "unrecognized_keys", "message": "Unrecognized key: \"bogusParam\"" }
]
}
```
Others ignore it and return unfiltered results, which makes a misspelled filter look like it simply matched everything. Take the parameter names from the endpoint’s reference page.
# Quickstart
> Get an access token and make your first authenticated request to the Vespy API.
Three requests: sign in, read your user, list your properties.
## 1. Get an access token
[Section titled “1. Get an access token”](#1-get-an-access-token)
```bash
curl -X POST https://api.getvespy.com/api/auth/login \
-H 'Content-Type: application/json' \
-d '{"email":"you@example.com","password":"your-password"}'
```
```json
{
"accessToken": "eyJhbGciOiJIUzI1NiIs...",
"tokenType": "Bearer",
"expiresIn": 900,
"user": {
"id": "0f8d…",
"organizationId": "3b21…",
"email": "you@example.com",
"fullName": "Your Name",
"role": "admin",
"isSuperadmin": false
}
}
```
`expiresIn` is seconds — access tokens last 15 minutes. The response also sets an HttpOnly refresh cookie; see [Authentication](/getting-started/authentication/) for how to trade it for a new access token.
## 2. Confirm who you are
[Section titled “2. Confirm who you are”](#2-confirm-who-you-are)
```bash
curl https://api.getvespy.com/api/auth/me \
-H "Authorization: Bearer $ACCESS_TOKEN"
```
The `role` on the returned user decides what the rest of the API will let you do. Staff roles (`admin`, `manager`, `staff`) see the portfolio; `tenant`, `owner`, and `vendor` are scoped to their own records through the portal endpoints.
## 3. Read the portfolio
[Section titled “3. Read the portfolio”](#3-read-the-portfolio)
```bash
curl 'https://api.getvespy.com/api/properties?page=1&pageSize=20' \
-H "Authorization: Bearer $ACCESS_TOKEN"
```
```json
{
"properties": [
{
"id": "9c4e…",
"name": "Elm Street Duplex",
"unitCount": 2,
"occupiedUnitCount": 1
}
],
"noteSummaries": []
}
```
List endpoints return a named array rather than a bare list, so related data can travel with it — here `noteSummaries` carries the note counts for the same page of properties without a second round trip.
## What next
[Section titled “What next”](#what-next)
* [Onboarding a property](/guides/onboarding-a-property/) — property, units, tenant, lease.
* [Rent and payments](/guides/rent-and-payments/) — charges, payments, allocation.
* [Errors](/getting-started/errors/) — the shape of every failure response.
# Rate limits
> Which Vespy API endpoints are rate limited, and how the limit is scoped.
Rate limiting is opt-in per endpoint rather than global. Today it applies to the **AI generation** endpoints, where a single account could otherwise saturate the model.
| Scope | Limit |
| ---------------------- | --------------------- |
| Per user, per endpoint | 5 requests per minute |
The limit is keyed on the user and organization decoded from your bearer token, and each AI endpoint counts separately — chat and lease drafting do not share a budget.
## Being limited
[Section titled “Being limited”](#being-limited)
```json
{
"statusCode": 429,
"message": "AI rate limit exceeded. Try again in 1 minute.",
"code": "rate_limited"
}
```
Back off and retry after the interval named in `message`. The `code` field is stable; match on `rate_limited` rather than parsing the sentence.
## Everything else
[Section titled “Everything else”](#everything-else)
Non-AI endpoints are not rate limited at the application layer. That is not a promise of unlimited throughput — infrastructure limits still apply, and heavy consumers should prefer the bulk endpoints over tight request loops:
* [Bulk imports](/guides/migrating-with-import-bundles/) for writing many records.
* `GET /api/imports/export/{resourceType}` for reading a whole resource type as CSV.
* [Server-sent events](/getting-started/authentication/#server-sent-events) instead of polling for changes.
# Webhooks
> The inbound webhook receivers Vespy exposes for Stripe, Twilio, Amazon SES/SNS, Resend, and Gmail.
Vespy **receives** webhooks; it does not currently send them. The endpoints below are called by third-party providers, not by API clients, and none of them accept a bearer token — each authenticates by that provider’s own signature scheme.
They are documented for operators configuring a deployment. If you are building against the API and want change notifications, use [server-sent events](/getting-started/authentication/#server-sent-events) instead.
| Endpoint | Provider | Authenticated by |
| -------------------------------------- | -------------- | ------------------------------------------------------------- |
| `POST /api/webhooks/stripe` | Stripe | `Stripe-Signature` header against the endpoint signing secret |
| `POST /api/webhooks/email/inbound` | Resend | Svix headers (`svix-id`, `svix-timestamp`, `svix-signature`) |
| `POST /api/webhooks/email/ses-inbound` | Amazon SES | SNS message signature |
| `POST /api/webhooks/sms/inbound` | Twilio | `X-Twilio-Signature` against the account auth token |
| `POST /api/webhooks/sms/status` | Twilio | `X-Twilio-Signature` against the account auth token |
| `POST /api/webhooks/sms/sns-inbound` | Amazon SNS | SNS message signature |
| `POST /api/webhooks/gmail/pubsub` | Google Pub/Sub | Verification token in the push subscription URL |
## Behaviour
[Section titled “Behaviour”](#behaviour)
**Signature failures return `401`.** A receiver never processes a payload it could not verify, and the failure is logged with the delivery identifiers.
**Delivery is idempotent.** The Stripe receiver records each event id before processing and answers a replay with `{"received": true, "duplicate": true}`. Providers that retry on timeout will not double-apply anything.
**Processing is asynchronous.** Receivers acknowledge quickly and hand the payload to a worker, so a `200` means *accepted*, not *applied*.
**`202` means accepted but not matched.** The SMS status callback returns `202` when the message id does not correspond to anything Vespy sent — expected when a number is shared with another system.
**`503` means unconfigured.** A receiver whose secret is not set on the deployment returns `503` rather than silently accepting unverified traffic.
# Migrating with import bundles
> Move a whole portfolio from another system — upload CSVs, review the matches, then commit the import as one unit.
A migration is not many independent imports. Leases reference units, units reference properties, payments reference charges — import them separately and you get orphans.
An **import bundle** takes every CSV at once, resolves the relationships between them, shows you what it intends to do, and only then writes.
```plaintext
create ──> upload files ──> validate ──> review candidates ──> start ──> results
```
Nothing is written to your portfolio until `start`.
Note
For a single resource type — a list of vendors, a batch of expenses — the simpler [bulk import](/api/operations/tags/bulk-imports/) endpoints under `/api/imports` are the right tool. Reach for bundles when records reference each other.
## 1. Get the templates
[Section titled “1. Get the templates”](#1-get-the-templates)
```bash
curl "https://api.getvespy.com/api/import-bundles/templates/appfolio" \
-H "Authorization: Bearer $ACCESS_TOKEN" \
--output vespy-templates.zip
```
`provider` is `generic`, `appfolio`, or `turbotenant`. The provider-specific templates match the export column names of that system, so you can usually feed its export straight in. Use `generic` for anything else.
## 2. Create the bundle
[Section titled “2. Create the bundle”](#2-create-the-bundle)
```bash
curl -X POST https://api.getvespy.com/api/import-bundles \
-H "Authorization: Bearer $ACCESS_TOKEN" \
-H 'Content-Type: application/json' \
-d '{
"name": "AppFolio migration — March 2026",
"provider": "appfolio",
"sourceNamespace": "appfolio-prod",
"sourceAccountLabel": "Northside Property Group"
}'
```
`sourceNamespace` is what makes a migration re-runnable. External ids from the old system are recorded under it, so re-importing an updated export **updates** the records it created before rather than duplicating them. Keep it stable across runs of the same migration; use a different one for a genuinely different source.
## 3. Upload the CSVs
[Section titled “3. Upload the CSVs”](#3-upload-the-csvs)
```bash
curl -X POST "https://api.getvespy.com/api/import-bundles/$BUNDLE_ID/files" \
-H "Authorization: Bearer $ACCESS_TOKEN" \
-F 'file=@properties.csv' \
-F 'file=@units.csv' \
-F 'file=@tenants.csv' \
-F 'file=@leases.csv'
```
Upload them all before validating. Column mapping is inferred; correct it with `PATCH /api/import-bundles/{id}/files/{fileId}`, and save a mapping you will reuse with `POST /api/import-mapping-profiles`.
## 4. Validate
[Section titled “4. Validate”](#4-validate)
```bash
curl -X POST "https://api.getvespy.com/api/import-bundles/$BUNDLE_ID/validate" \
-H "Authorization: Bearer $ACCESS_TOKEN"
```
Validation is a dry run. It resolves cross-file references, matches rows against records you already have, and produces one **candidate** per row. The bundle moves through `inspecting` → `mapping` → `validating` and lands on `ready`.
## 5. Review the candidates
[Section titled “5. Review the candidates”](#5-review-the-candidates)
```bash
curl "https://api.getvespy.com/api/import-bundles/$BUNDLE_ID/candidates?status=ambiguous" \
-H "Authorization: Bearer $ACCESS_TOKEN"
```
| Candidate status | What it means |
| --------------------- | ------------------------------------------------------ |
| `ready_create` | Will be inserted |
| `ready_update` | Matched an existing record; will be updated |
| `unchanged` | Matched, nothing differs |
| `duplicate_merged` | Two source rows resolved to one record |
| `ambiguous` | Matched more than one record — **needs your decision** |
| `missing_source_data` | A required field is empty |
| `invalid` | Failed validation |
| `blocked` | A record it depends on is not importable |
| `excluded` | You chose to skip it |
Work through `ambiguous` and `invalid` first. Resolve a candidate — pick the right match, or exclude it — with `PATCH /api/import-bundles/{id}/candidates/{candidateId}`.
`blocked` usually clears on its own once the record it depends on is fixed, since the dependency is what was blocking it.
## 6. Commit
[Section titled “6. Commit”](#6-commit)
```bash
curl -X POST "https://api.getvespy.com/api/import-bundles/$BUNDLE_ID/start" \
-H "Authorization: Bearer $ACCESS_TOKEN"
```
The bundle goes `queued` → `processing` → `completed`, or `completed_with_errors` if some rows failed while the rest were written. Poll `GET /api/import-bundles/{id}` for status, or watch the [event stream](/getting-started/authentication/#server-sent-events).
`POST /api/import-bundles/{id}/cancel` stops a bundle that has not started writing.
## 7. Reconcile
[Section titled “7. Reconcile”](#7-reconcile)
```bash
curl "https://api.getvespy.com/api/import-bundles/$BUNDLE_ID/failures.csv" \
-H "Authorization: Bearer $ACCESS_TOKEN" --output failures.csv
curl "https://api.getvespy.com/api/import-bundles/$BUNDLE_ID/identity-map.csv" \
-H "Authorization: Bearer $ACCESS_TOKEN" --output identity-map.csv
```
`failures.csv` is the rows that did not import, with the reason on each — fix and re-upload under the same `sourceNamespace`.
`identity-map.csv` maps each source id to the Vespy id it became. Keep it: it is how you reconcile against the old system, and how anything still pointing at the old ids catches up.
# Onboarding a property
> Create a property, its units, a tenant, and an active lease — the full leasing path in five requests.
Everything in Vespy hangs off a lease: charges, payments, maintenance, and the owner ledger all resolve through it. This is the shortest path from an empty portfolio to a lease that can be billed.
```plaintext
property ──> unit ──┐
├──> lease ──> charges ──> payments
tenant ─────────────┘
```
## 1. Create the property
[Section titled “1. Create the property”](#1-create-the-property)
```bash
curl -X POST https://api.getvespy.com/api/properties \
-H "Authorization: Bearer $ACCESS_TOKEN" \
-H 'Content-Type: application/json' \
-d '{
"name": "Elm Street Duplex",
"streetLine1": "412 Elm Street",
"city": "Austin",
"state": "TX",
"postalCode": "78702",
"units": 2,
"occupiedUnits": 0
}'
```
`units` and `occupiedUnits` are the headline counts shown on the portfolio dashboard. They are declared here and maintained by the API as leases come and go — you do not increment them yourself.
Pass `ownerIds` if the property is owned by someone you already have on file; owner statements and the trust ledger key off that association. To create the first unit in the same request, pass `initialUnit`.
## 2. Add units
[Section titled “2. Add units”](#2-add-units)
```bash
curl -X POST "https://api.getvespy.com/api/properties/$PROPERTY_ID/units" \
-H "Authorization: Bearer $ACCESS_TOKEN" \
-H 'Content-Type: application/json' \
-d '{
"unitNumber": "A",
"bedrooms": 2,
"bathrooms": 1,
"monthlyRentCents": 185000,
"status": "vacant",
"accessInstructions": "Lockbox on the gas meter, code 4417"
}'
```
`monthlyRentCents` is the asking rent and is only a default — the lease carries the rent actually charged. `accessInstructions` is worth filling in now: work orders created on this unit inherit it as their entry instructions.
## 3. Create the tenant
[Section titled “3. Create the tenant”](#3-create-the-tenant)
```bash
curl -X POST https://api.getvespy.com/api/tenants \
-H "Authorization: Bearer $ACCESS_TOKEN" \
-H 'Content-Type: application/json' \
-d '{
"fullName": "Dana Reyes",
"email": "dana@example.com",
"phone": "+15125550143"
}'
```
A tenant record is not a login. To give this person portal access, send a [tenant invite](/api/operations/tags/tenant-invites/) after the lease exists — the invite links their account to the tenant record and scopes what they can see.
## 4. Create the lease
[Section titled “4. Create the lease”](#4-create-the-lease)
```bash
curl -X POST https://api.getvespy.com/api/leases \
-H "Authorization: Bearer $ACCESS_TOKEN" \
-H 'Content-Type: application/json' \
-d '{
"propertyId": "'"$PROPERTY_ID"'",
"unitId": "'"$UNIT_ID"'",
"tenantId": "'"$TENANT_ID"'",
"startDate": "2026-09-01",
"endDate": "2027-08-31",
"rentCents": 185000,
"rentChargeDay": 1,
"moveInDate": "2026-09-01",
"lateFeeType": "flat",
"lateFeeAmountCents": 7500,
"lateFeeGraceDays": 5
}'
```
`rentChargeDay` drives recurring rent generation — set it and monthly rent charges are created for you. Late fee terms are part of the lease rather than a global setting, so they can differ per lease.
Use `additionalRecurringCharges` for anything billed alongside rent every month, such as parking or pet rent, rather than creating those charges by hand each period.
## 5. Activate it
[Section titled “5. Activate it”](#5-activate-it)
```bash
curl -X POST "https://api.getvespy.com/api/leases/$LEASE_ID/status" \
-H "Authorization: Bearer $ACCESS_TOKEN" \
-H 'Content-Type: application/json' \
-d '{"status":"active"}'
```
Activating the lease is what flips the unit to occupied and starts rent generation. A lease left in `draft` bills nothing.
Note
If you are bringing over an existing portfolio rather than onboarding one property, do not loop these five calls. Use [import bundles](/guides/migrating-with-import-bundles/), which resolve the relationships between properties, units, tenants, and leases as one transaction.
## Afterwards
[Section titled “Afterwards”](#afterwards)
* [Rent and payments](/guides/rent-and-payments/) — billing the lease you just created.
* [Handling a security deposit](/guides/security-deposits/) — if you collected one.
* `POST /api/leases/{id}/renew` and `POST /api/leases/{id}/terminate` for the rest of the lease lifecycle.
# Exporting to QuickBooks Online
> Connect QuickBooks Online, map the chart of accounts, export transactions, and resolve conflicts.
The QuickBooks Online integration is a **one-way export**: Vespy pushes its accounting transactions into QBO. Nothing flows back, and QBO is never the source of truth for a Vespy record.
```plaintext
connect ──> map accounts ──> export ──> review records
```
## 1. Connect
[Section titled “1. Connect”](#1-connect)
```bash
curl -X POST https://api.getvespy.com/api/integrations/qbo/connect \
-H "Authorization: Bearer $ACCESS_TOKEN"
```
```json
{ "redirectUrl": "https://appcenter.intuit.com/connect/oauth2?..." }
```
Send the user to `redirectUrl`. They authorize in Intuit’s UI, and Intuit redirects back to `/api/integrations/qbo/oauth-callback`, which stores the connection and bounces the browser to your app. Those callback endpoints are browser-facing — never call them directly.
Confirm the result with `GET /api/integrations`, or with the `connected` field on the export status endpoint below.
## 2. Map the chart of accounts
[Section titled “2. Map the chart of accounts”](#2-map-the-chart-of-accounts)
Vespy categories must be paired with QBO accounts before anything can export. Read both sides:
```bash
curl https://api.getvespy.com/api/integrations/qbo/accounts \
-H "Authorization: Bearer $ACCESS_TOKEN"
curl https://api.getvespy.com/api/integrations/qbo/mappings \
-H "Authorization: Bearer $ACCESS_TOKEN"
```
For a fresh connection, let Vespy do the obvious pairings first:
```bash
curl -X POST https://api.getvespy.com/api/integrations/qbo/mappings/auto \
-H "Authorization: Bearer $ACCESS_TOKEN"
```
This creates and saves mappings for the accounts it can match confidently. Then set the remainder with `PUT /api/integrations/qbo/mappings`, which **replaces** the whole mapping set — send the complete list, not a delta.
`GET /api/integrations/qbo/export/status` reports `requiredMappings`, each with a `mapped` flag. Every one must be `true` before an export will run.
## 3. Export
[Section titled “3. Export”](#3-export)
```bash
curl -X POST https://api.getvespy.com/api/integrations/qbo/export \
-H "Authorization: Bearer $ACCESS_TOKEN" \
-H 'Content-Type: application/json' \
-d '{"fromDate":"2026-09-01","toDate":"2026-09-30"}'
```
Both dates are `YYYY-MM-DD` and both are optional — omit them to export everything not yet exported. The call **queues** the work and returns immediately.
## 4. Watch it
[Section titled “4. Watch it”](#4-watch-it)
```bash
curl https://api.getvespy.com/api/integrations/qbo/export/status \
-H "Authorization: Bearer $ACCESS_TOKEN"
```
```json
{
"connected": true,
"exportFromDate": "2026-09-01",
"exportToDate": "2026-09-30",
"recordCounts": { "pending": 0, "synced": 214, "failed": 2, "skipped": 6, "conflict": 1 },
"lastRun": {}
}
```
Then drill into the individual transactions:
```bash
curl "https://api.getvespy.com/api/integrations/qbo/export/records?status=conflict" \
-H "Authorization: Bearer $ACCESS_TOKEN"
```
| Record status | Meaning |
| ------------- | -------------------------------------------------------------- |
| `pending` | Queued, not yet sent |
| `synced` | Accepted by QuickBooks |
| `failed` | QuickBooks rejected it — the reason is on the record |
| `skipped` | Deliberately not exported, for example a voided transaction |
| `conflict` | The matching QuickBooks record changed since Vespy last saw it |
## Conflicts
[Section titled “Conflicts”](#conflicts)
`conflict` is the status worth paying attention to. It means someone edited the transaction in QuickBooks after Vespy exported it, so overwriting would silently discard their edit. Vespy stops instead of choosing for you.
Resolve it in QuickBooks — accept their version or restore Vespy’s — and re-export. Since the export is one-way, a conflict is always a signal that QBO is being edited directly, which is worth correcting at the source.
Caution
`failed` and `conflict` records are **not** retried automatically. An export that reports either is incomplete until you work through the record list.
# Rent and payments
> Bill a lease, record a payment, allocate it across charges, and correct mistakes.
Charges are what a tenant owes. Payments are money received. Allocations connect the two, and a payment is not applied to a balance until it is allocated.
```plaintext
charge ──┐
charge ──┼── allocation ──> payment
charge ──┘
```
A payment can be split across several charges, and a charge can be settled by several payments.
## Creating a charge
[Section titled “Creating a charge”](#creating-a-charge)
Recurring rent is generated from the lease’s `rentChargeDay`, so you only create charges by hand for one-offs:
```bash
curl -X POST https://api.getvespy.com/api/charges \
-H "Authorization: Bearer $ACCESS_TOKEN" \
-H 'Content-Type: application/json' \
-d '{
"leaseId": "'"$LEASE_ID"'",
"tenantId": "'"$TENANT_ID"'",
"categoryId": "'"$CATEGORY_ID"'",
"chargeType": "fee",
"name": "Late fee — September",
"amountCents": 7500,
"dueDate": "2026-09-06"
}'
```
`chargeType` is one of `rent`, `fee`, `deposit`, `adjustment`, or `other`. `categoryId` points at the chart of accounts and determines how the charge lands in the ledger — list the options with `GET /api/categories`. Categories are system-managed; `PATCH` and `DELETE` on one return `405`.
To make a charge repeat without going through the lease, pass `recurrence` with a `frequency`, `dayOfMonth`, and `startDate`.
## Recording a payment
[Section titled “Recording a payment”](#recording-a-payment)
```bash
curl -X POST https://api.getvespy.com/api/payments \
-H "Authorization: Bearer $ACCESS_TOKEN" \
-H 'Content-Type: application/json' \
-d '{
"tenantId": "'"$TENANT_ID"'",
"leaseId": "'"$LEASE_ID"'",
"amountCents": 192500,
"paymentMethod": "check",
"checkNumber": "1041",
"receivedAt": "2026-09-06T15:04:00Z",
"idempotencyKey": "a3f1e0c2-8b5d-4a71-9e33-2c6d0f5b7a19",
"allocations": [
{ "chargeId": "'"$RENT_CHARGE_ID"'", "amountCents": 185000 },
{ "chargeId": "'"$LATE_FEE_CHARGE_ID"'", "amountCents": 7500 }
]
}'
```
`paymentMethod` is `ach`, `card`, `cash`, `check`, or `other`.
Caution
`idempotencyKey` is **required**, not optional. Generate one UUID per real-world payment and reuse it if you retry — a repeat with the same key returns the original payment instead of double-recording the money.
Allocations are optional at creation. Omit them to record money now and apply it later with `POST /api/payments/{id}/allocate`. Allocation totals may not exceed the payment amount; exceeding it fails with `400` and an `errors` entry on `allocations`.
## Corrections
[Section titled “Corrections”](#corrections)
The rules here are deliberately narrow, because payments feed the trust ledger.
| To do this | Use |
| ------------------------------------------------ | -------------------------------------------------------------------- |
| Fix how a payment was split | `PUT` or `DELETE` on `/api/payments/{id}/allocations/{allocationId}` |
| Mark a check as bounced | `POST /api/payments/{id}/transition` with `{"status":"failed"}` |
| Undo a payment entirely | `POST /api/payments/{id}/reverse` |
| Cancel a charge that should not have been billed | `POST /api/charges/{id}/void` |
`PUT /api/payments/{id}` always returns `409`. Payments are immutable once recorded — reverse and recreate rather than edit. This is what keeps the ledger auditable.
## Checking a balance
[Section titled “Checking a balance”](#checking-a-balance)
```bash
curl "https://api.getvespy.com/api/tenants/$TENANT_ID/ledger" \
-H "Authorization: Bearer $ACCESS_TOKEN"
```
The tenant ledger is the authoritative view of what is owed: charges, payments, and the running balance in one ordered list.
## Taking payment online
[Section titled “Taking payment online”](#taking-payment-online)
Everything above records money you collected yourself. To have tenants pay through the platform, see the **Online Payments** endpoints — Stripe Connect onboarding, saved payment methods, and autopay. Those flows create the payment records for you.
# Security deposits and trust accounting
> Hold a deposit in a trust account, deduct against it at move-out, refund the balance, and reconcile.
A security deposit is not revenue — it is the tenant’s money that you hold. Vespy tracks it in a trust subledger so the balance you hold per tenant can always be proved against the bank statement.
```plaintext
bank account ──> deposit ──> disposition (deduction | refund)
└────────────> reconciliation
```
## 1. Set up a trust bank account
[Section titled “1. Set up a trust bank account”](#1-set-up-a-trust-bank-account)
Deposits must be held separately from operating funds, so create the account once:
```bash
curl -X POST https://api.getvespy.com/api/trust/bank-accounts \
-H "Authorization: Bearer $ACCESS_TOKEN" \
-H 'Content-Type: application/json' \
-d '{
"name": "Client Trust — Security Deposits",
"accountType": "security_deposit",
"institutionName": "First Republic",
"accountMask": "4417"
}'
```
`accountType` is `operating`, `security_deposit`, `trust`, or `other`. Store only the last few digits in `accountMask` — Vespy never holds full account numbers. Set `ownerId` if the account belongs to a single owner rather than the whole book.
## 2. Record the deposit
[Section titled “2. Record the deposit”](#2-record-the-deposit)
```bash
curl -X POST https://api.getvespy.com/api/trust/deposits \
-H "Authorization: Bearer $ACCESS_TOKEN" \
-H 'Content-Type: application/json' \
-d '{
"leaseId": "'"$LEASE_ID"'",
"tenantId": "'"$TENANT_ID"'",
"bankAccountId": "'"$BANK_ACCOUNT_ID"'",
"amountCents": 185000,
"receivedAt": "2026-08-25T00:00:00Z"
}'
```
This is a liability, not income. It never appears as revenue, and it stays on the subledger under the tenant’s name until it is disposed of.
## 3. Dispose of it at move-out
[Section titled “3. Dispose of it at move-out”](#3-dispose-of-it-at-move-out)
A disposition is either a `deduction` (you keep some) or a `refund` (you return some). Record each one against the deposit:
```bash
curl -X POST "https://api.getvespy.com/api/trust/deposits/$DEPOSIT_ID/dispositions" \
-H "Authorization: Bearer $ACCESS_TOKEN" \
-H 'Content-Type: application/json' \
-d '{
"type": "deduction",
"amountCents": 42500,
"reason": "Carpet replacement and repainting beyond normal wear",
"lineItems": [
{ "description": "Carpet replacement — living room", "amountCents": 32000 },
{ "description": "Repaint bedroom wall", "amountCents": 10500 }
]
}'
```
Fill in `lineItems`. Most jurisdictions require an itemized statement, and this is what `GET /api/trust/deposits/{id}/deduction-statement` renders into the PDF you send the tenant. Attach supporting evidence by uploading it as a document and passing `documentId`.
Then refund the remainder:
```bash
curl -X POST "https://api.getvespy.com/api/trust/deposits/$DEPOSIT_ID/dispositions" \
-H "Authorization: Bearer $ACCESS_TOKEN" \
-H 'Content-Type: application/json' \
-d '{"type":"refund","amountCents":142500,"reason":"Balance returned at move-out"}'
```
## 4. Reconcile
[Section titled “4. Reconcile”](#4-reconcile)
Reconciliation proves that the cash in the account equals what the subledger says you owe:
```bash
curl -X POST https://api.getvespy.com/api/trust/reconciliations \
-H "Authorization: Bearer $ACCESS_TOKEN" \
-H 'Content-Type: application/json' \
-d '{
"bankAccountId": "'"$BANK_ACCOUNT_ID"'",
"periodStart": "2026-09-01",
"periodEnd": "2026-09-30",
"statementEndingBalanceCents": 4820000
}'
```
The response reports the comparison against the ledger and the per-tenant subledger total. `GET /api/trust/subledger-balances` gives the same breakdown on demand, and `GET /api/trust/ledger` is the underlying entry list.
Caution
A three-way reconciliation is only meaningful if bank, ledger, and subledger agree. If they do not, the discrepancy is real — do not adjust the subledger to force a match.
## Owner payables
[Section titled “Owner payables”](#owner-payables)
Money owed *out* to owners is the other side of trust accounting:
```bash
curl -X POST https://api.getvespy.com/api/trust/owner-payables \
-H "Authorization: Bearer $ACCESS_TOKEN" \
-H 'Content-Type: application/json' \
-d '{"ownerId":"'"$OWNER_ID"'","propertyId":"'"$PROPERTY_ID"'","amountCents":152000,"description":"September distribution"}'
```
Mark it paid with `POST /api/trust/owner-payables/{id}/pay`, or cancel it before payment with `POST /api/trust/owner-payables/{id}/void`.
# Work order lifecycle
> Create a maintenance work order, assign a vendor, move it through its states, and share notes with the right audience.
Work orders are the one resource three different audiences touch: staff manage them, tenants report and follow them, and vendors do the work. The visibility rules matter as much as the state machine.
## States
[Section titled “States”](#states)
```plaintext
open ──> in_progress ──> completed
│ │
└────────────┴────────> cancelled
```
`completed` and `cancelled` are terminal. Any other transition returns `409`:
```json
{ "message": "Invalid status transition from completed to open" }
```
## Creating one
[Section titled “Creating one”](#creating-one)
Staff must name a unit:
```bash
curl -X POST https://api.getvespy.com/api/work-orders \
-H "Authorization: Bearer $ACCESS_TOKEN" \
-H 'Content-Type: application/json' \
-d '{
"title": "Kitchen sink leaking under cabinet",
"description": "Standing water in the base cabinet, tenant has shut off the supply valve.",
"propertyId": "'"$PROPERTY_ID"'",
"unitId": "'"$UNIT_ID"'",
"priority": "high",
"category": "plumbing"
}'
```
`priority` is `low`, `normal`, `high`, or `emergency`.
When a **tenant** calls the same endpoint, the API overrides most of the body: `source` becomes `tenant`, and the property, unit, and tenant are taken from the caller’s active lease. A tenant cannot open a work order against a unit they do not rent, and cannot pre-assign a vendor.
If the unit has `accessInstructions`, they are copied onto the work order as `entryInstructions` — so whoever is dispatched gets the lockbox code without anyone looking it up.
## Assigning it
[Section titled “Assigning it”](#assigning-it)
```bash
curl -X POST "https://api.getvespy.com/api/work-orders/$WORK_ORDER_ID/assign" \
-H "Authorization: Bearer $ACCESS_TOKEN" \
-H 'Content-Type: application/json' \
-d '{"assignedVendorId":"'"$VENDOR_ID"'"}'
```
Assign a vendor, a staff user, or both. Pass `null` to clear one. Assignment does not change status — move it to `in_progress` separately:
```bash
curl -X POST "https://api.getvespy.com/api/work-orders/$WORK_ORDER_ID/status" \
-H "Authorization: Bearer $ACCESS_TOKEN" \
-H 'Content-Type: application/json' \
-d '{"status":"in_progress"}'
```
Assigning a vendor also lets them see the job in the vendor portal. If they do not have a login yet, send a vendor invite first.
## Notes and who can read them
[Section titled “Notes and who can read them”](#notes-and-who-can-read-them)
Notes carry the conversation, and every note declares its audience:
| `visibility` | Visible to |
| ---------------------- | ----------------------------- |
| `organization_only` | Staff only |
| `tenant_shared` | Staff and the tenant |
| `vendor_shared` | Staff and the assigned vendor |
| `tenant_vendor_shared` | Everyone on the job |
```bash
curl -X POST "https://api.getvespy.com/api/work-orders/$WORK_ORDER_ID/notes" \
-H "Authorization: Bearer $ACCESS_TOKEN" \
-H 'Content-Type: application/json' \
-d '{"visibility":"tenant_shared","body":"Plumber scheduled for Thursday between 9 and 11am."}'
```
Caution
Visibility is enforced on read, so `GET /api/work-orders/{id}/notes` returns a different list depending on who is asking — a tenant only ever sees `tenant_shared` and `tenant_vendor_shared` notes. Do not cache one caller’s note list and serve it to another.
A tenant posting a note may only choose a visibility that includes tenants; anything else returns `403`.
## Costs
[Section titled “Costs”](#costs)
Expenses link to a work order through `workOrderId`, and `GET /api/work-orders/{id}` returns them as `linkedExpenses` with the notes and attachments. That detail response is the single call to make when rendering a work order page.
## Closing out
[Section titled “Closing out”](#closing-out)
```bash
curl -X POST "https://api.getvespy.com/api/work-orders/$WORK_ORDER_ID/status" \
-H "Authorization: Bearer $ACCESS_TOKEN" \
-H 'Content-Type: application/json' \
-d '{"status":"completed"}'
```
Completion stamps `completedAt` and emits an event that downstream notifications consume. Because it is terminal, reopening means creating a new work order.
# Adding a vendor and paying them
> Add a vendor to your directory, give them portal access, record what you owe them, and pay it.
Vendors are the contractors and service providers who do the work behind a [maintenance request](/workflows/managing-maintenance-requests/). Like tenants, a vendor record and a vendor login are separate things.
## 1. Add the vendor
[Section titled “1. Add the vendor”](#1-add-the-vendor)
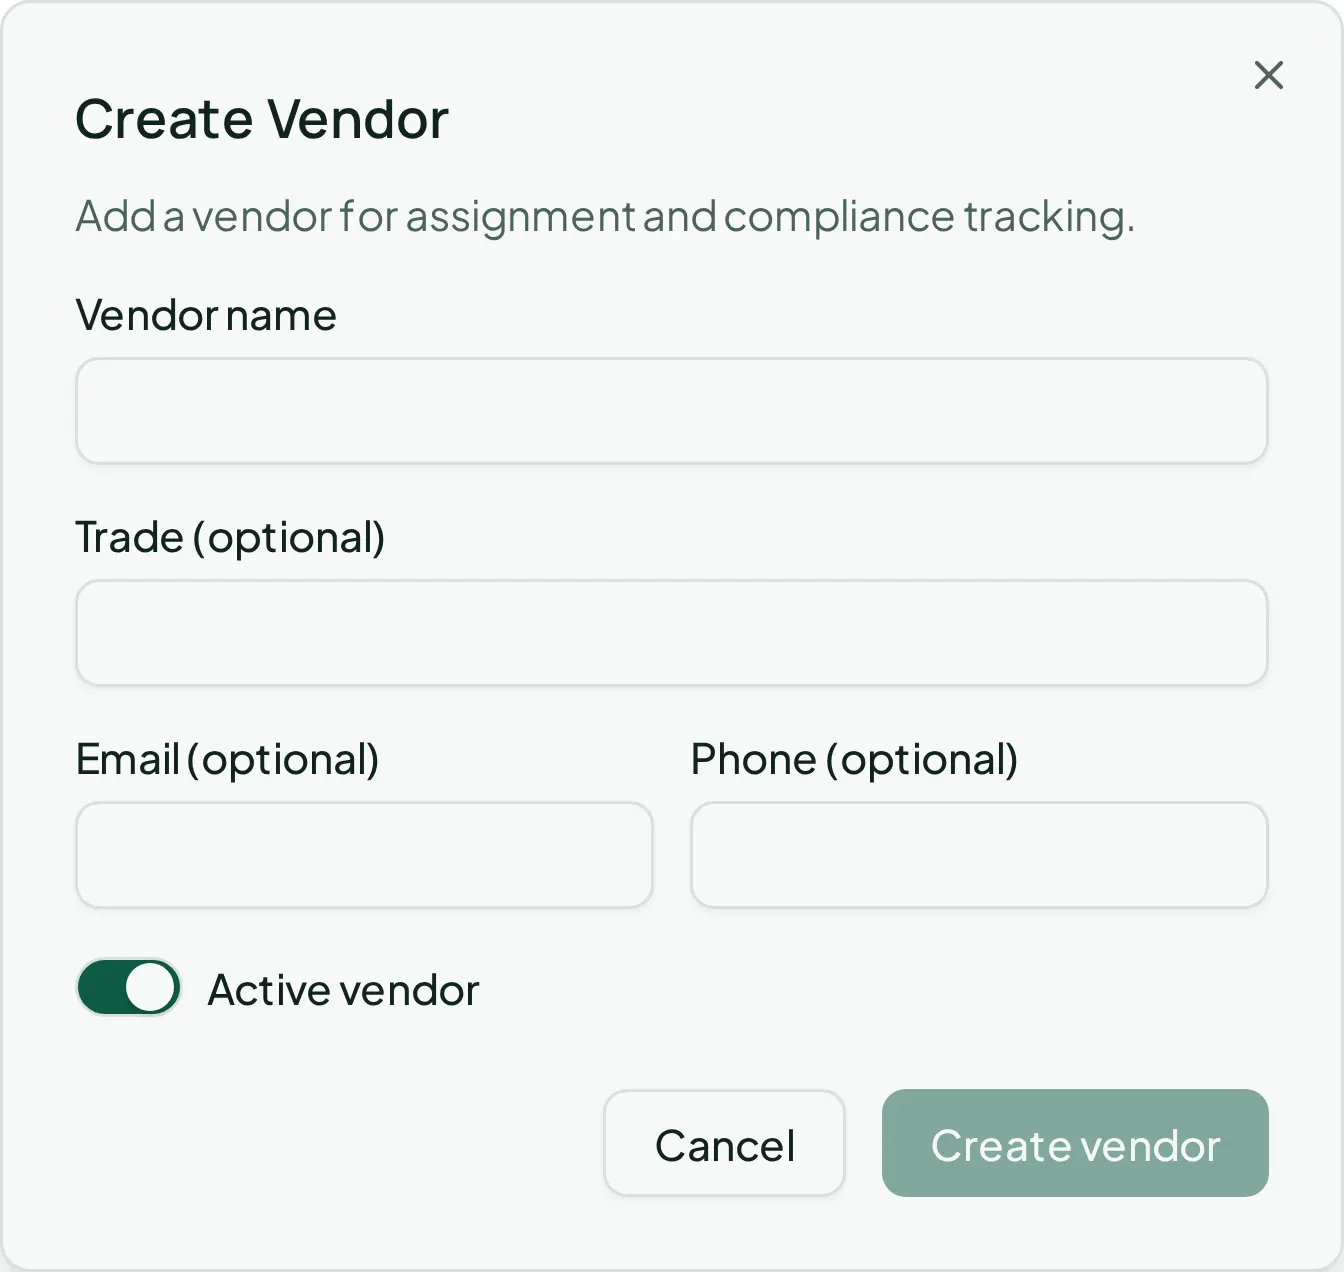
Go to **Maintenance > Vendors** and click **Create vendor**:
* **Vendor name**
* **Trade** (optional — plumbing, electrical, and so on)
* **Email**, **Phone** (optional)
* **Active vendor** (on by default)
## 2. Give them portal access
[Section titled “2. Give them portal access”](#2-give-them-portal-access)
From the vendor’s own page, click **Manage Invites**, then **New Invite**, and pick **Invite email** (prefilled from their record). A **Latest invite link** panel with a **Copy** button appears after you create it, in case you’d rather send it yourself instead of relying on email delivery.
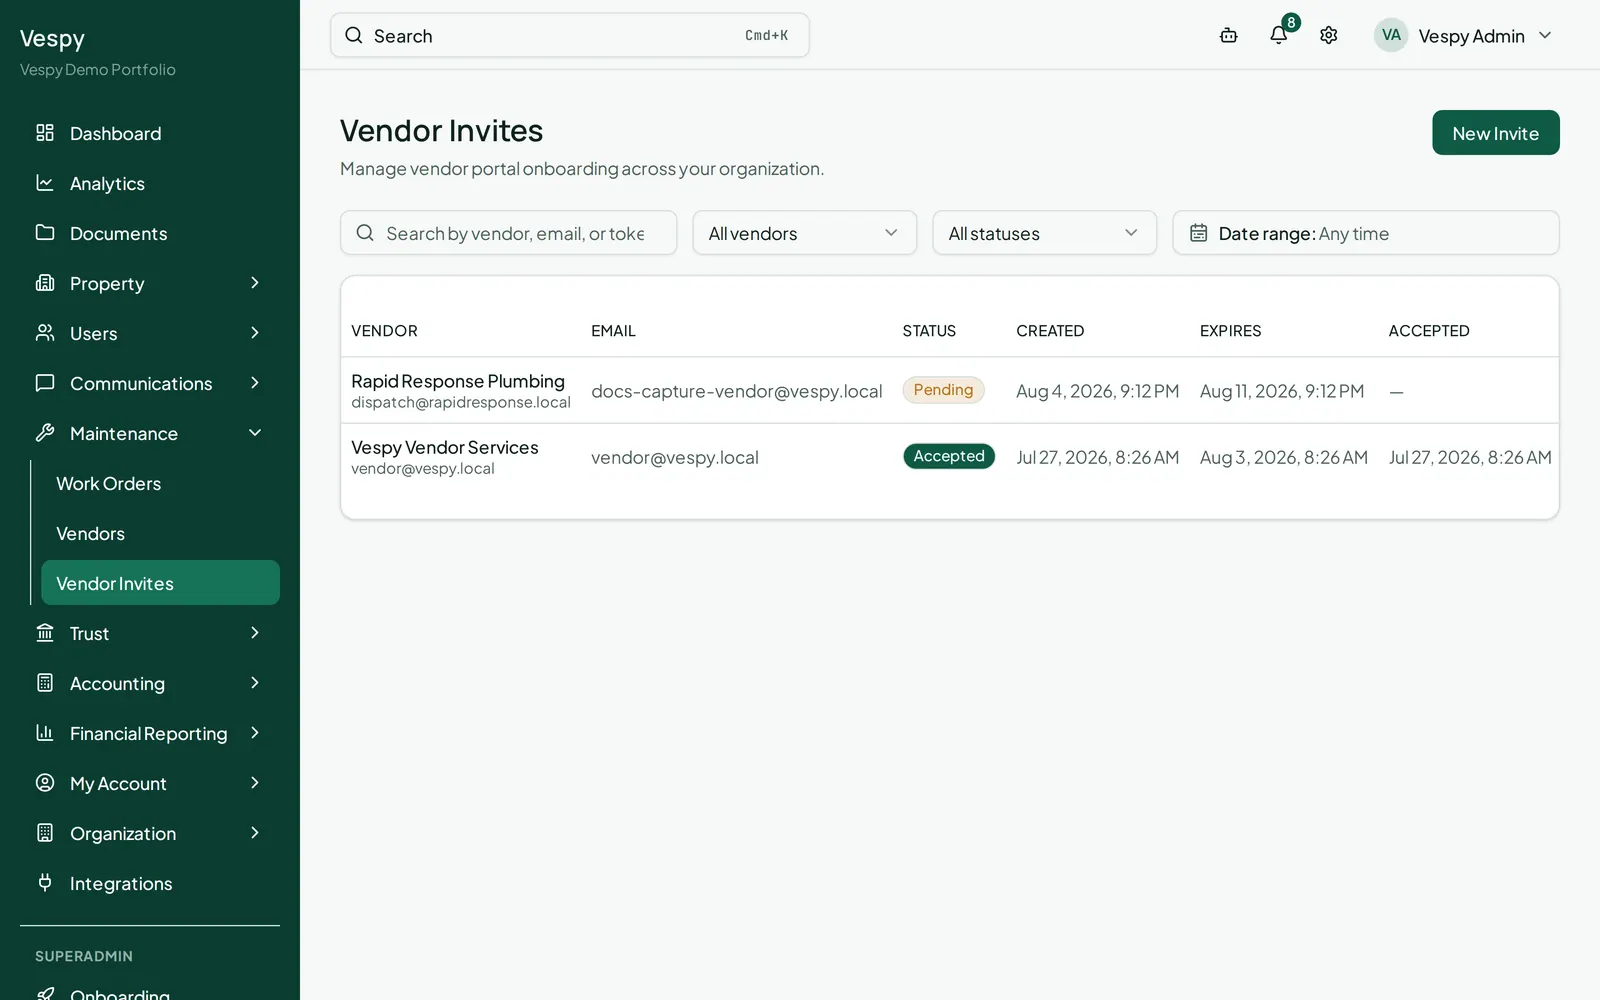
Once accepted, the vendor gets their own portal showing only the jobs assigned to them — never the rest of your portfolio.
Note
On the vendor’s page you can also upload **compliance documents** — certificate of insurance, W-9, license — with a document type, name, and expiration date, so you have a record of what’s on file and what’s about to expire.
## 3. Record what you owe them
[Section titled “3. Record what you owe them”](#3-record-what-you-owe-them)
Go to **Accounting > Expenses** and click **Create expense**:
* **Property**
* **Work order** (optional) — picking one auto-fills the property, unit, lease, vendor, and a description for you
* **Category**, **Amount**, **Date Incurred**
* **Vendor** (or check **Custom vendor** if it’s a one-off you don’t want in your directory)
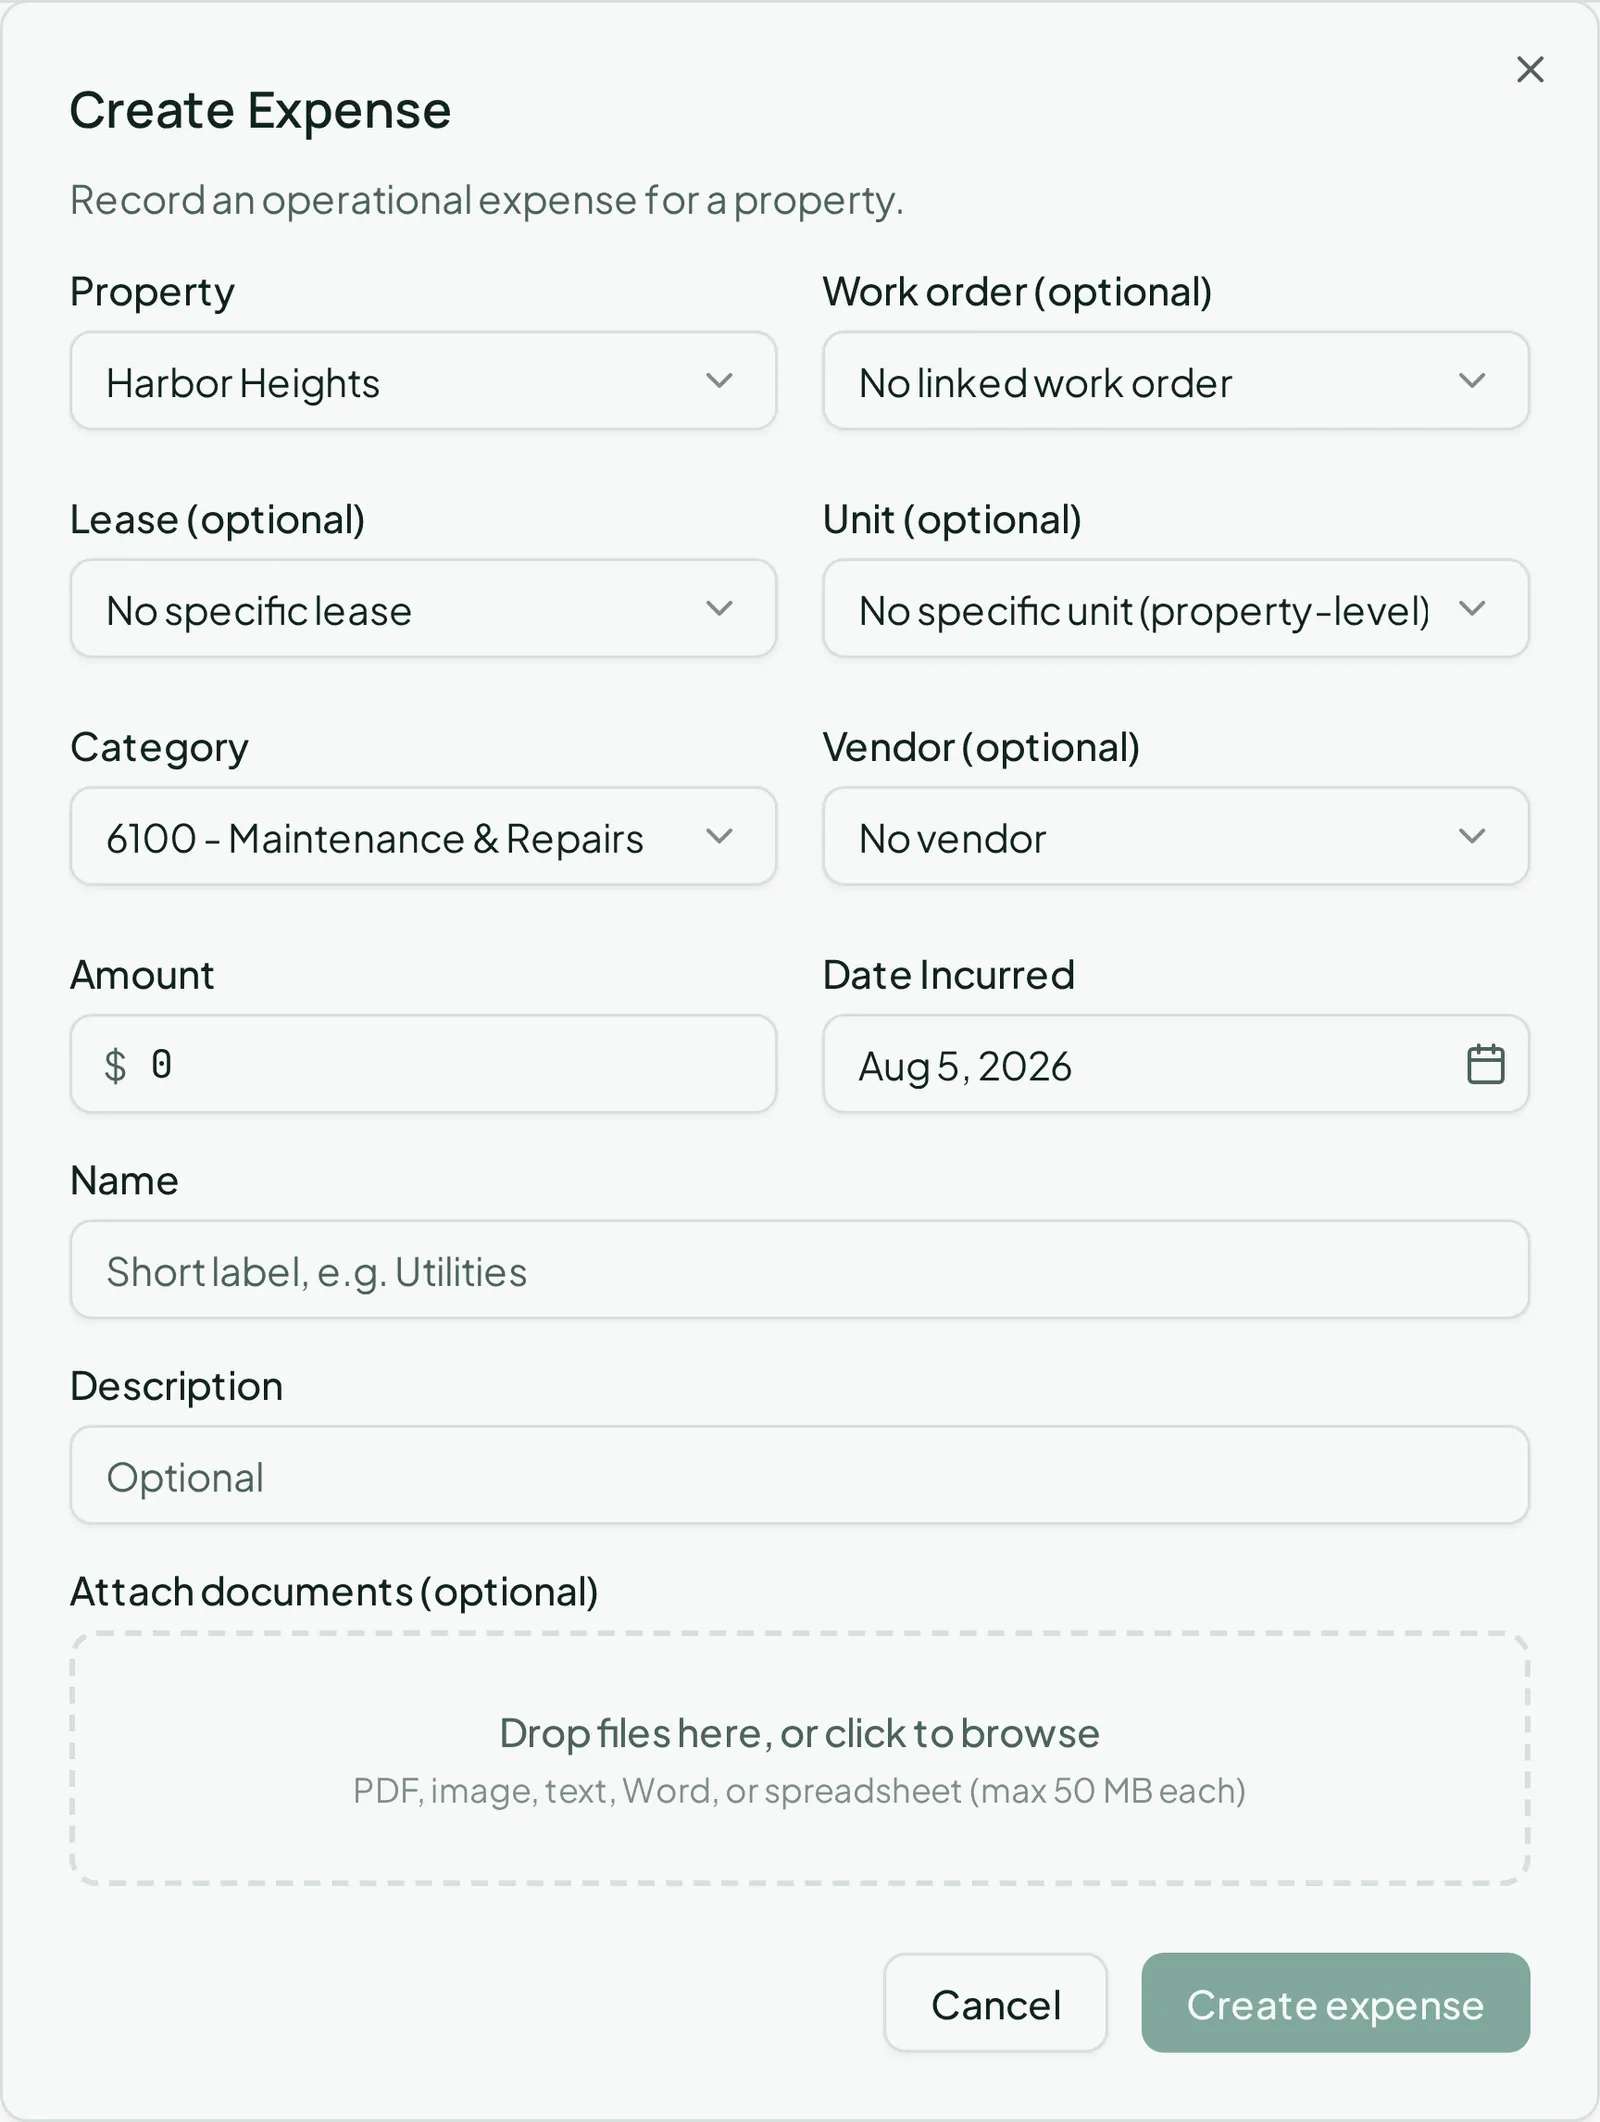
Linking a **Work order** here is what makes this cost show up on that job’s own page.
## 4. Pay them
[Section titled “4. Pay them”](#4-pay-them)
Go to **Accounting > Expense Payments** and click **Record expense payment**:
* **Expense** — only expenses with a balance still owed show up here; the amount auto-fills to what’s outstanding
* **Method**, **Paid Date**
* **Reference** and **Memo** (optional)
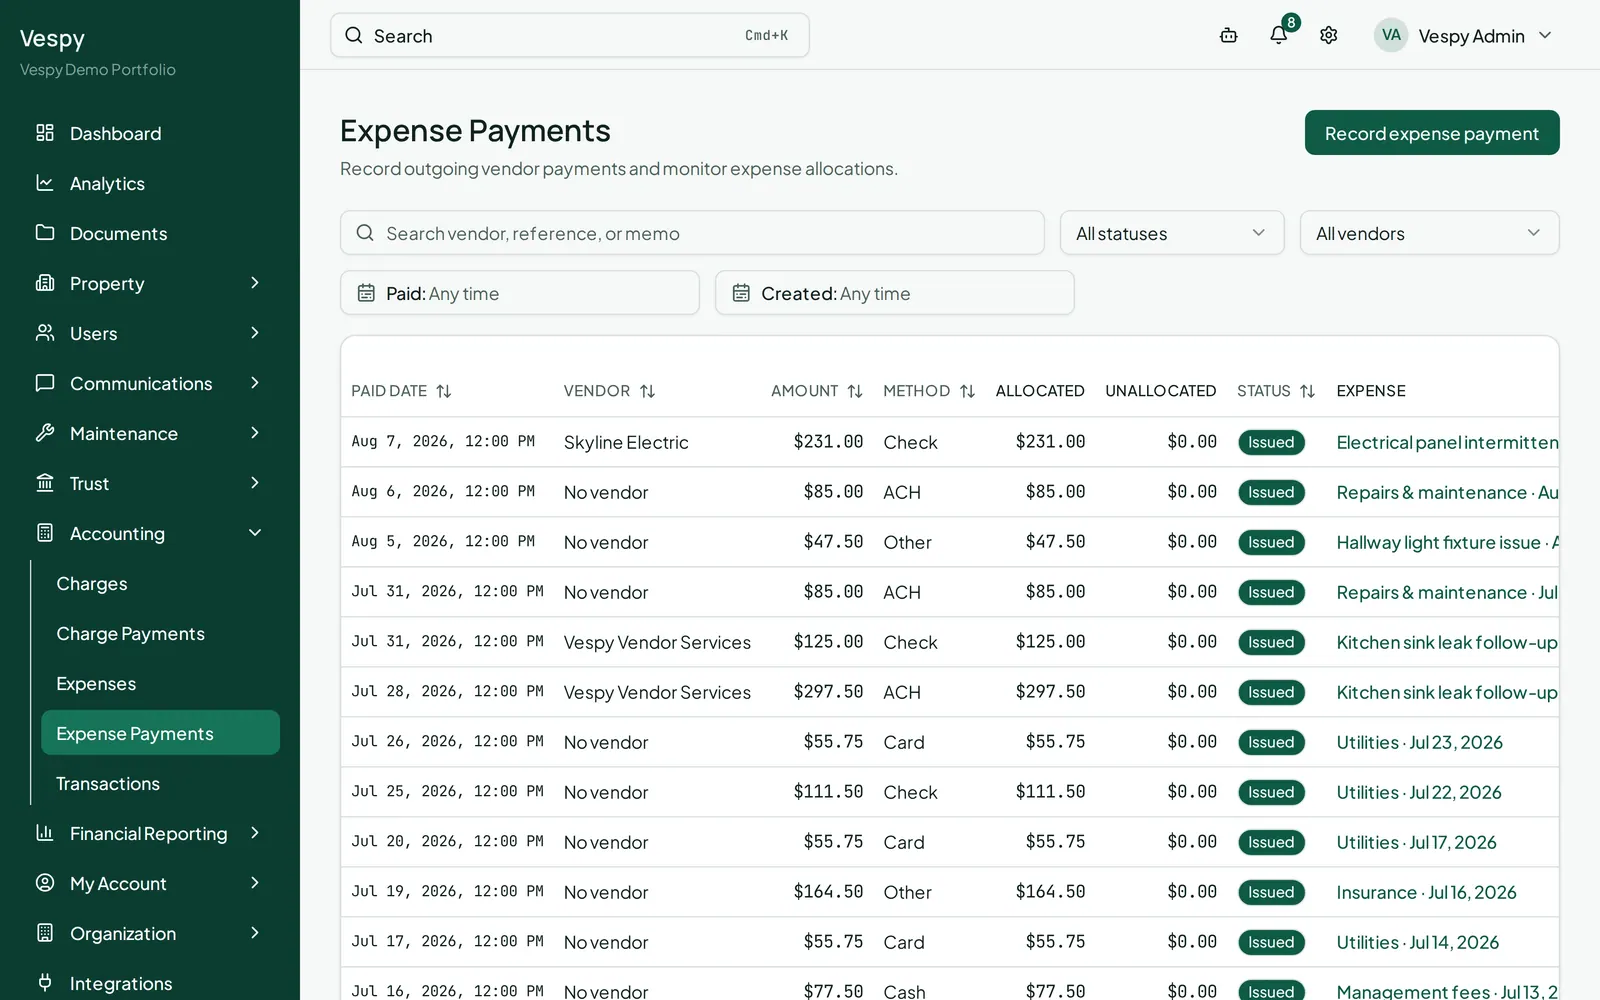
One payment can settle several expenses at once from the payment’s own detail page, the same way a rent payment can be split across multiple charges.
## Afterwards
[Section titled “Afterwards”](#afterwards)
* [Managing maintenance requests](/workflows/managing-maintenance-requests/) — assigning this vendor to a job.
* [Closing the books each month](/workflows/closing-the-books-each-month/) — expenses and expense payments both flow into the same ledger.
# Adding an owner
> Create an owner record and attach a property to it so statements and fees resolve correctly.
An owner is the person or entity a property is managed on behalf of. Attaching a property to its owner is what makes owner statements and management fees possible later, so it’s worth doing early.
## 1. Create the owner
[Section titled “1. Create the owner”](#1-create-the-owner)
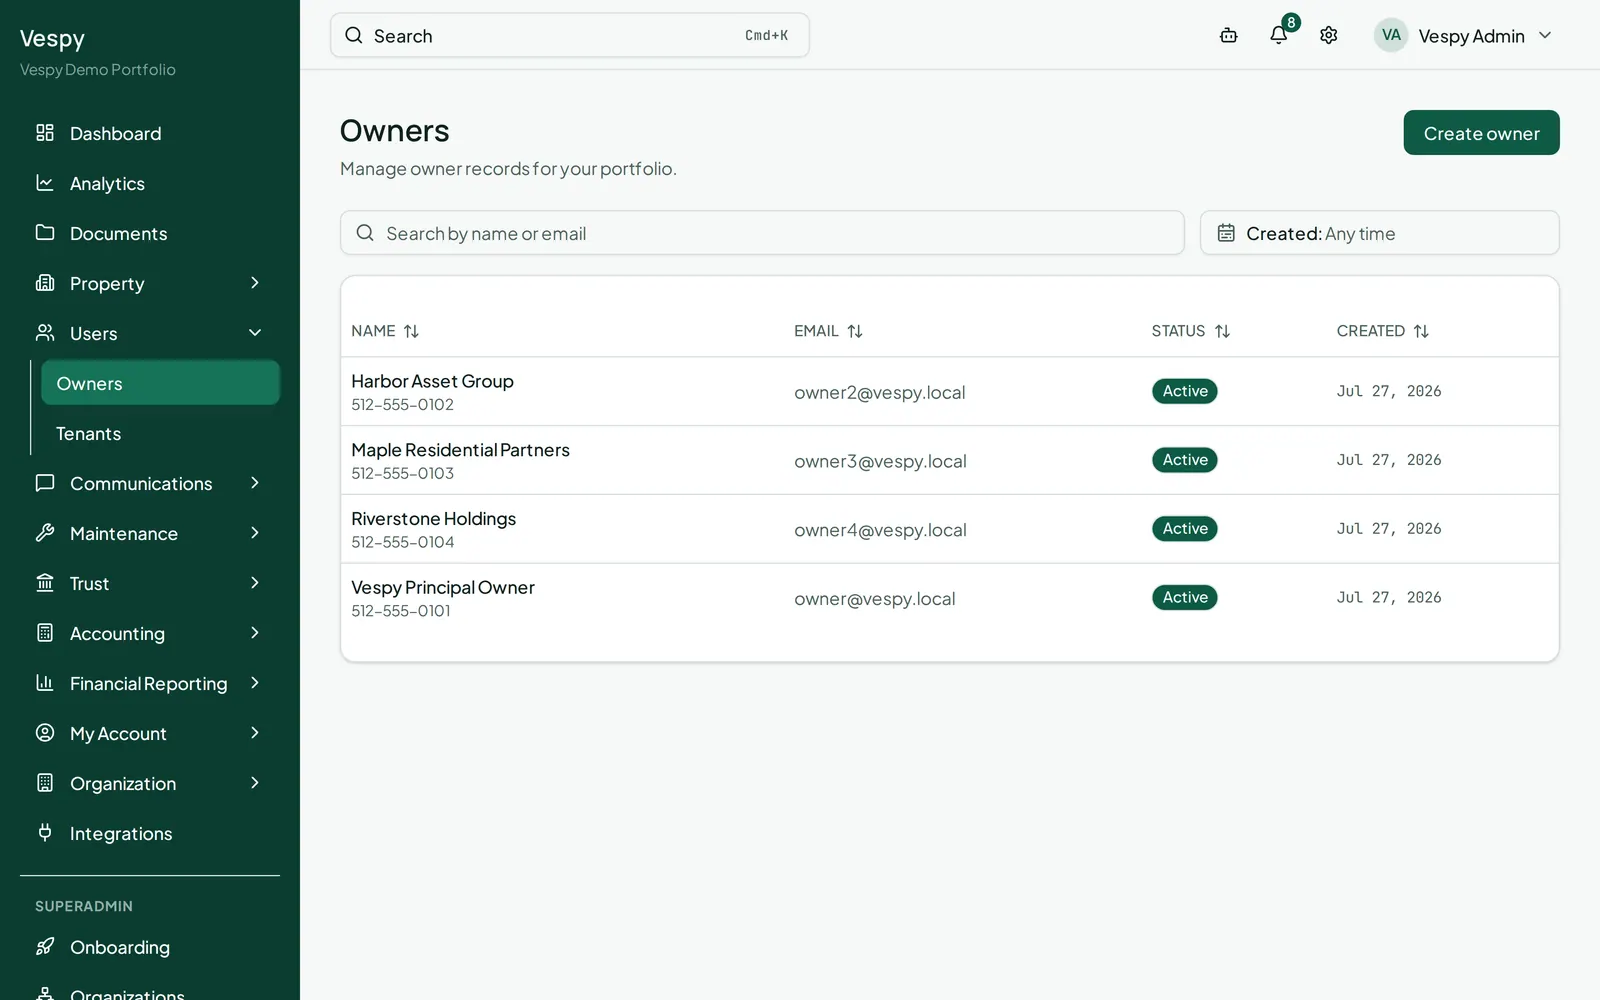
Go to **Users > Owners** and click **Create owner**. Fill in:
* **Owner name**
* **Owner email**
* **Phone** (optional)
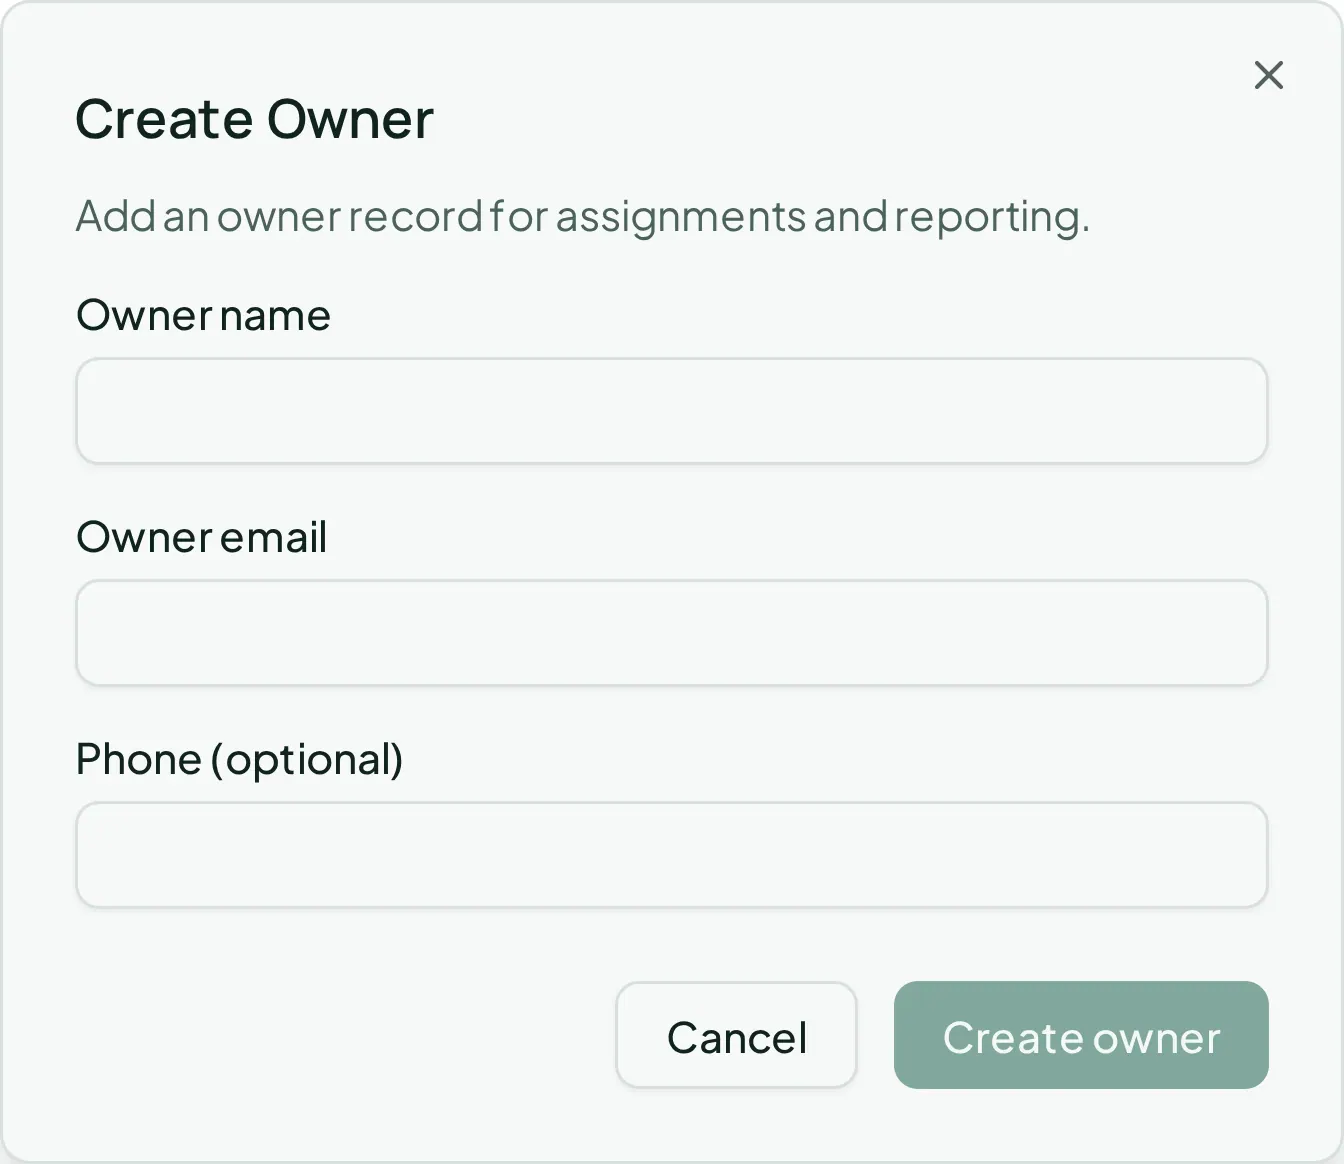
Click **Create owner** to save.
An owner record on its own has no login and no properties attached yet — it’s just a book of record until you connect it to something.
## 2. Attach a property
[Section titled “2. Attach a property”](#2-attach-a-property)
This part happens on the **property**, not the owner:
1. Go to **Property > Properties** (or open an existing property and click **Edit property**).
2. In the **Owners** field, click the selector and check the owner(s) this property belongs to. Selected owners show up as chips you can remove.
3. Save.
Note
The owner’s own detail page shows an **Associated Properties** list, but it’s read-only — there’s no “add property” button there. Attaching or changing ownership always happens from the property’s create or edit form.
A property can have more than one owner checked at once, useful for co-owned properties or partnerships.
## 3. Check the owner’s activity
[Section titled “3. Check the owner’s activity”](#3-check-the-owners-activity)
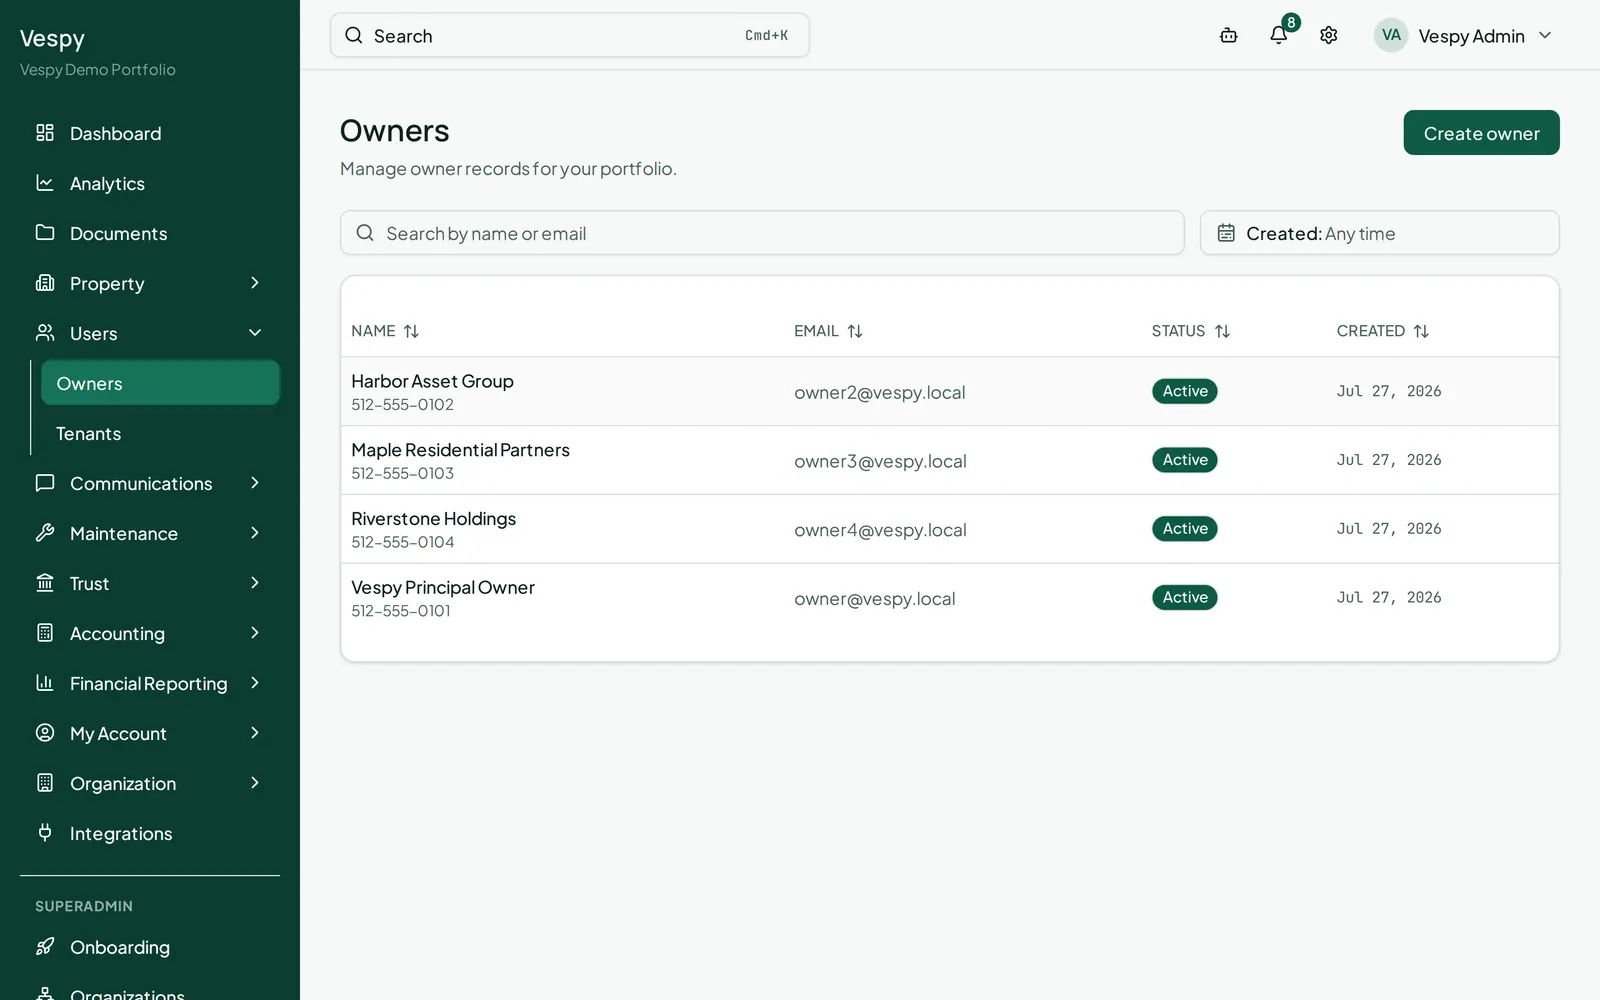
Open the owner from **Users > Owners** to see their detail page: contact info, the properties attached to them, an owner ledger (everything that flows to them — rent collected, expenses paid, fees deducted), notes, and documents.
## Afterwards
[Section titled “Afterwards”](#afterwards)
* [Onboarding a property](/workflows/onboarding-a-property/) — attach this owner while creating a property.
* [Setting up management fees](/workflows/setting-up-management-fees/) — automate what you keep from this owner’s rent, from the owner’s own page.
# Adding team members
> Add a staff login for someone on your team, and see what each role can do.
Before you touch a property or a lease, get your team set up. Everyone who logs into Vespy — staff, tenant, owner, or vendor — has an account distinguished by a role. This guide covers the staff side: adding the people who will run the portfolio day to day.
## 1. Go to Staff Users
[Section titled “1. Go to Staff Users”](#1-go-to-staff-users)
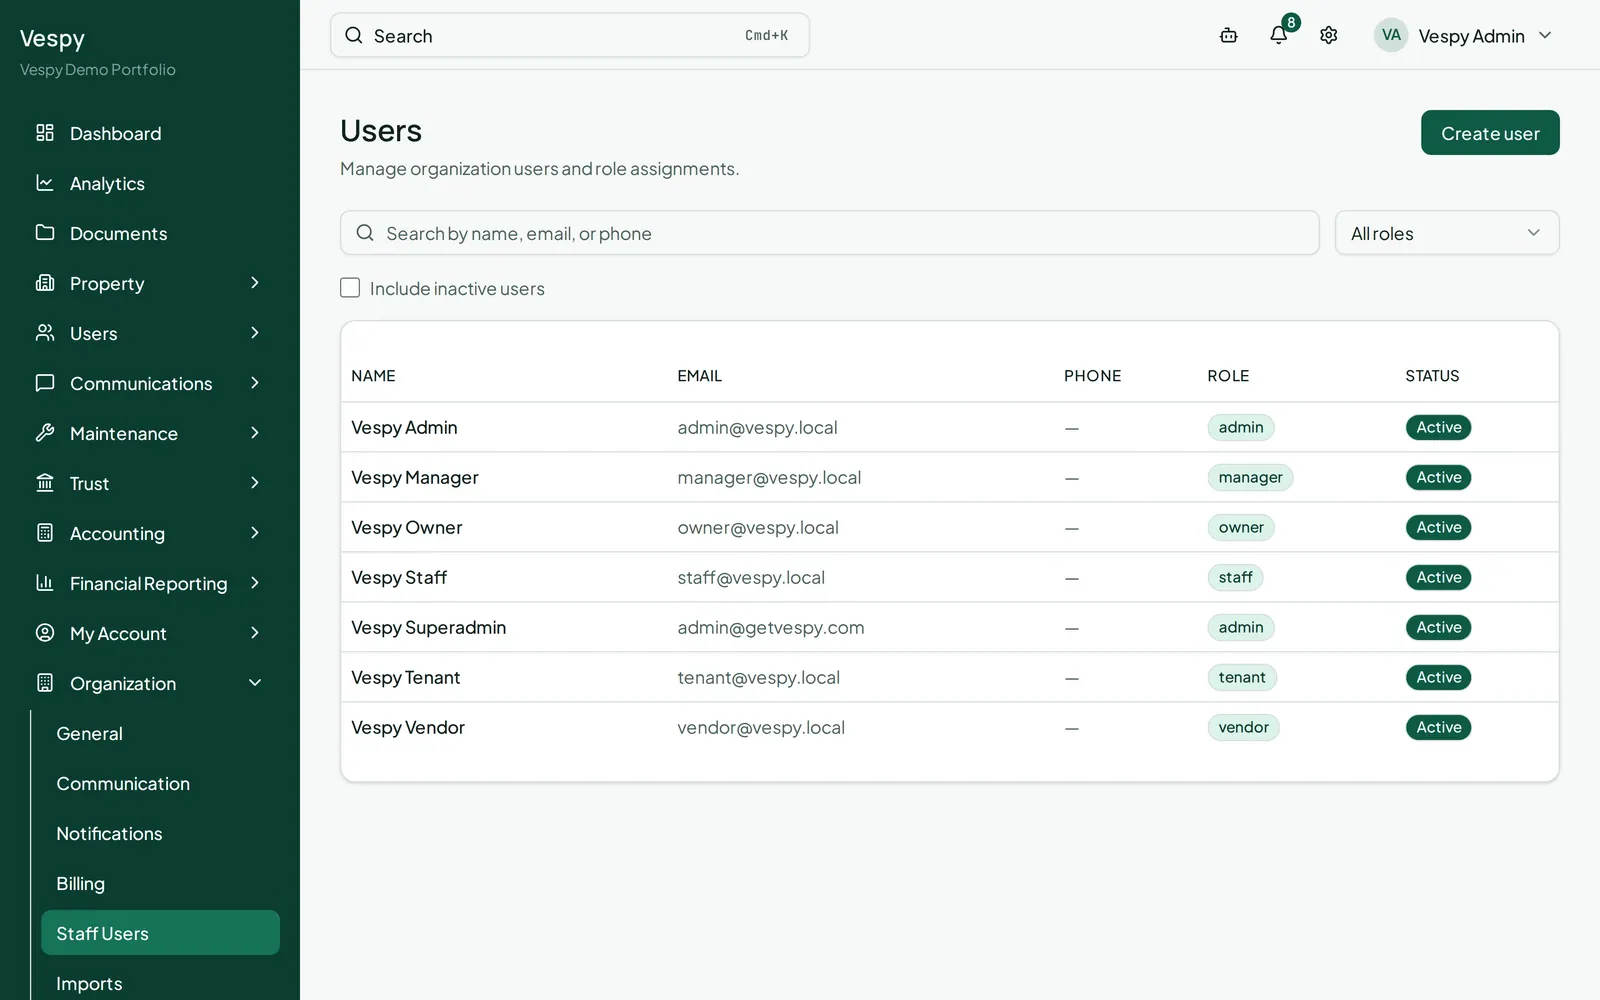
From the left sidebar, open **Organization > Staff Users**.
## 2. Create the account
[Section titled “2. Create the account”](#2-create-the-account)
Click **Create user**, and fill in:
* **Email**
* **Full name**
* **Phone** (optional)
* **Role** — `admin`, `manager`, or `staff`
* **Password** — at least 8 characters
* **Active user** (checked by default)
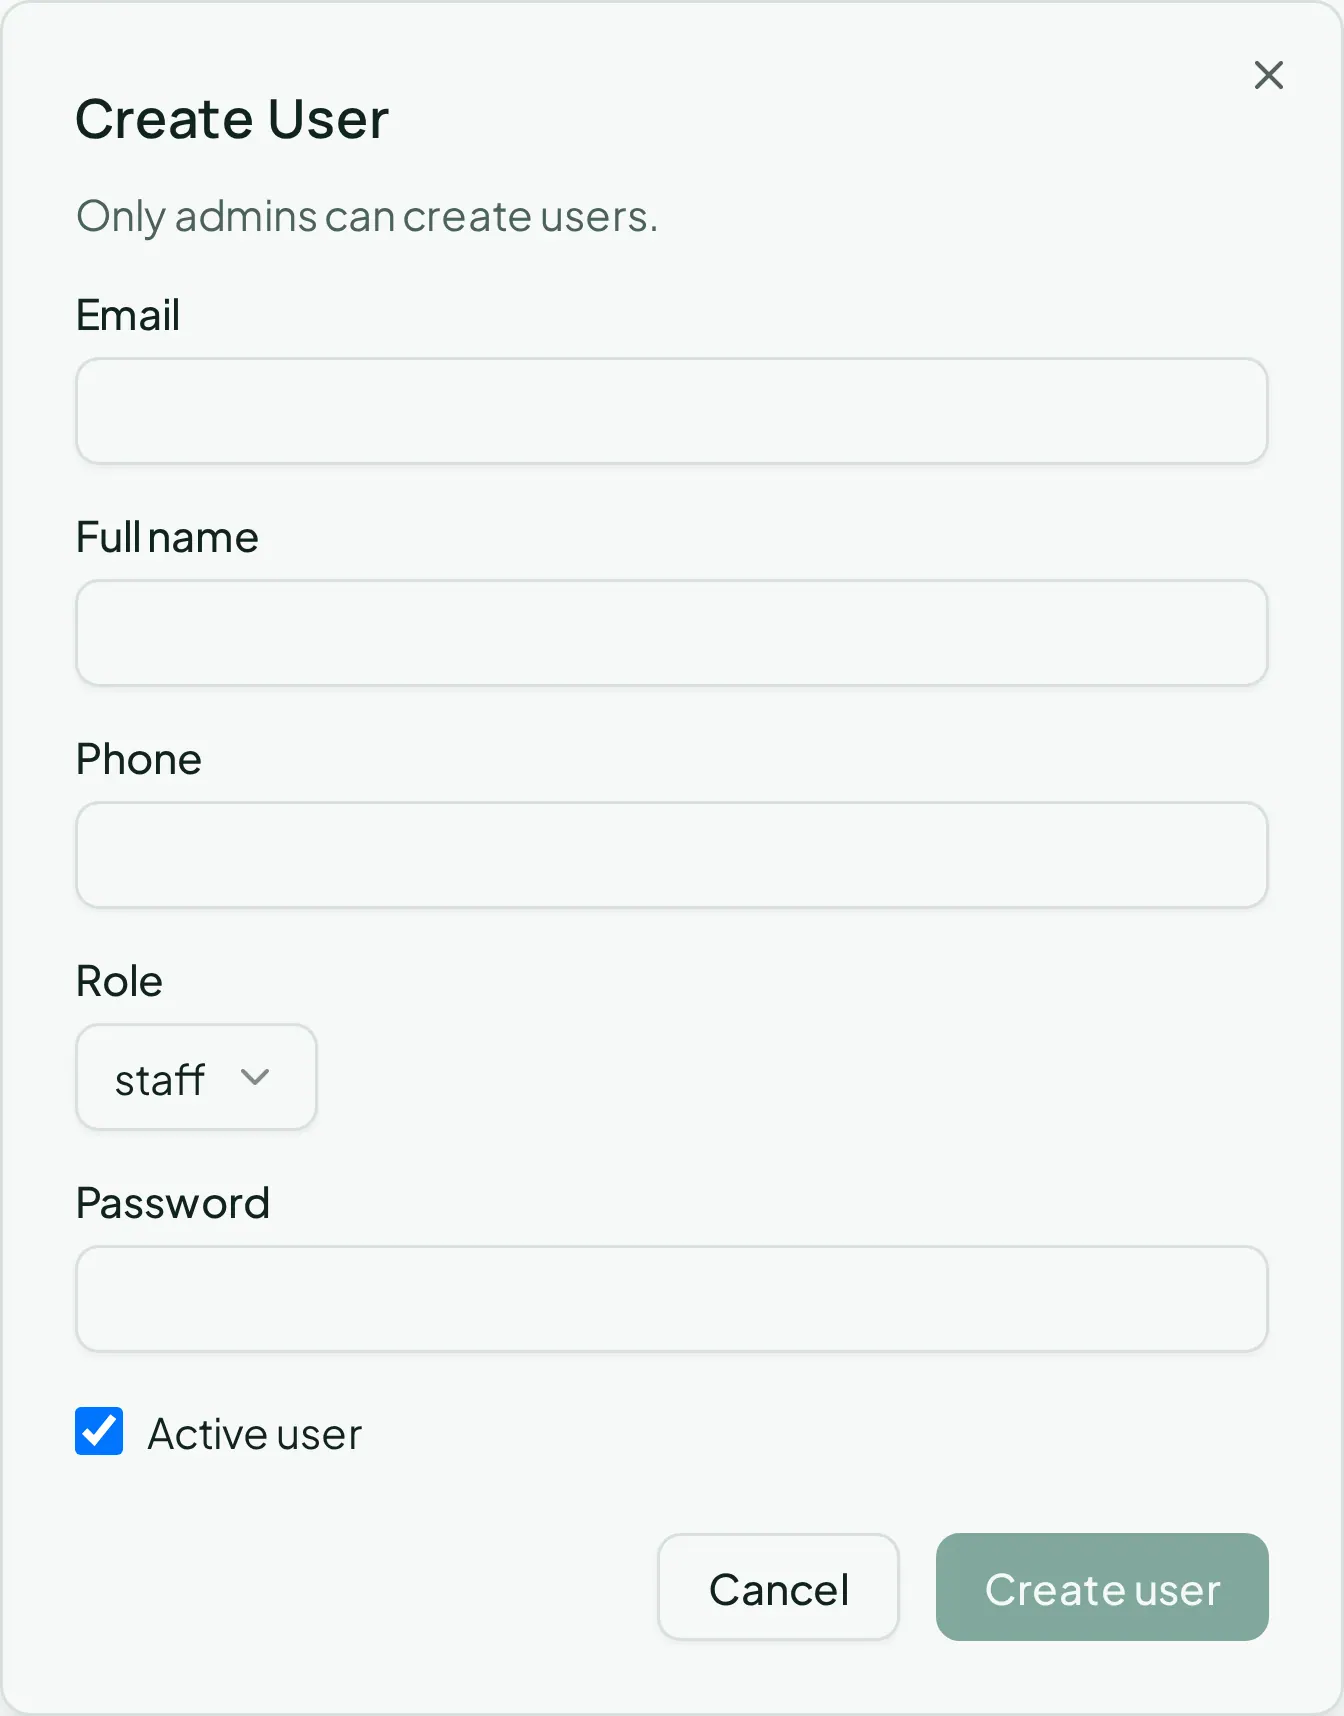
Click **Create user** to save.
Note
This isn’t an email invite — you’re setting the new teammate’s password yourself, right here. They can log in with it immediately, so share it with them directly (in person, or over a secure channel) and encourage them to change it once they’re in. Only an `admin` can create new users; the **Create user** button won’t appear for managers or staff.
Roles, in short:
| Role | Can do |
| --------- | ---------------------------------------------------------------------------- |
| `admin` | Everything, including adding/removing other users and organization settings |
| `manager` | Runs the portfolio — properties, leases, accounting — but can’t manage users |
| `staff` | Day-to-day operations; narrower access on some screens |
## 3. Manage the team later
[Section titled “3. Manage the team later”](#3-manage-the-team-later)
The Staff Users list lets you search by name, email, or phone, and filter by role. Click anyone’s row to open their detail page, where **Edit user** lets you change their role, phone, or reset their password — and **Delete user** removes their account entirely (admin only, and you can’t delete yourself).
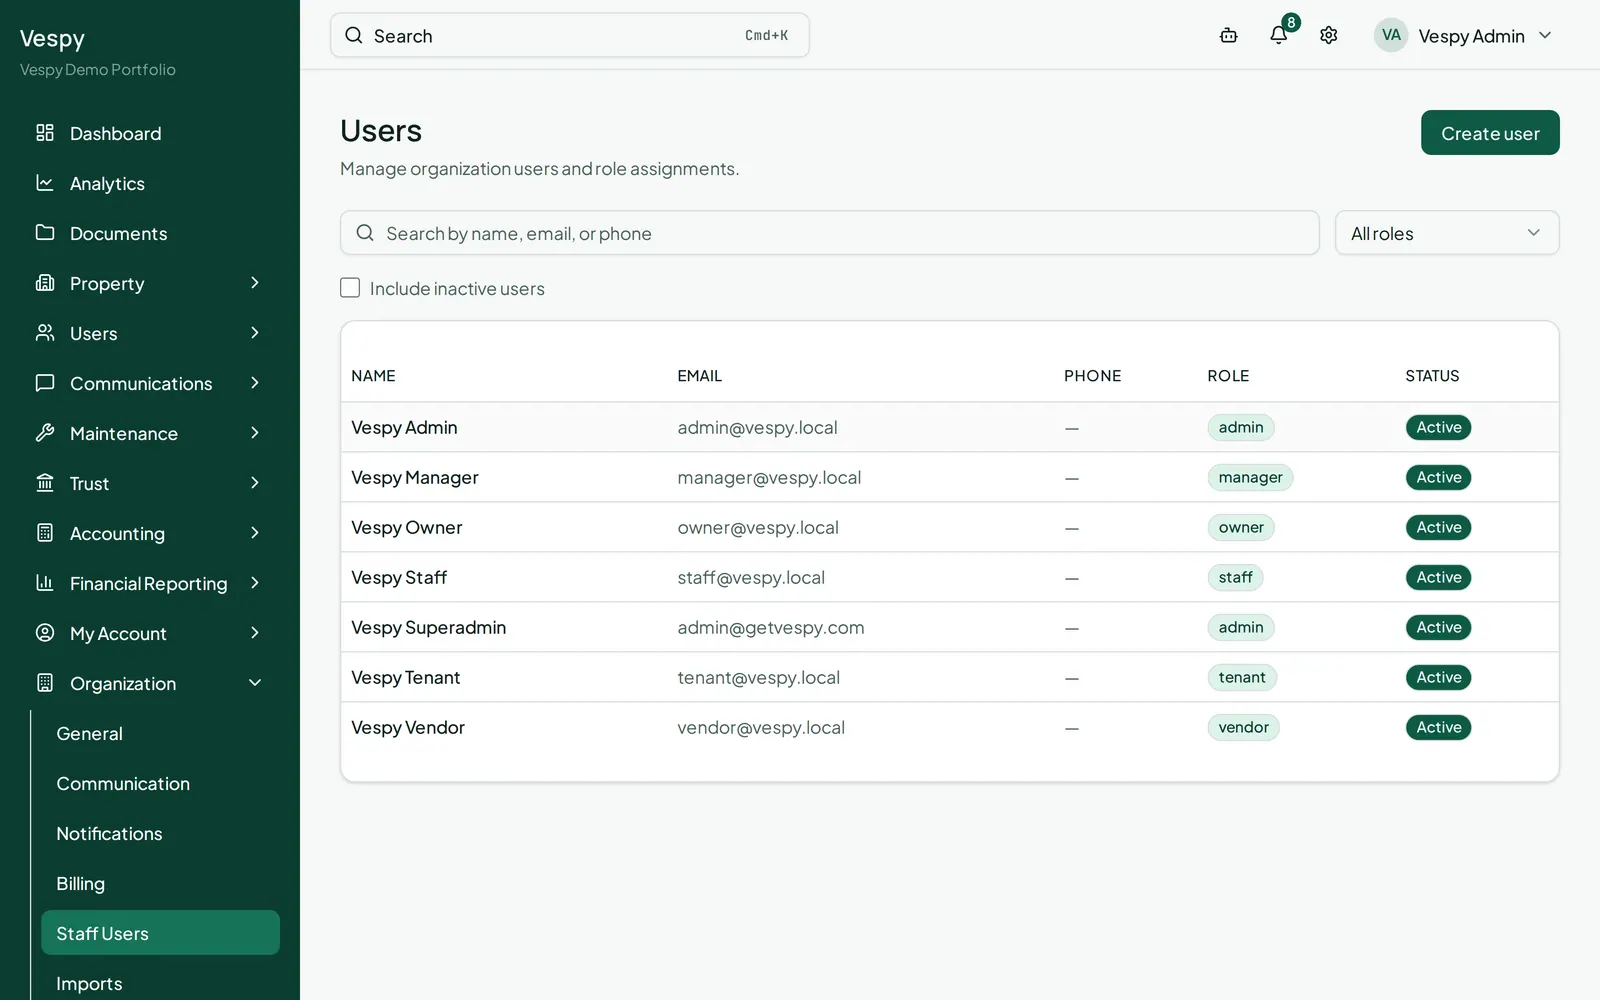
To deactivate someone without deleting their history, edit their record and uncheck **Active user** rather than deleting it.
Note
Your own account works the same way. Click your name or avatar to reach **My Profile** — it’s the same detail page as any other staff user, just scoped to you.
## Afterwards
[Section titled “Afterwards”](#afterwards)
* [Adding an owner](/workflows/adding-an-owner/) — the next record most portfolios need.
* [Onboarding a property](/workflows/onboarding-a-property/) — the core leasing path.
# Billing rent and collecting payments
> Bill something outside of rent, set up a recurring fee, and record a payment against what's owed.
A **charge** is what’s owed. A **payment** is money received. Nothing is “paid” until a payment is allocated to a charge — and Vespy lets you record the money now and sort out which charge it covers later, if that’s easier in the moment.
## Rent bills itself
[Section titled “Rent bills itself”](#rent-bills-itself)
Once a lease is active, its rent charge day already generates a monthly rent charge — you don’t create rent charges by hand. What follows is for everything else.
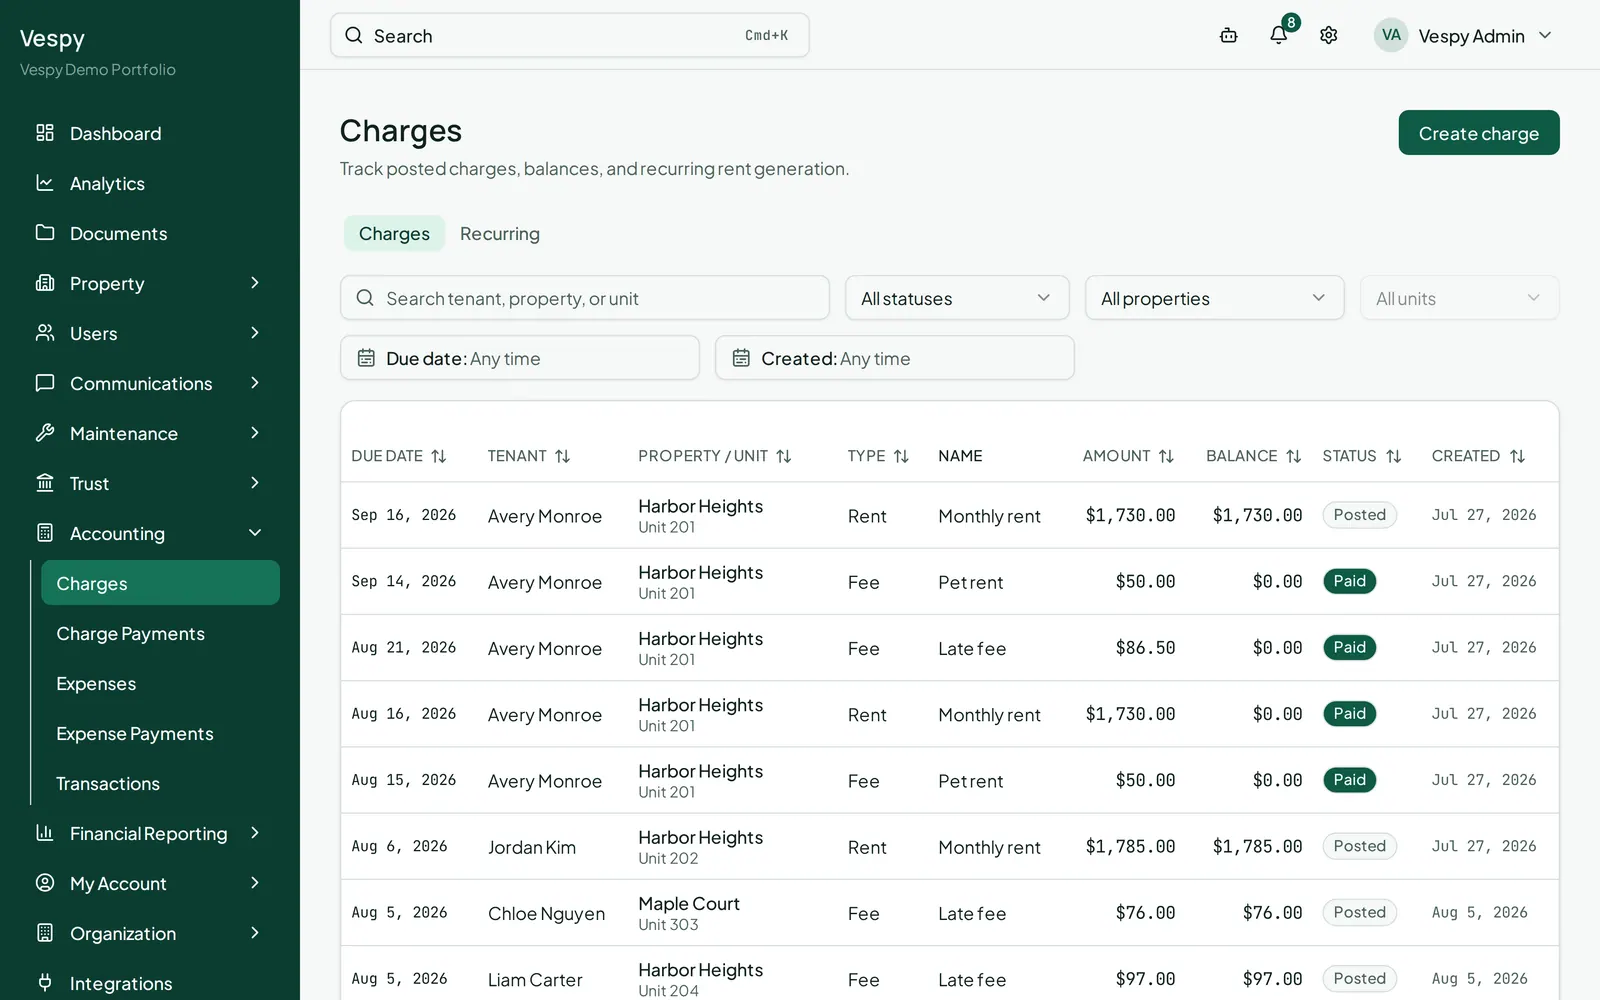
## 1. Bill something one-off, or set it up as recurring
[Section titled “1. Bill something one-off, or set it up as recurring”](#1-bill-something-one-off-or-set-it-up-as-recurring)
Go to **Accounting > Charges** and click **Create charge**. Fill in:
* **Lease** (or check **Create without lease** to pick a Tenant / Property / Unit manually instead)
* **Category** — where this lands in your chart of accounts
* **Amount**, **Due date**
* **Name** and **Description** (optional)
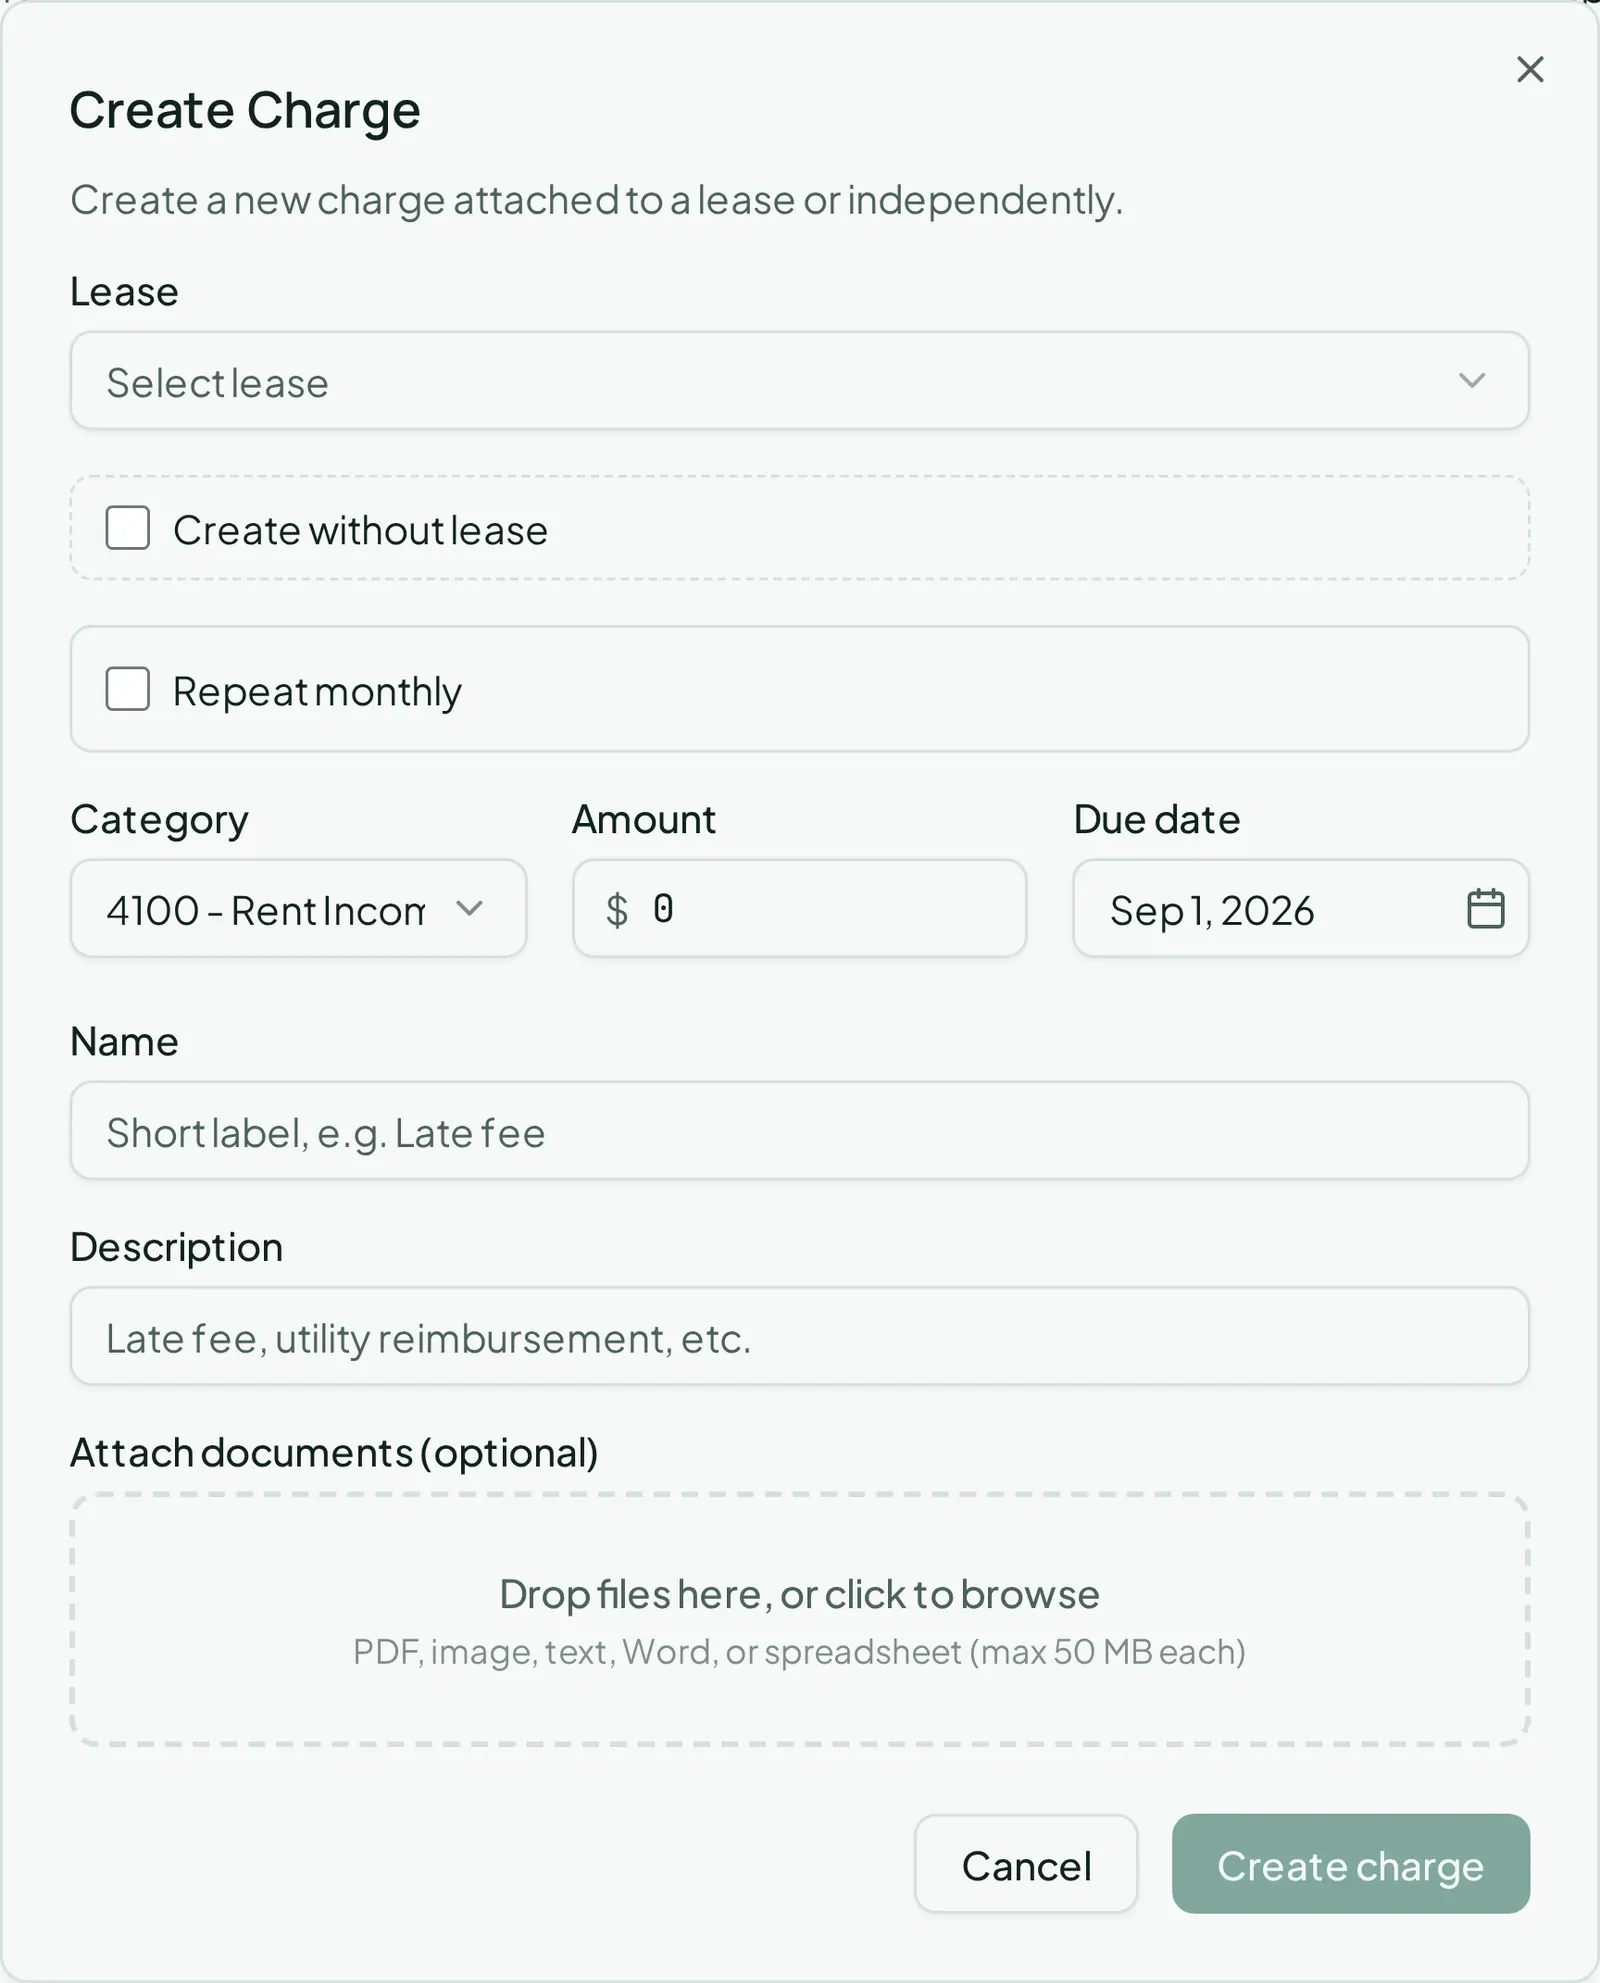
To make it repeat instead of billing once, check **Repeat monthly**. This reveals **Day of month** and **End date** fields, and — if the unit has fee templates set up — a **Prefill from unit template** dropdown so you don’t have to retype a recurring parking or storage fee.
## 2. Find and manage recurring charges later
[Section titled “2. Find and manage recurring charges later”](#2-find-and-manage-recurring-charges-later)
The Charges page has a **Recurring** tab next to **Charges** — that’s where existing recurring rules live. Open one to **pause**, **resume**, or **delete** it, or to change its day of month and end date.
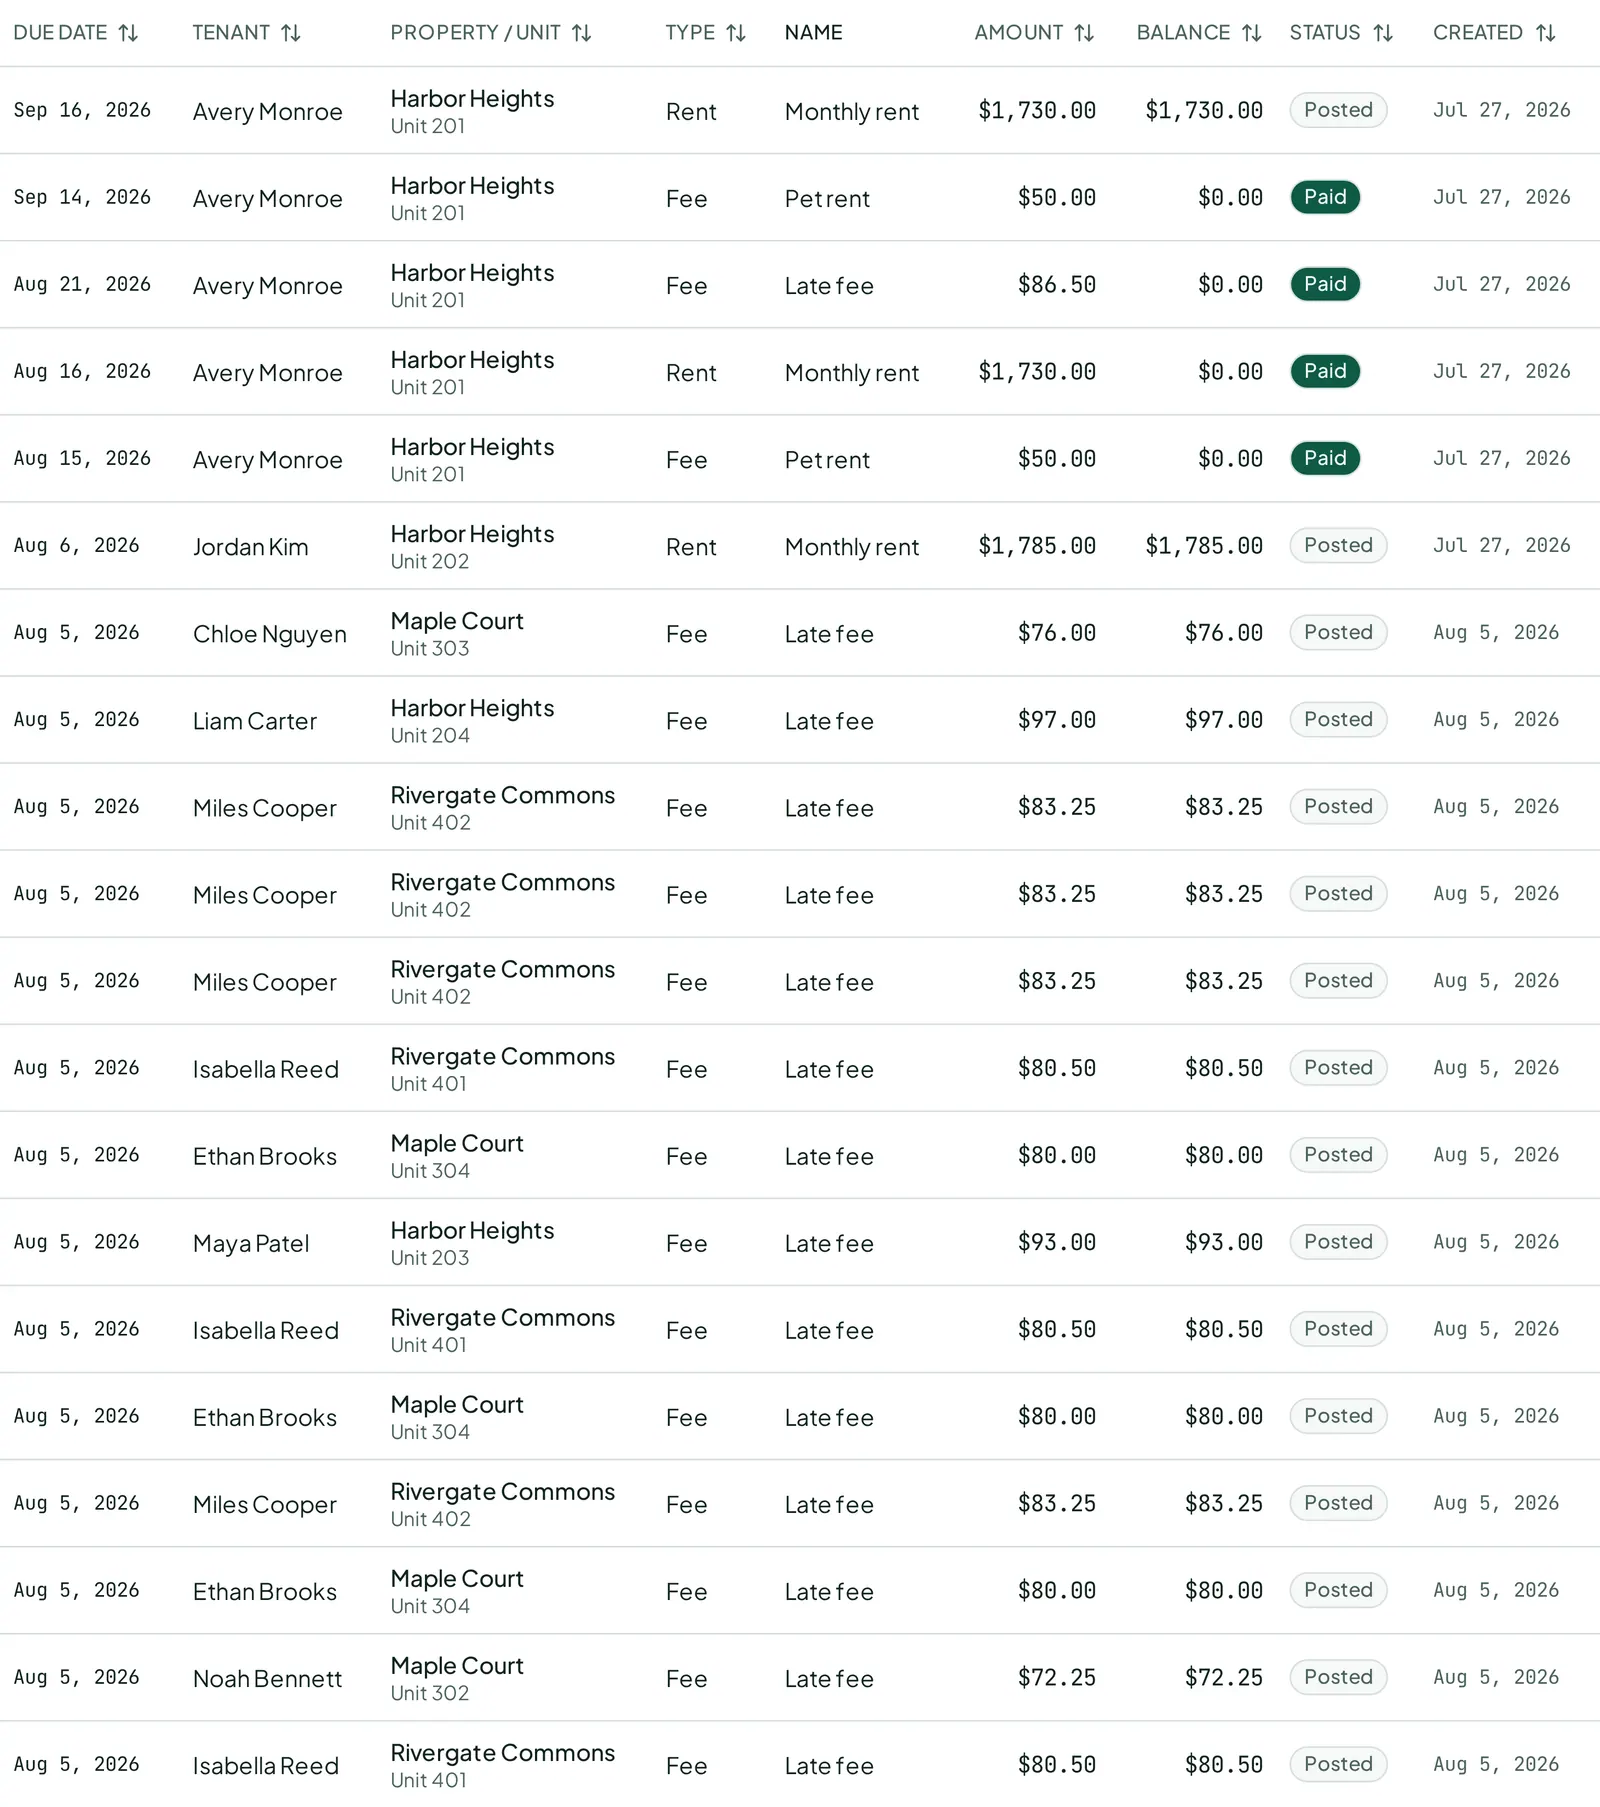
Note
A lease’s own rent charge shows up here too, but it’s read-only — a note on the page points you to **Open lease**, since rent amount and billing day are controlled by the lease itself, not edited from this screen.
## 3. Record a payment
[Section titled “3. Record a payment”](#3-record-a-payment)
Go to **Accounting > Charge Payments** and click **Record payment**. Fill in:
* **Tenant**
* **Lease** (optional)
* **Amount**
* **Method** — ACH, Card, Cash, Check, or Other (**Check #** appears if you pick Check)
* **Received Date**
* **Associated Charge** (optional) — pick one of the tenant’s outstanding charges and the amount auto-fills to what’s owed, fully settling it. Leave this as **“Leave payment unallocated”** to record the money now and sort out the allocation later.
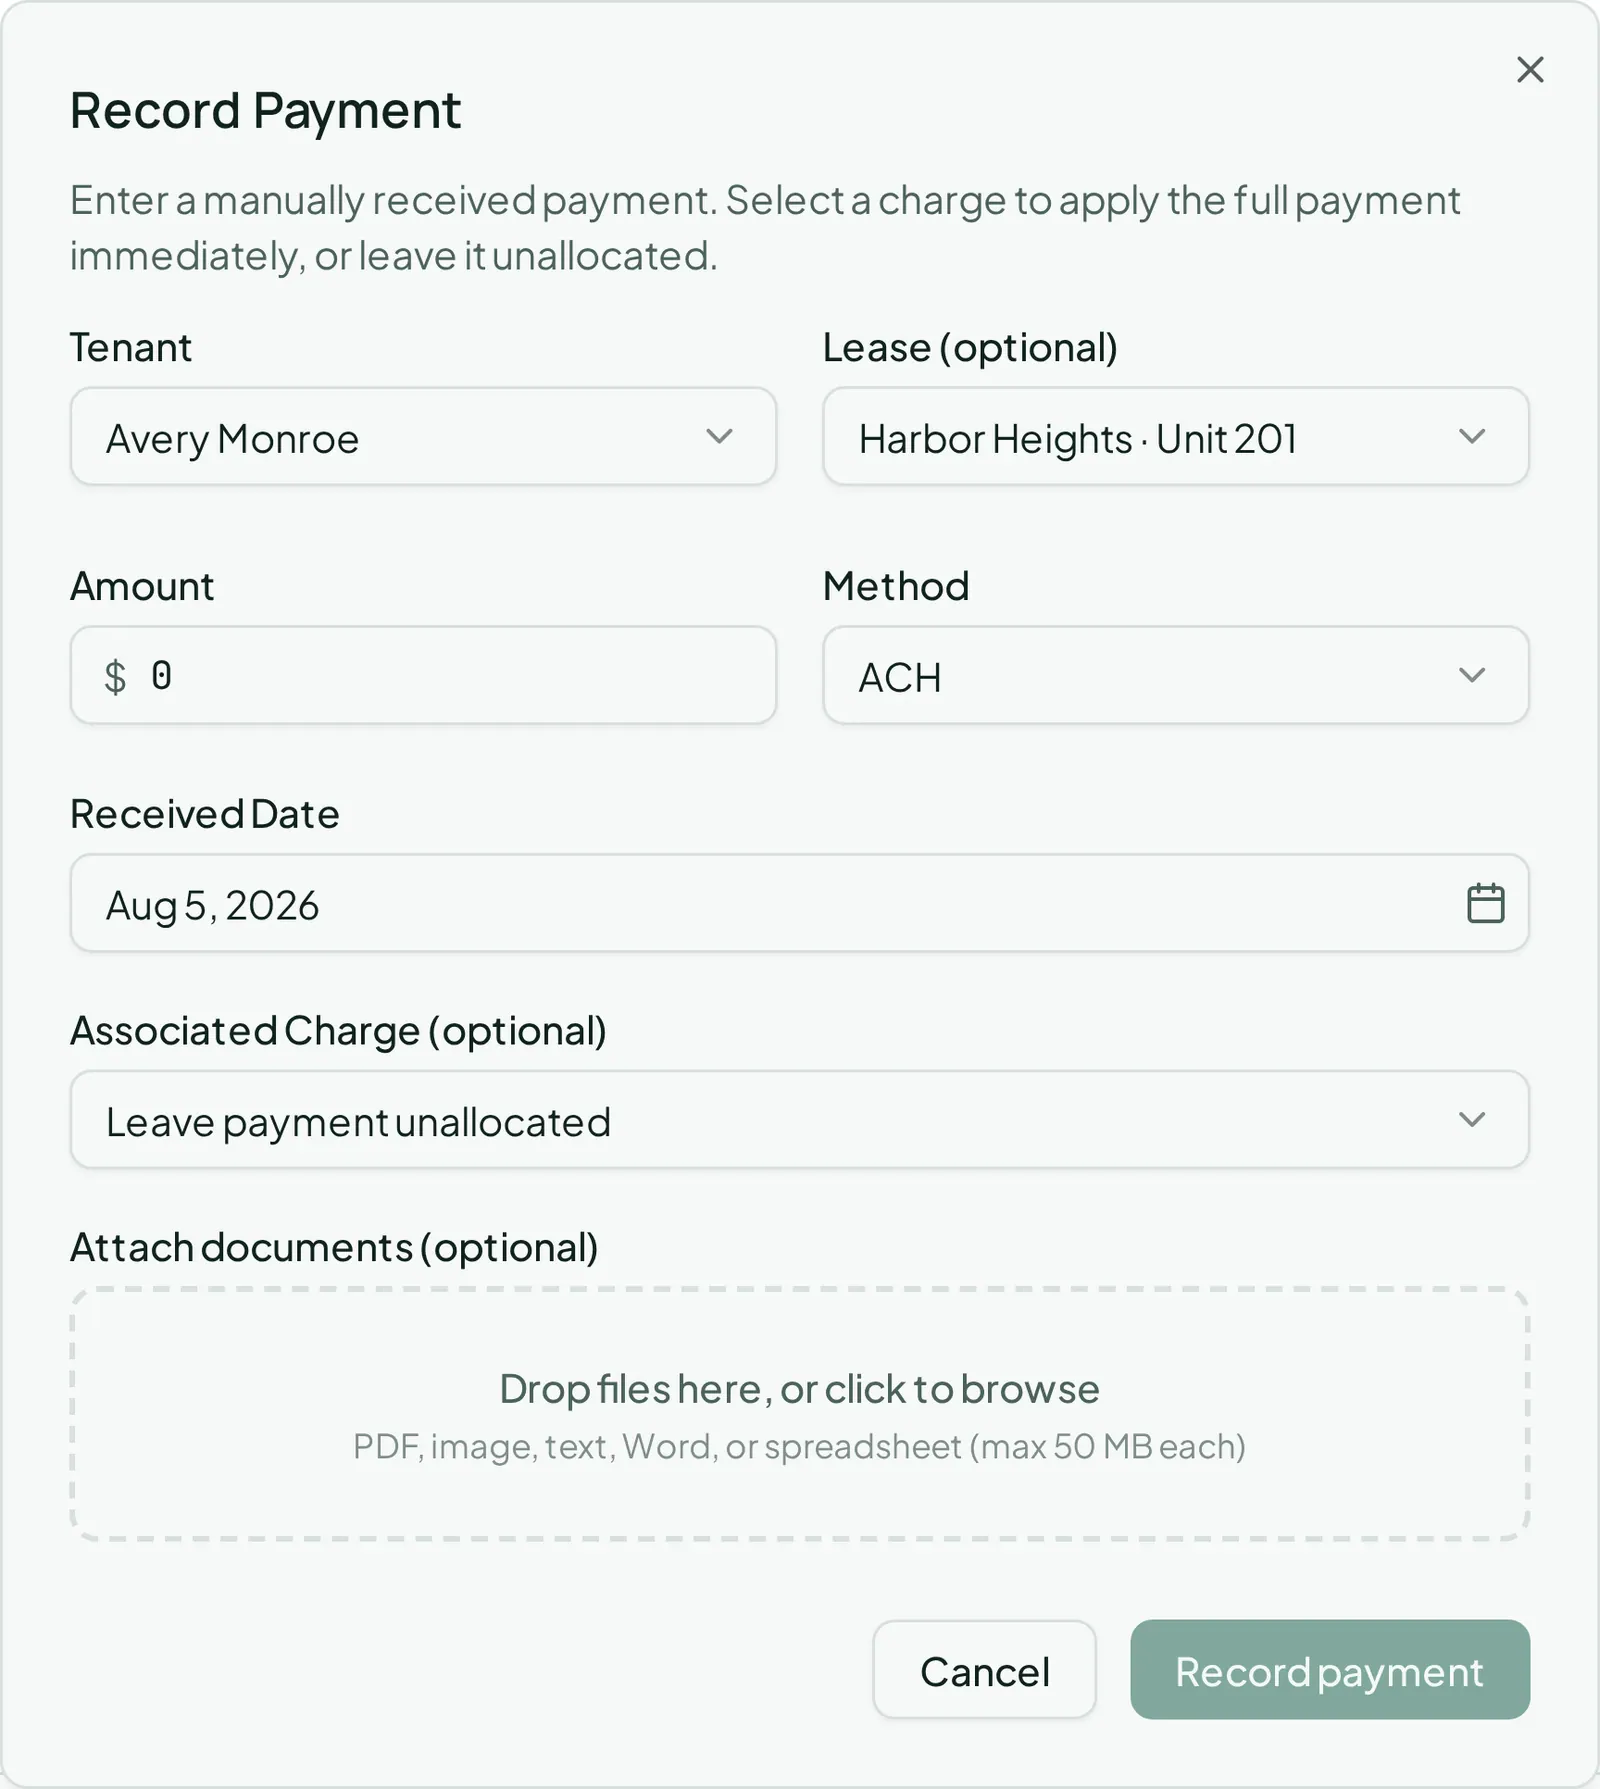
Caution
If the amount you enter is more than the selected charge’s remaining balance, an inline warning appears and the button stays disabled until you fix it.
## 4. Split a payment across multiple charges, or fix a mistake
[Section titled “4. Split a payment across multiple charges, or fix a mistake”](#4-split-a-payment-across-multiple-charges-or-fix-a-mistake)
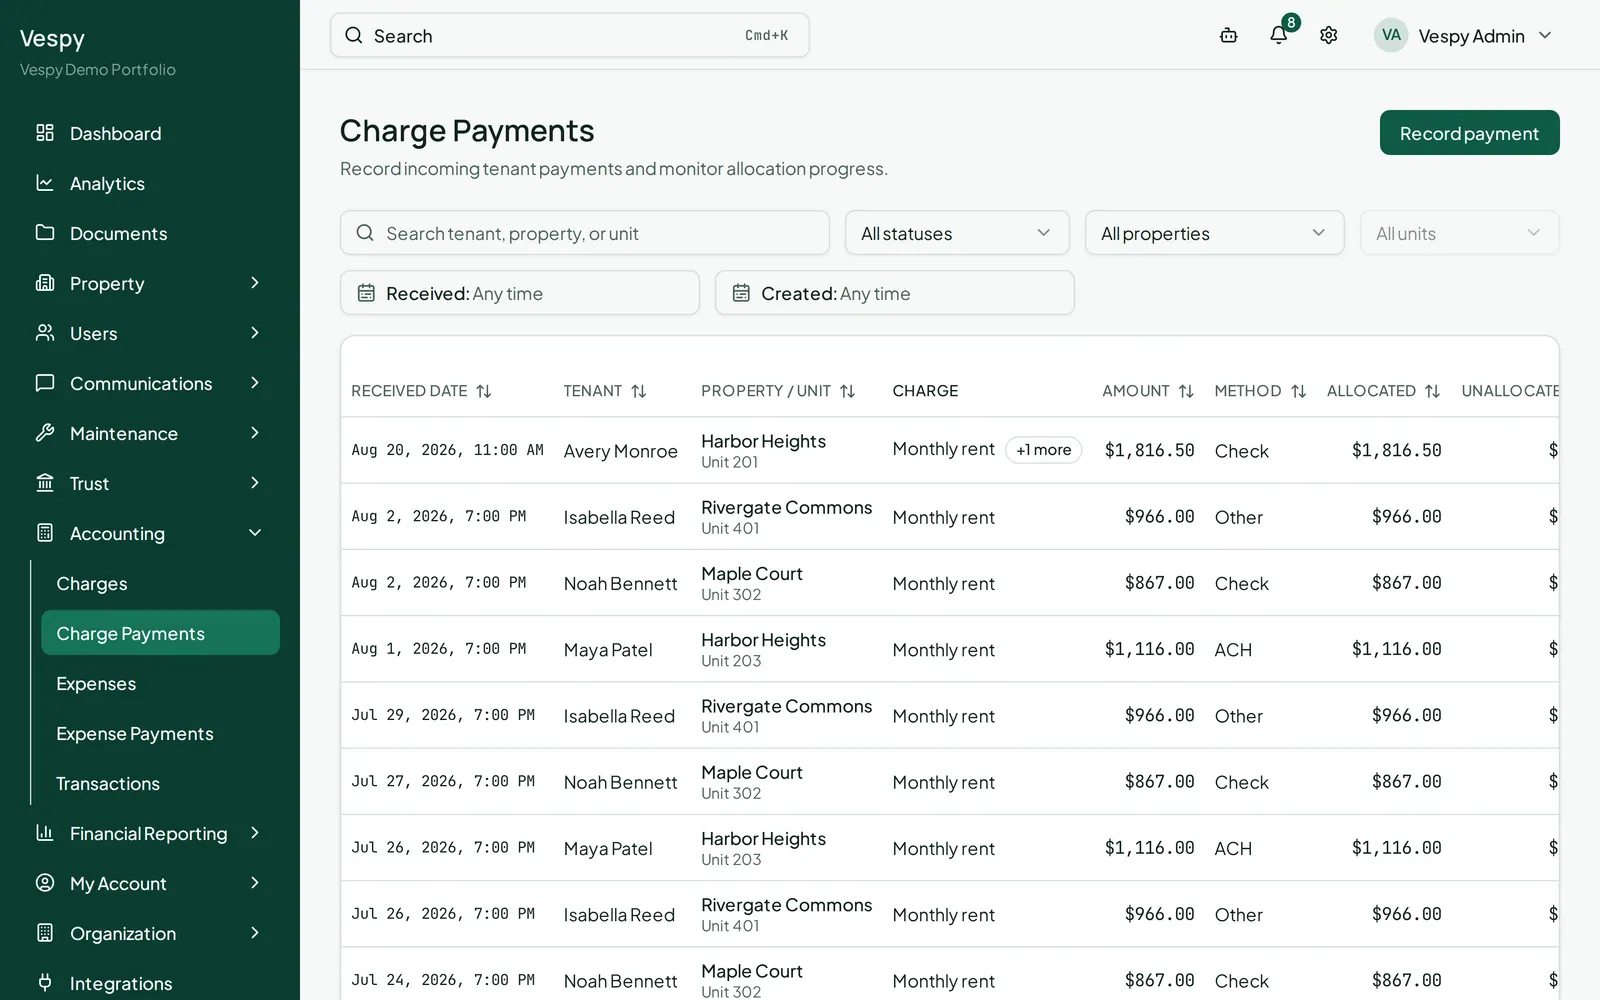
Open the payment from the Charge Payments list to reach its detail page:
* **Allocate payment** — for money you left unallocated, split it across several outstanding charges with a dollar amount per charge.
* Each existing allocation has its own **Edit** (change the amount) and **Remove** buttons.
* **Reverse payment** undoes it entirely — but only while it has zero allocations.
* If the payment is still **pending** (a check that hasn’t cleared, for example), an admin sees **Mark received** / **Mark failed** buttons here.
## Afterwards
[Section titled “Afterwards”](#afterwards)
* [Handling a security deposit](/workflows/handling-security-deposits/) — deposits are tracked separately from this ledger.
* Tenants paying through their own portal login create these same payment records automatically — see [Inviting a tenant to the portal](/workflows/inviting-a-tenant-to-the-portal/).
# Bulk-importing your portfolio data via CSV
> Upload a spreadsheet of properties, tenants, leases, or other records, map its columns, and fix errors before importing.
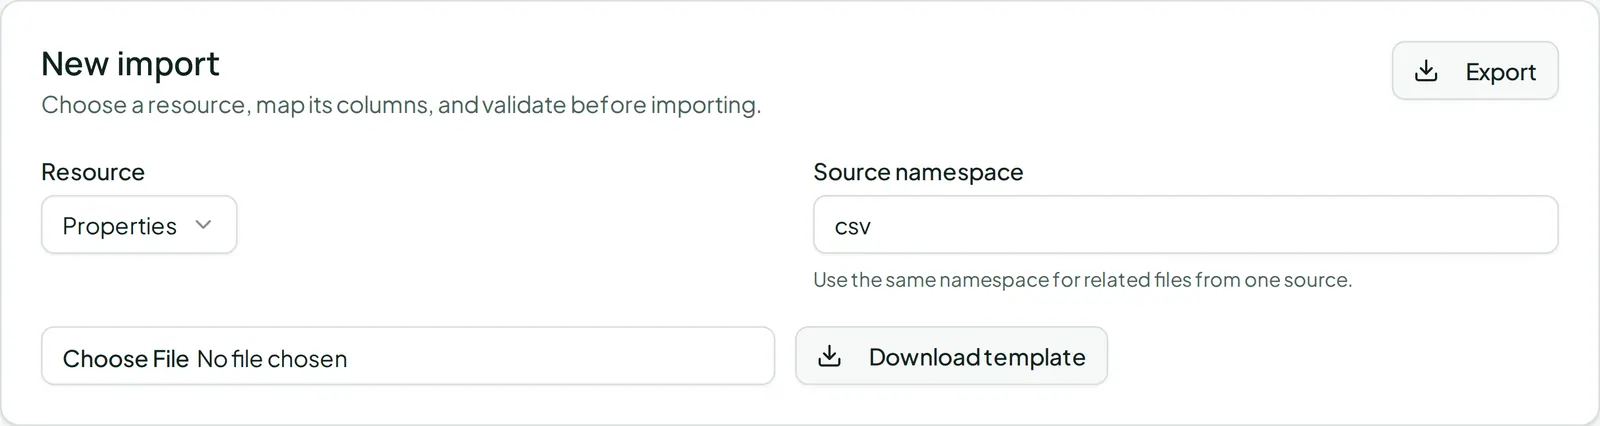
Go to **Organization > Imports** to bring in data in bulk rather than creating records one at a time.
## 1. Pick what you’re importing
[Section titled “1. Pick what you’re importing”](#1-pick-what-youre-importing)
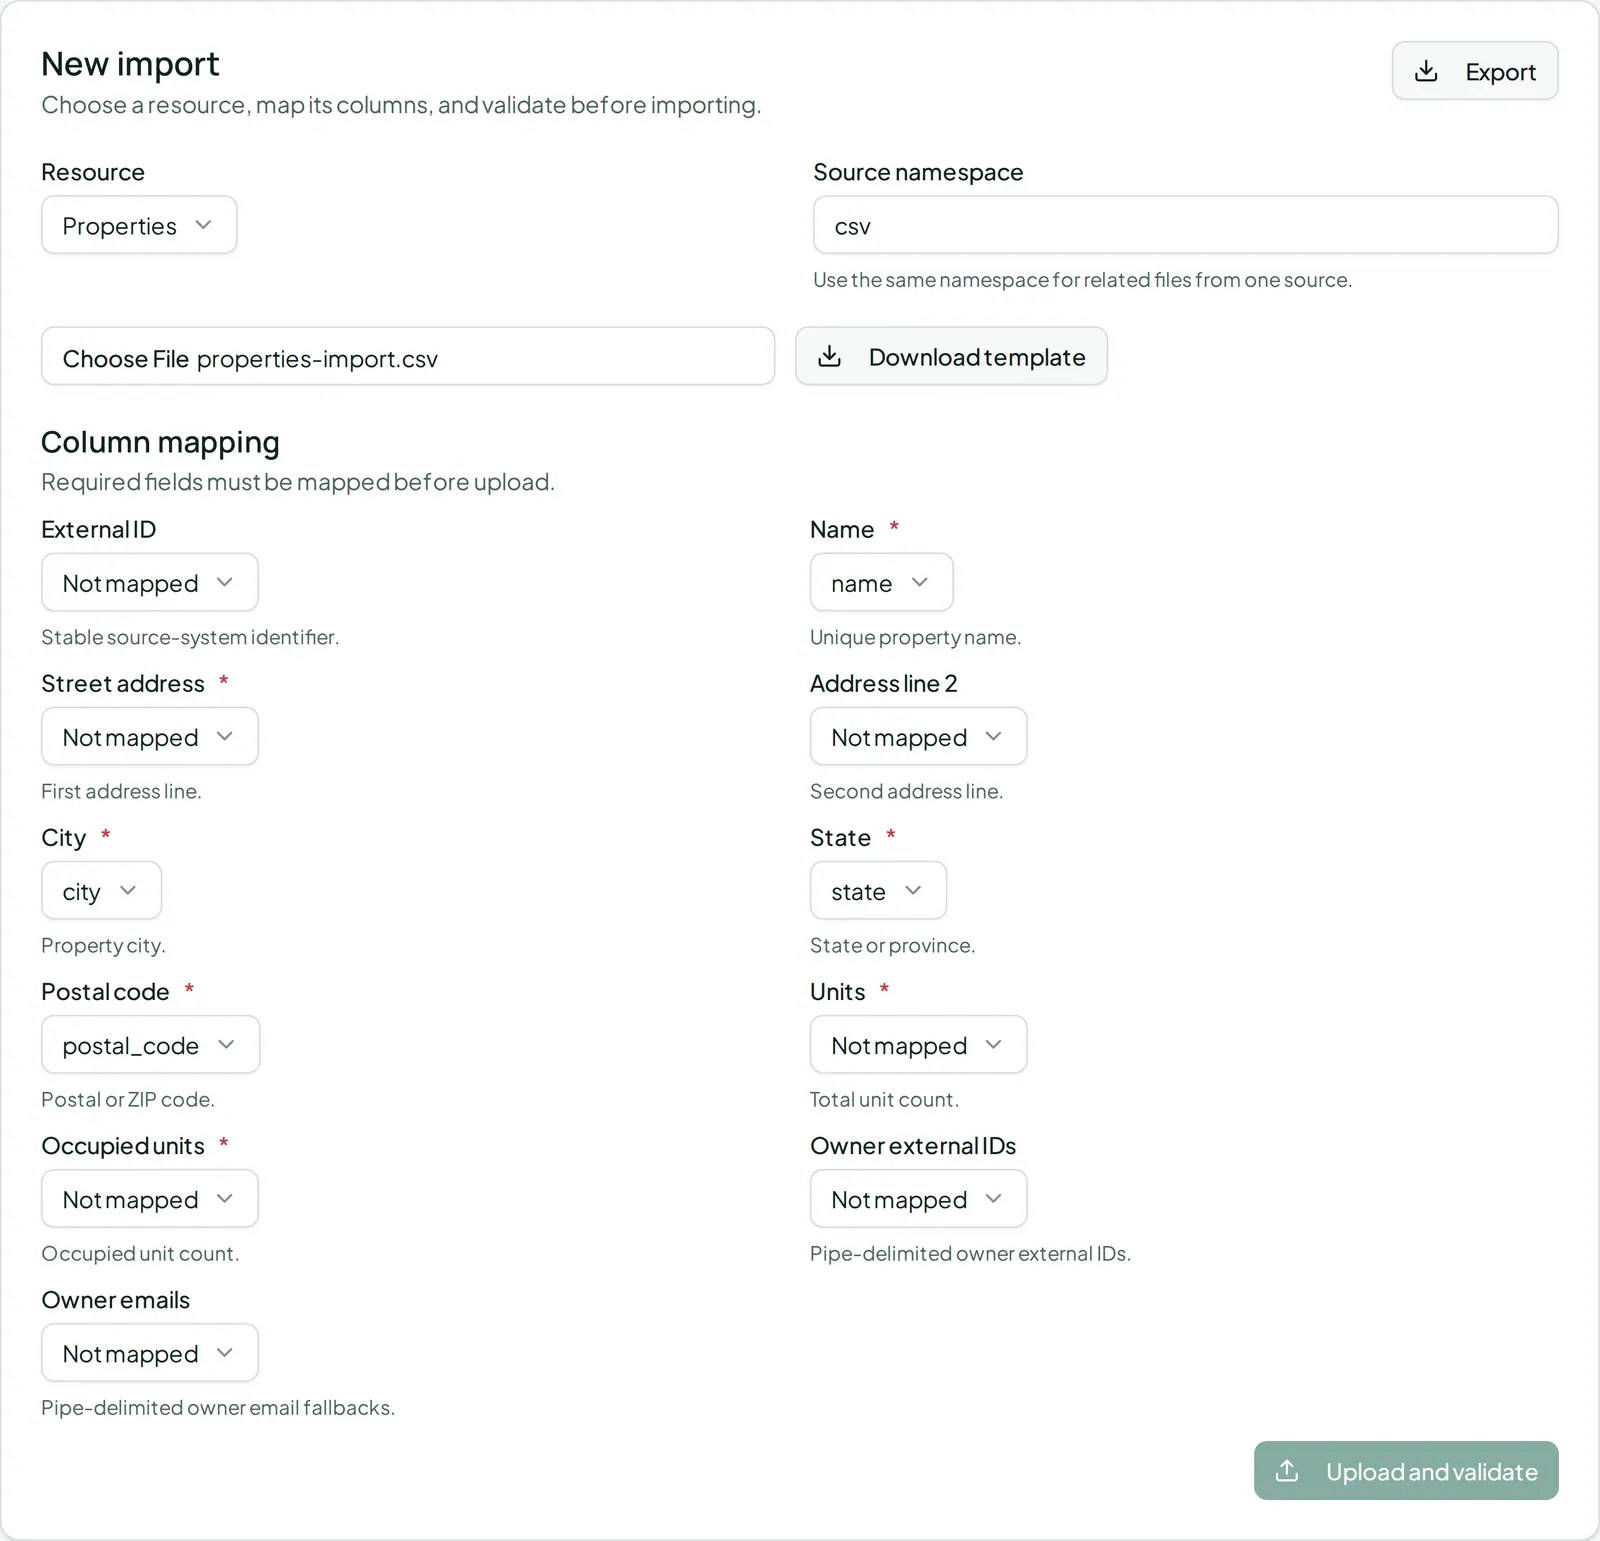
On the **Single CSV** tab, choose a resource type — property, unit, tenant, lease, and so on. Click **Download template** if you want a starting spreadsheet with the right columns already in place.
## 2. Upload and map columns
[Section titled “2. Upload and map columns”](#2-upload-and-map-columns)
Upload your CSV. Vespy tries to auto-map your columns to the right fields; review the mapping and adjust any dropdown that guessed wrong. Fields marked with `*` are required.
## 3. Validate before you commit
[Section titled “3. Validate before you commit”](#3-validate-before-you-commit)
Click **Upload and validate**. You’ll get a preview breaking down how many rows will be **created**, **updated**, left **unchanged**, merged as **duplicates**, or **failed** — nothing is imported yet at this point. If anything failed, **Download failures** gives you a CSV of just the problem rows so you can fix and re-upload them.
## 4. Start the import
[Section titled “4. Start the import”](#4-start-the-import)
Once the preview looks right, click **Start import**. The page checks in automatically every couple of seconds while it’s validating, queued, or processing, so you can watch it finish without refreshing.
## 5. Check past imports
[Section titled “5. Check past imports”](#5-check-past-imports)
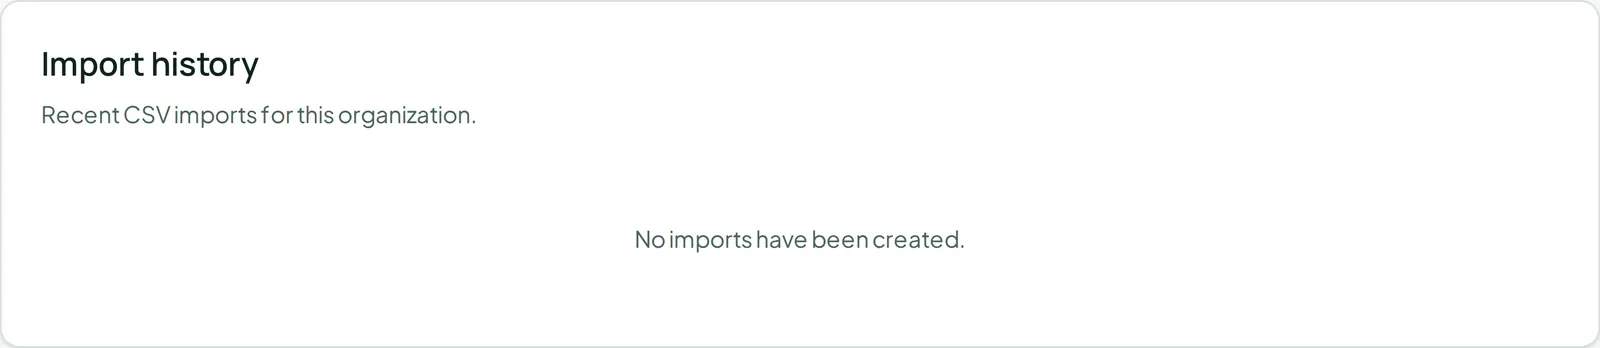
The **Import history** table lists everything you’ve imported before — click a row to reload its results if you need to double-check what happened.
Note
Bringing over an entire portfolio with relationships between properties, units, tenants, and leases all at once? The **Migration bundles** tab handles multi-file imports that resolve those relationships together, rather than importing one resource type at a time.
## Afterwards
[Section titled “Afterwards”](#afterwards)
* [Onboarding a property](/workflows/onboarding-a-property/) — the manual, one-at-a-time version of this same data.
# Chart of accounts and transaction history
> See what each account tracks and how it's posting to, then filter and export the full transaction history behind it.
Two read-only screens for digging into the numbers behind your reports.
## Chart of accounts
[Section titled “Chart of accounts”](#chart-of-accounts)
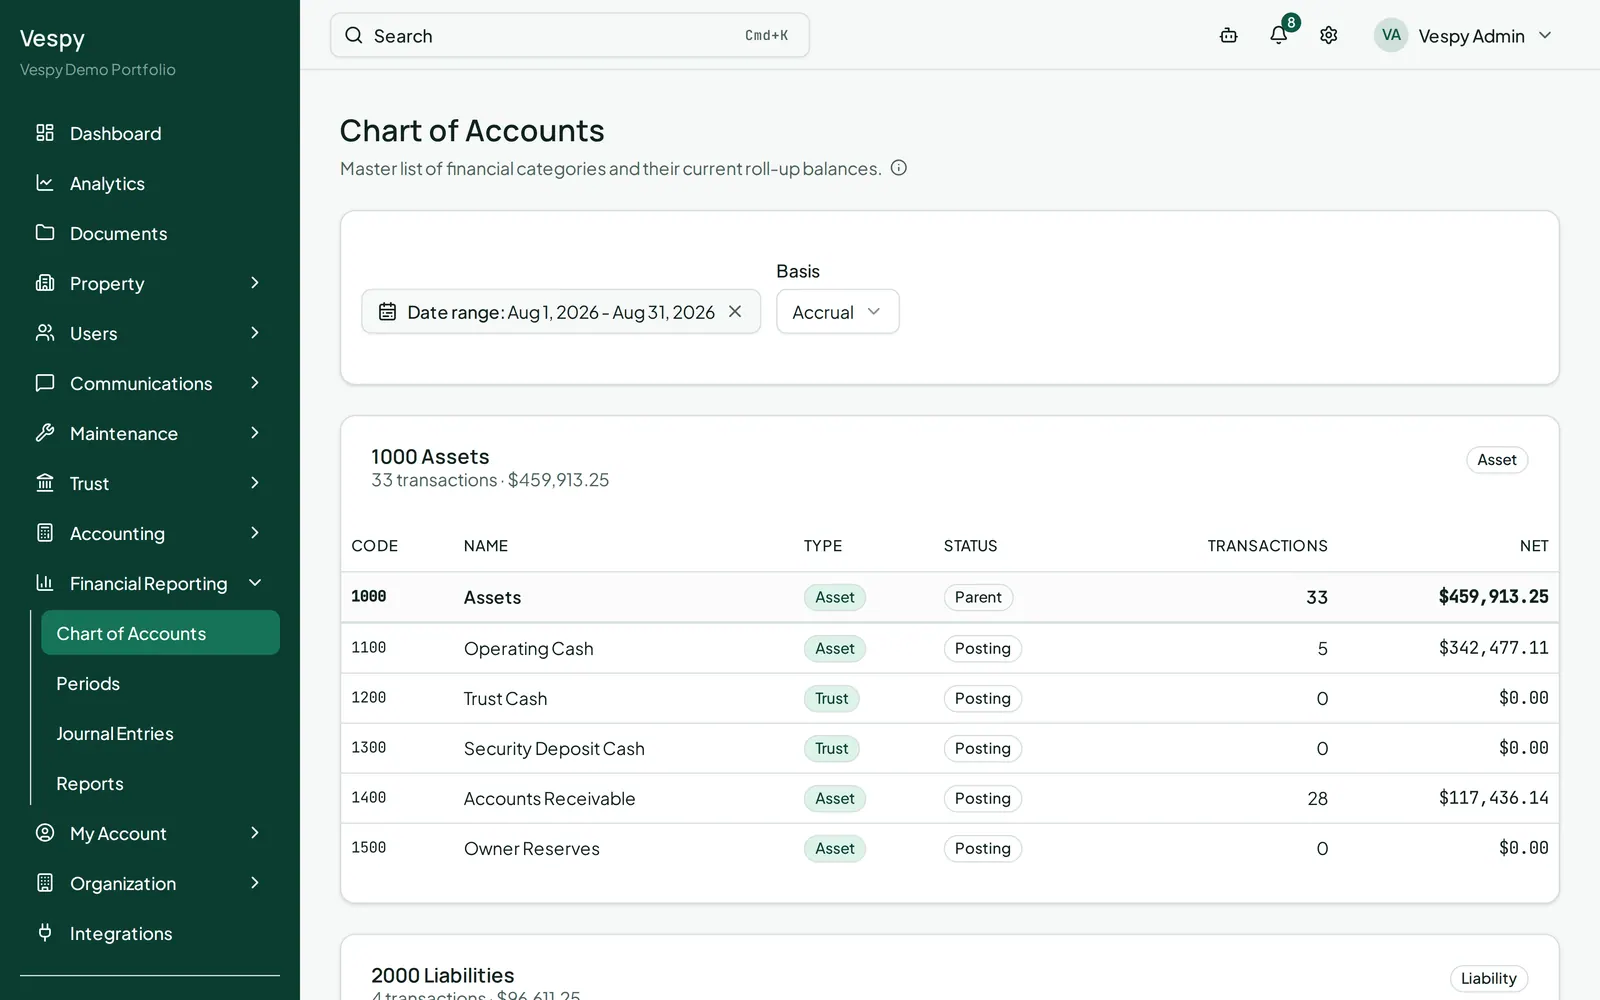
**Financial Reporting > Chart of Accounts** lists every account your organization posts to, grouped under Asset, Liability, Equity, Income, Cost of Services, Expense, and Trust. Each row shows a status (Posting, Parent, or Inactive), how many transactions have hit it, and its net amount for whatever date range and basis (Accrual/Cash) you pick.
Note
Only **Posting**-status accounts with no sub-accounts underneath them can actually receive a transaction — that’s what the status badge is telling you.
Click any account to jump straight into the General Ledger report, filtered to that account.
## Transactions
[Section titled “Transactions”](#transactions)
**Accounting > Transactions** is the unified feed of everything posted — every charge, payment, expense, and journal entry, all in one place. Filter by Accrual/Cash basis, Book type (Operating/Trust/Security Deposit), Category, Property, and date; click **More filters** for Unit, Owner, Entry type, and Reference type. Active filters show as removable chips.
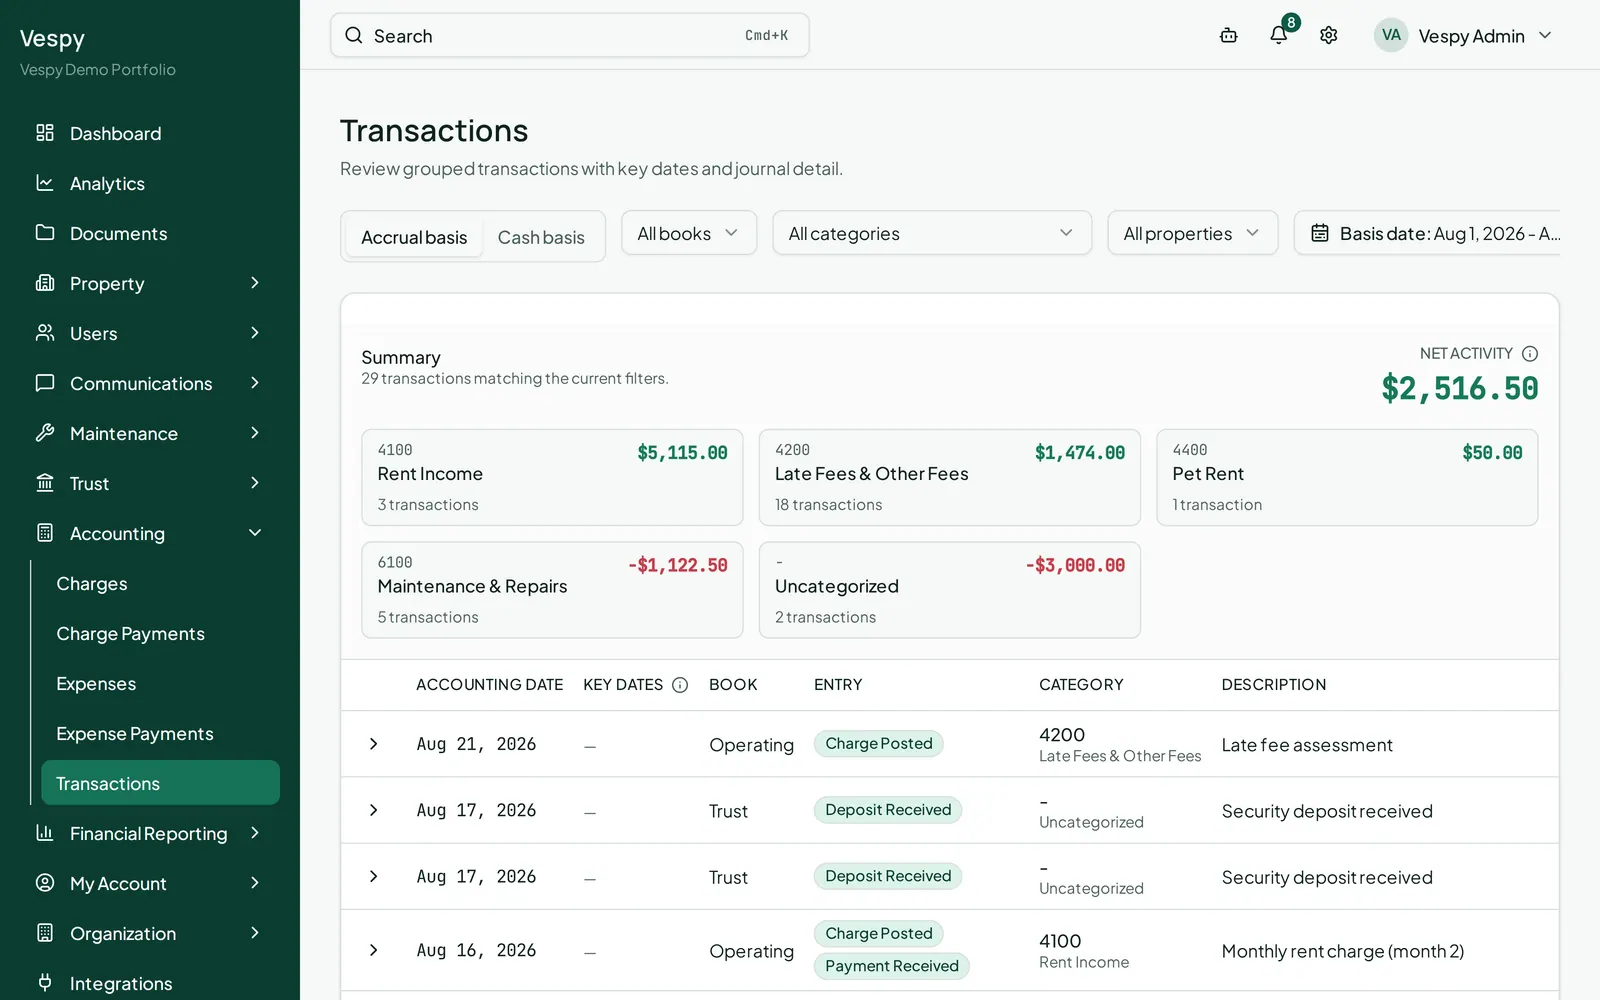
Click the expand arrow on any row to see the full, balanced entry behind it — the accounts, debits, and credits that make it up — with links from each account straight into the General Ledger. **Export CSV** downloads whatever you currently have filtered.
## Afterwards
[Section titled “Afterwards”](#afterwards)
* [Running and exporting financial reports](/workflows/running-and-exporting-financial-reports/) — the General Ledger and other statements these two screens link into.
* [Closing the books each month](/workflows/closing-the-books-each-month/) — where this same activity gets locked down for a period.
# Closing the books each month
> Check for loose ends, close an accounting period, and post the odd manual journal entry.
Everything else in these guides — charges, payments, expenses, deposits — posts to your books as it happens. Closing a period is what locks a month down once you’re confident it’s accurate.
## 1. Find the period
[Section titled “1. Find the period”](#1-find-the-period)
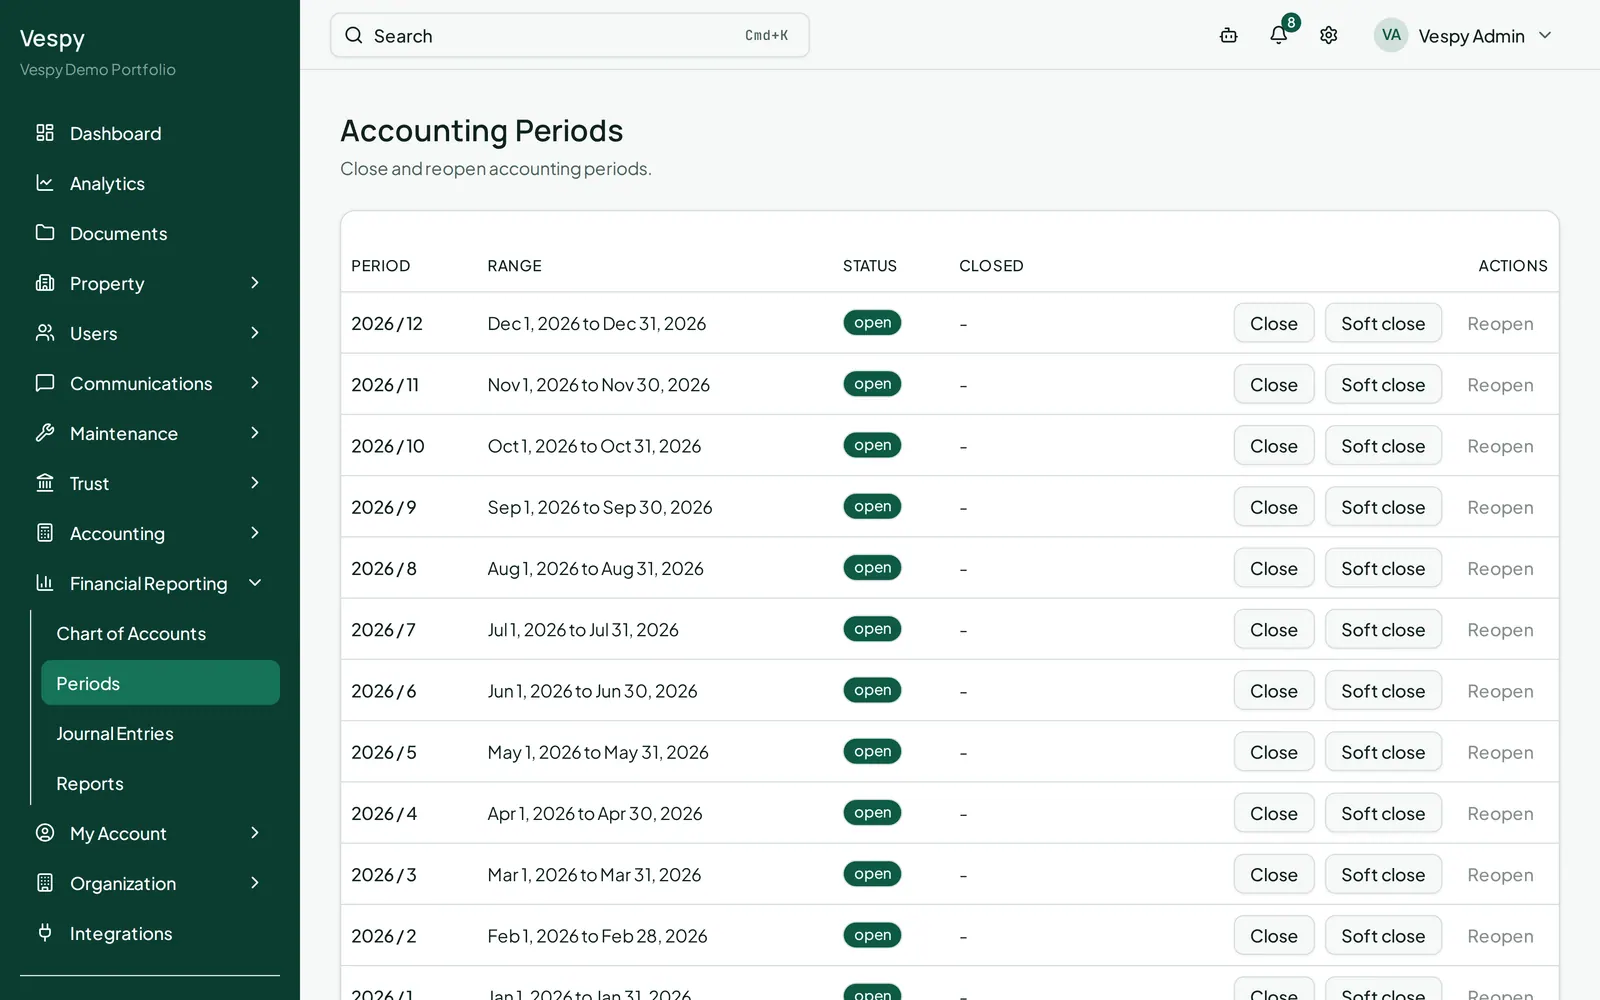
Go to **Financial Reporting > Periods**. Periods are generated for you automatically, one per month — there’s nothing to create here, just periods waiting to be reviewed and closed, each showing a status of Open, Soft Closed, Closed, or Reopened.
## 2. Close it, with a safety check built in
[Section titled “2. Close it, with a safety check built in”](#2-close-it-with-a-safety-check-built-in)
Click **Close** on the period you’re ready to lock. Before it lets you confirm, a dialog shows a pre-close checklist:
* Unreconciled bank items
* Pending approvals
* Draft journals
* Unapplied received payments
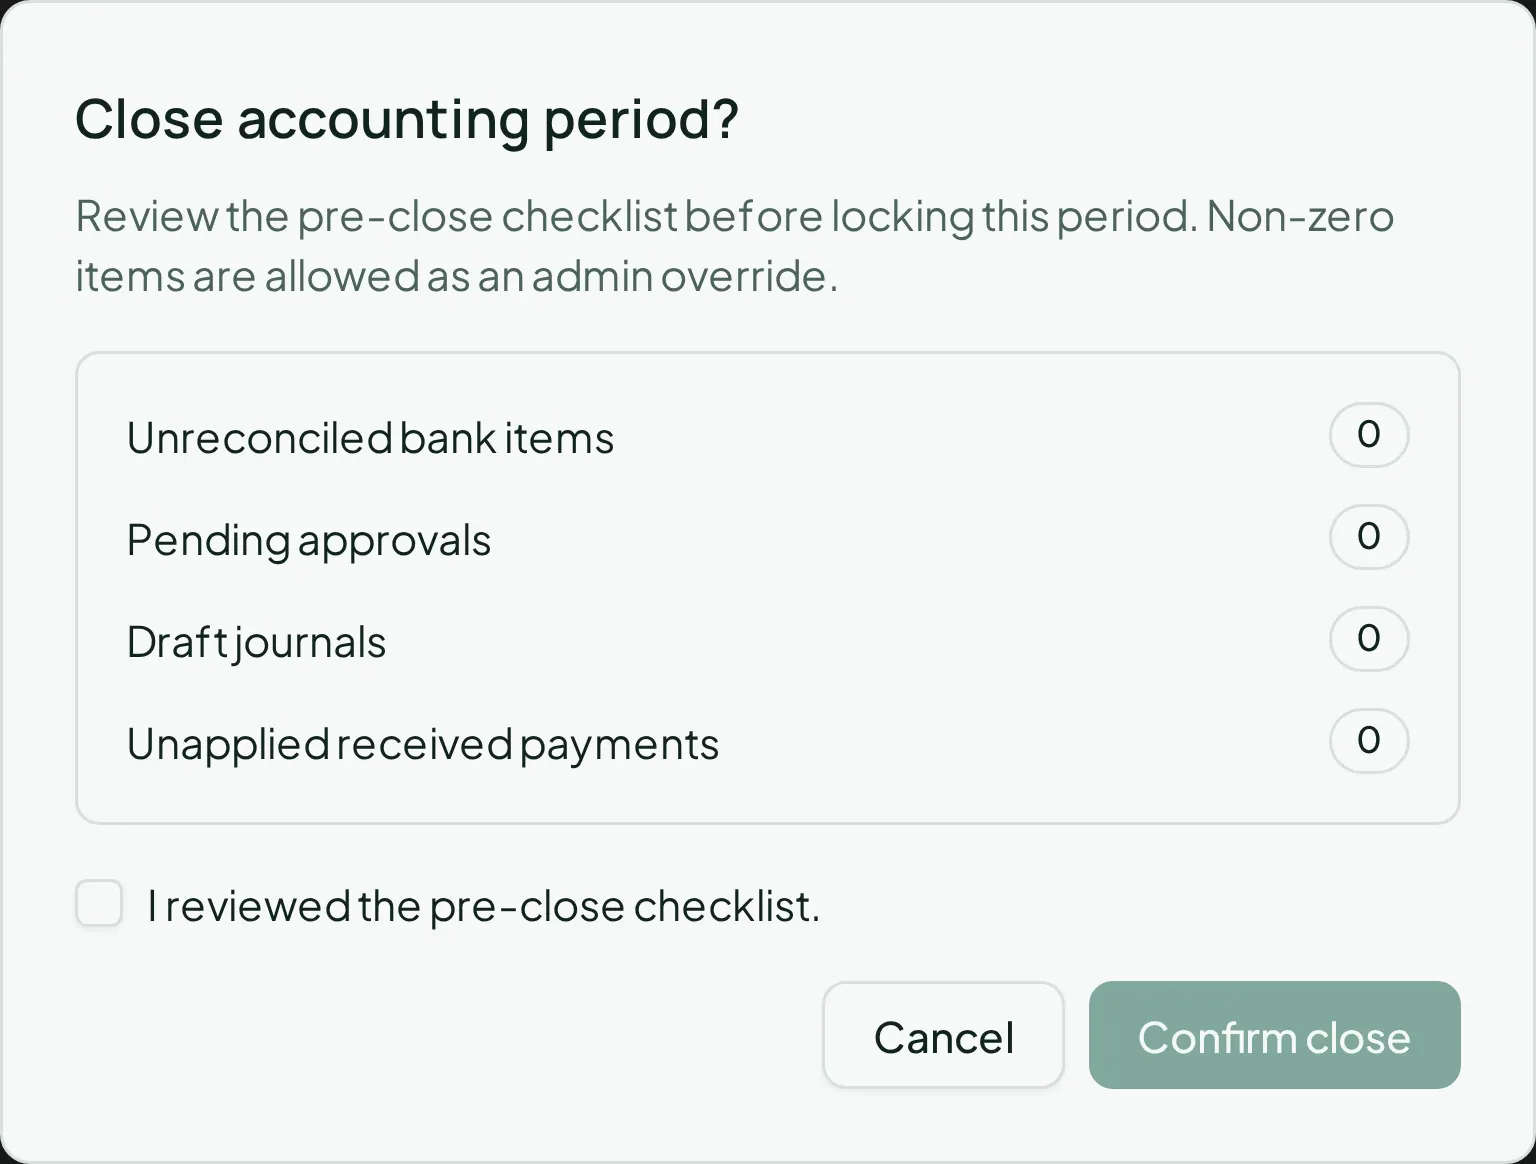
If any of these are non-zero, a warning banner calls it out — worth resolving first, but not a hard block. Check **“I reviewed the pre-close checklist”** and click **Confirm close**.
Prefer to flag a period as settling without fully locking it yet? Click **Soft close** instead — a lighter warning shot rather than the full close.
Caution
Found a mistake after closing a period? Don’t try to force a fix into it — click **Reopen**, which requires you to type a **Reason** first. Reopening a closed period should be rare enough that it’s worth being able to explain why later.
## 3. Post a manual journal entry
[Section titled “3. Post a manual journal entry”](#3-post-a-manual-journal-entry)
Almost everything posts automatically from the workflows elsewhere in these guides. A manual entry is for the rare case that doesn’t — an owner contribution, a correction between accounts. Go to **Financial Reporting > Journal Entries**:
* **Memo**, **Date**
* A line for each side of the entry — an account, and either a **debit** or a **credit** amount (never both), plus an optional description per line. Click **Add line** for more than two.
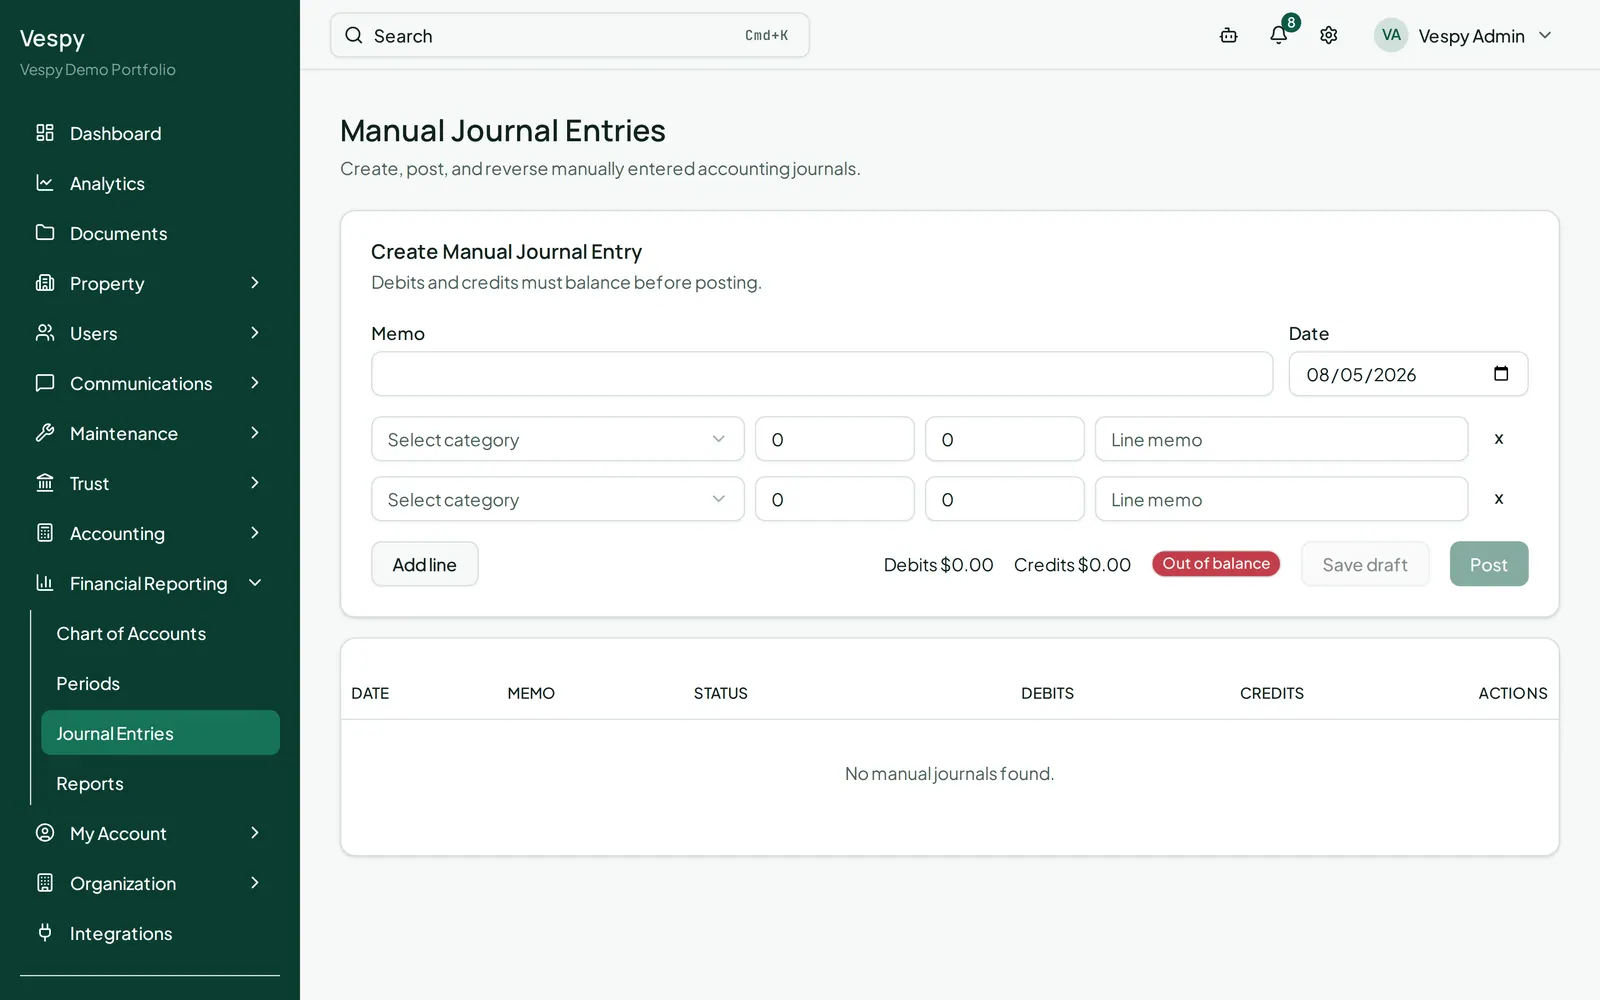
A running **Balanced** / **Out of balance** badge shows whether your debits and credits match — they have to, before you can post. Click **Save draft** to hold it for review, or **Post** to post it immediately.
Existing entries can be **Posted** later if saved as a draft, or **Reversed** if already posted (which creates an offsetting entry rather than deleting the original — you’ll be asked for a reversal date).
## 4. Check that everything balances
[Section titled “4. Check that everything balances”](#4-check-that-everything-balances)
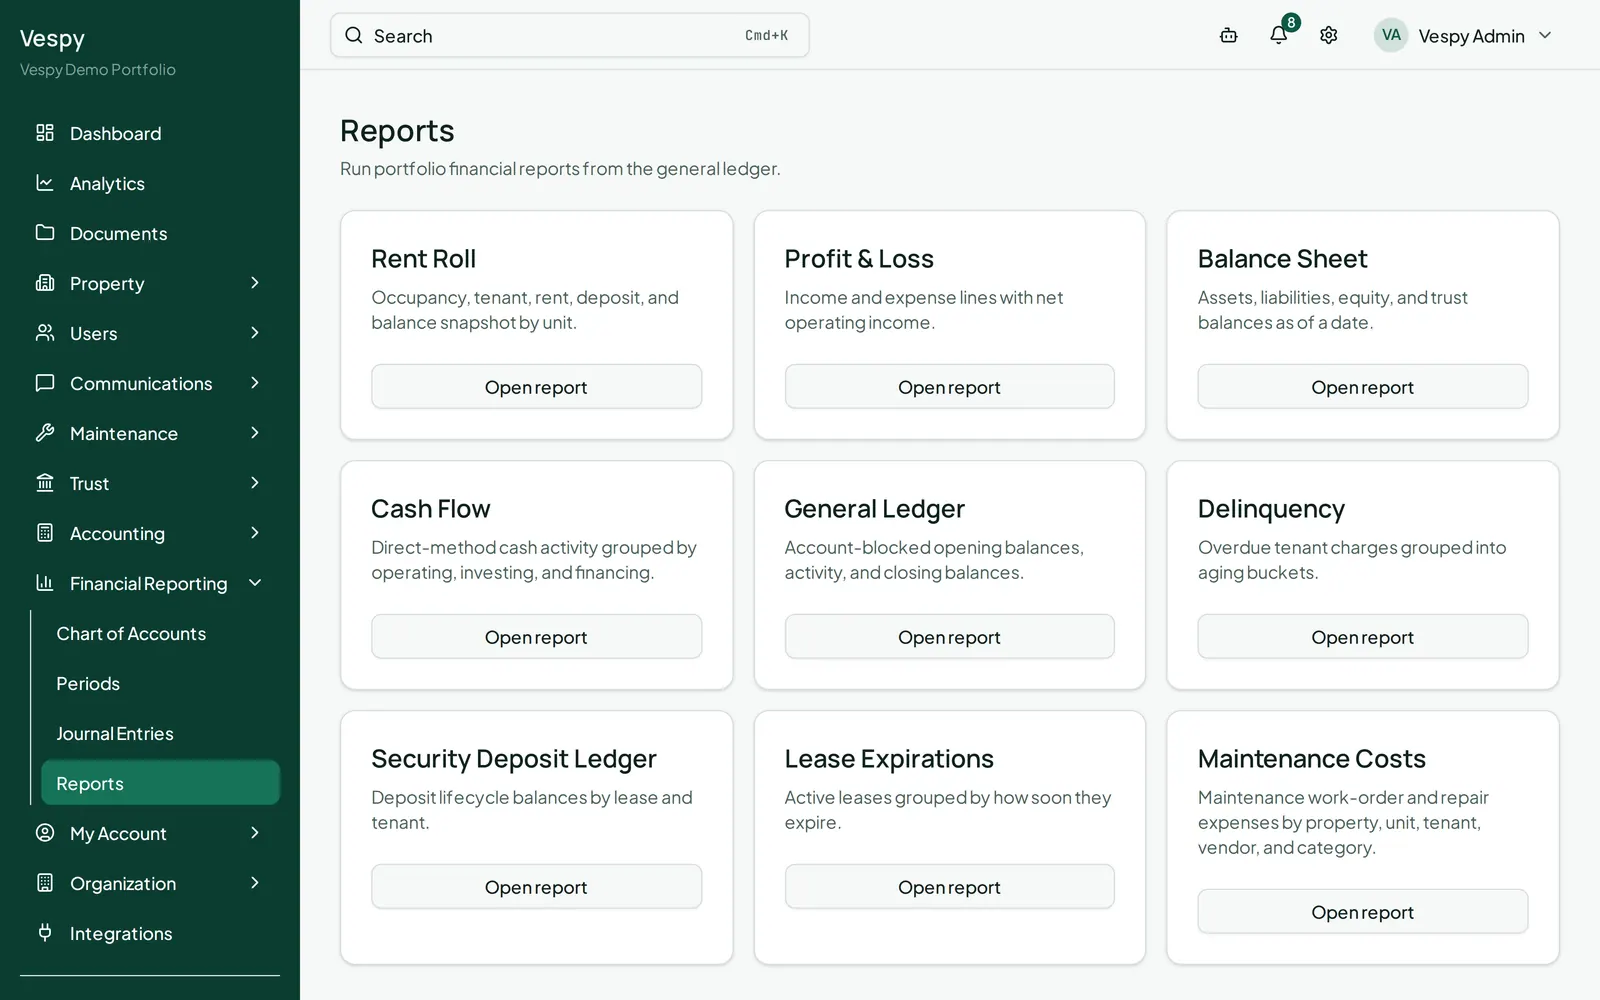
For a full financial picture rather than a single period, use:
* **Financial Reporting > Reports** — Rent Roll, Profit & Loss, Balance Sheet, Cash Flow, General Ledger, and more
* **Financial Reporting > Chart of Accounts** — every account your organization posts to
* **Accounting > Transactions** — a unified view of everything that’s happened
## Afterwards
[Section titled “Afterwards”](#afterwards)
* [Handling a security deposit](/workflows/handling-security-deposits/) — trust reconciliation feeds directly into the pre-close checks above.
# Configuring organization settings
> Your organization's profile, sender email, tenant rent reminders, connecting Stripe for rent, and your own Vespy subscription.
Everything here lives under **Organization** in the left sidebar, and (aside from General) is admin-only to change.
## General
[Section titled “General”](#general)
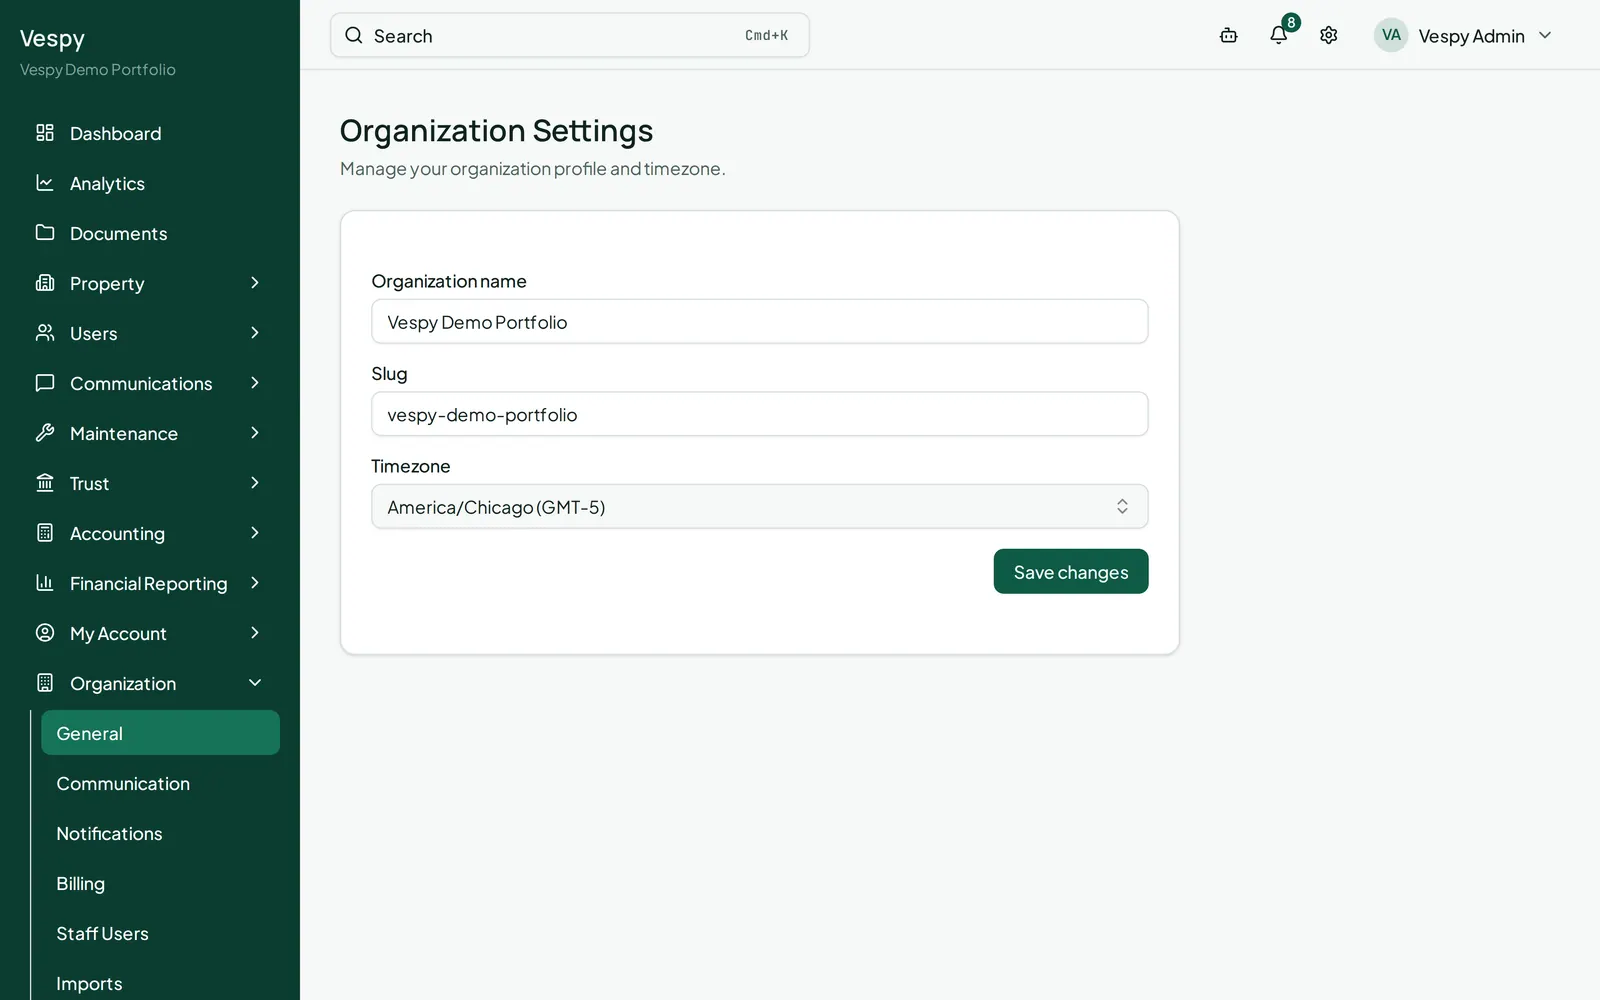
**Organization > General** — your organization’s **Name**, **Slug**, and **Timezone**. Staff and managers see this read-only; only an admin can save changes.
## Communication
[Section titled “Communication”](#communication)
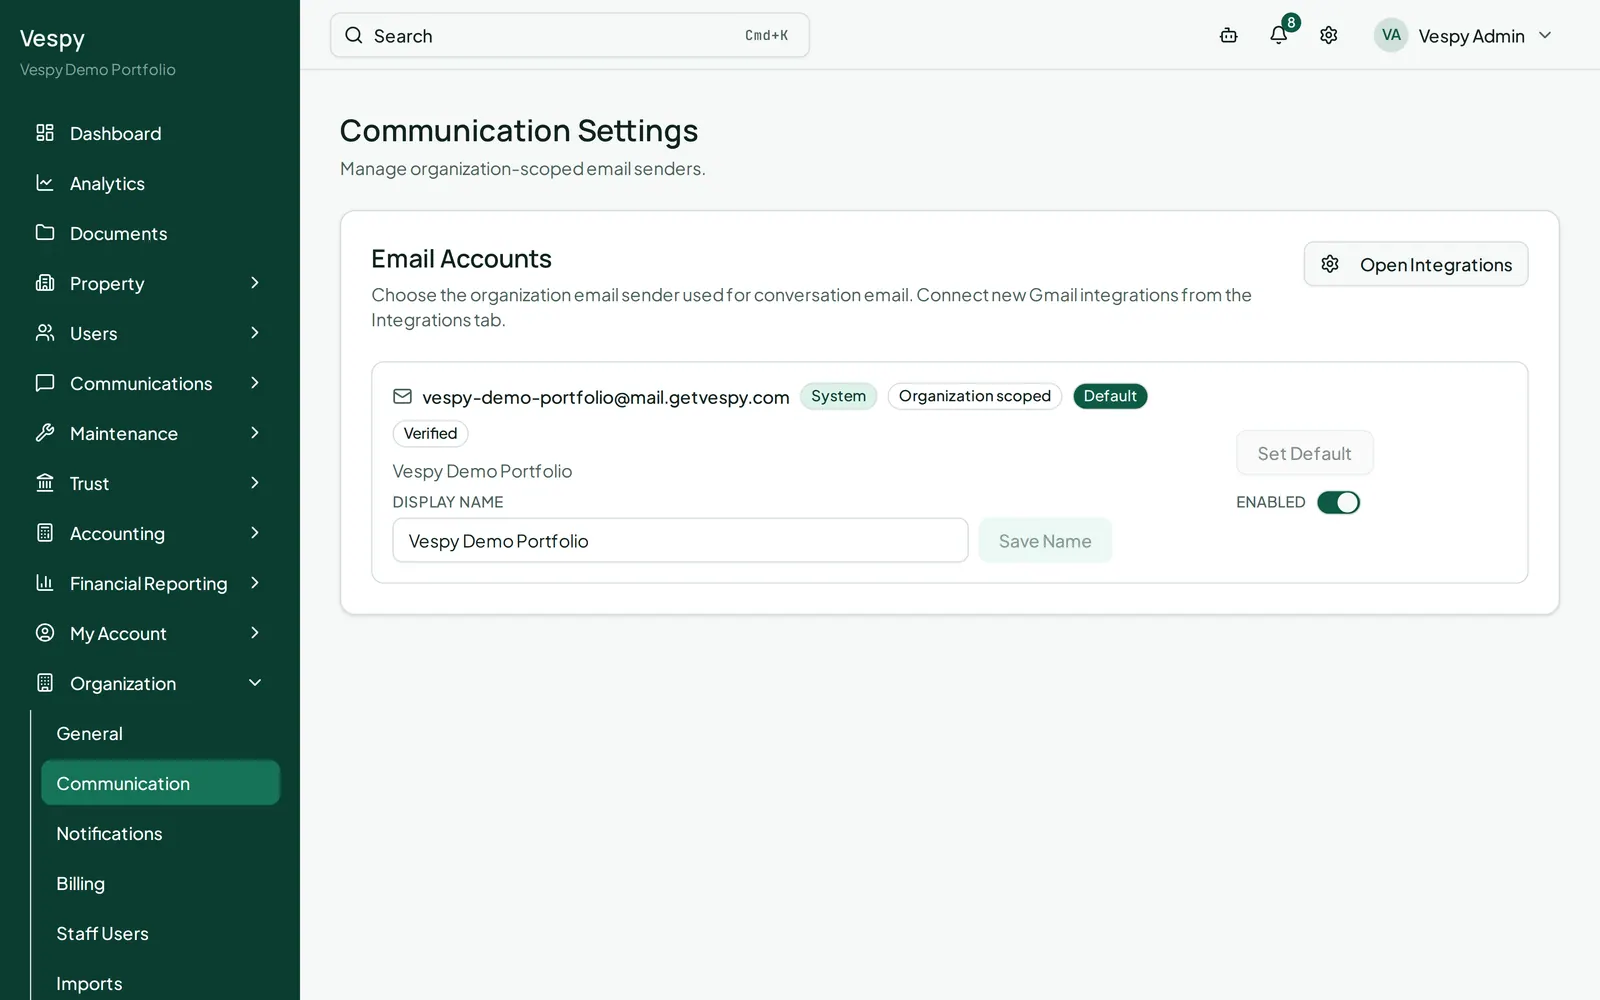
**Organization > Communication** — manages the email accounts your organization sends from when messaging tenants and vendors. Each account shows its address, a provider badge (System or Gmail), and Default/Verified status. You can edit an account’s **Display name**, **Set Default**, and toggle it **Enabled/Disabled**.
Note
This page only manages accounts you’ve already connected. To connect a new Gmail account, go to **Integrations** instead — see [Connecting Gmail](/workflows/integrations/connecting-gmail/).
## Notifications
[Section titled “Notifications”](#notifications)
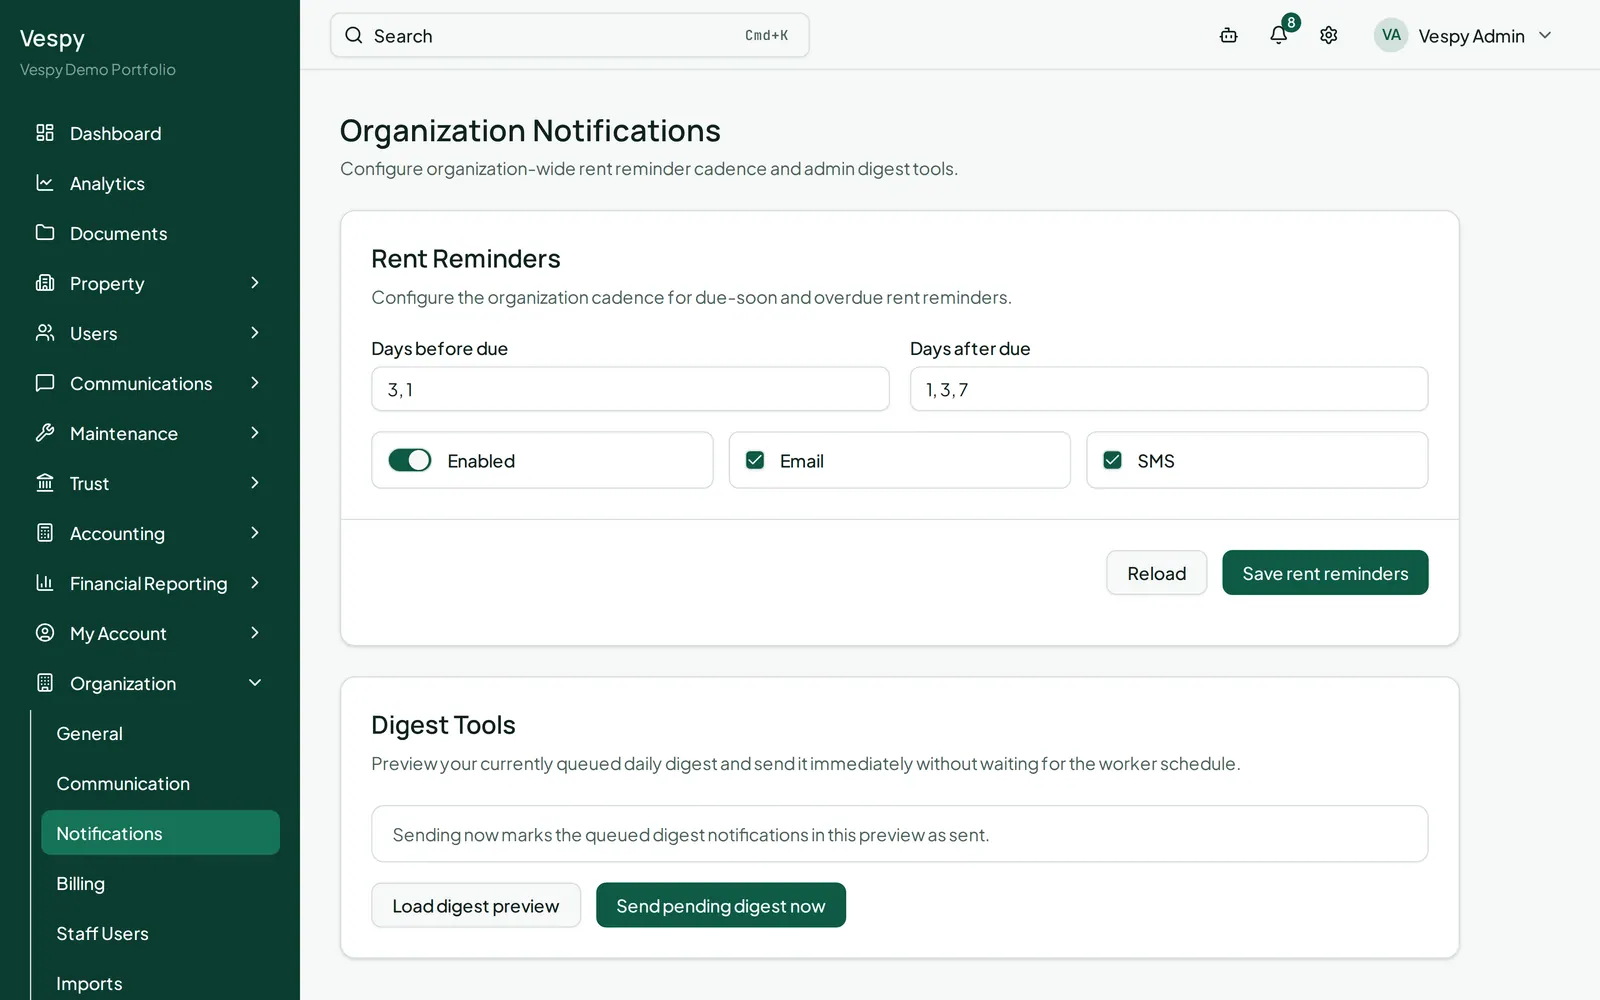
**Organization > Notifications** — two things here:
* **Rent Reminders** — how many days before and after rent is due tenants get reminded, which channels (Email/SMS), and an on/off toggle.
* **Digest Tools** (admin only) — **Load digest preview** shows what the next scheduled digest email will contain, and **Send pending digest now** sends it immediately instead of waiting for the scheduled time.
## Payments
[Section titled “Payments”](#payments)
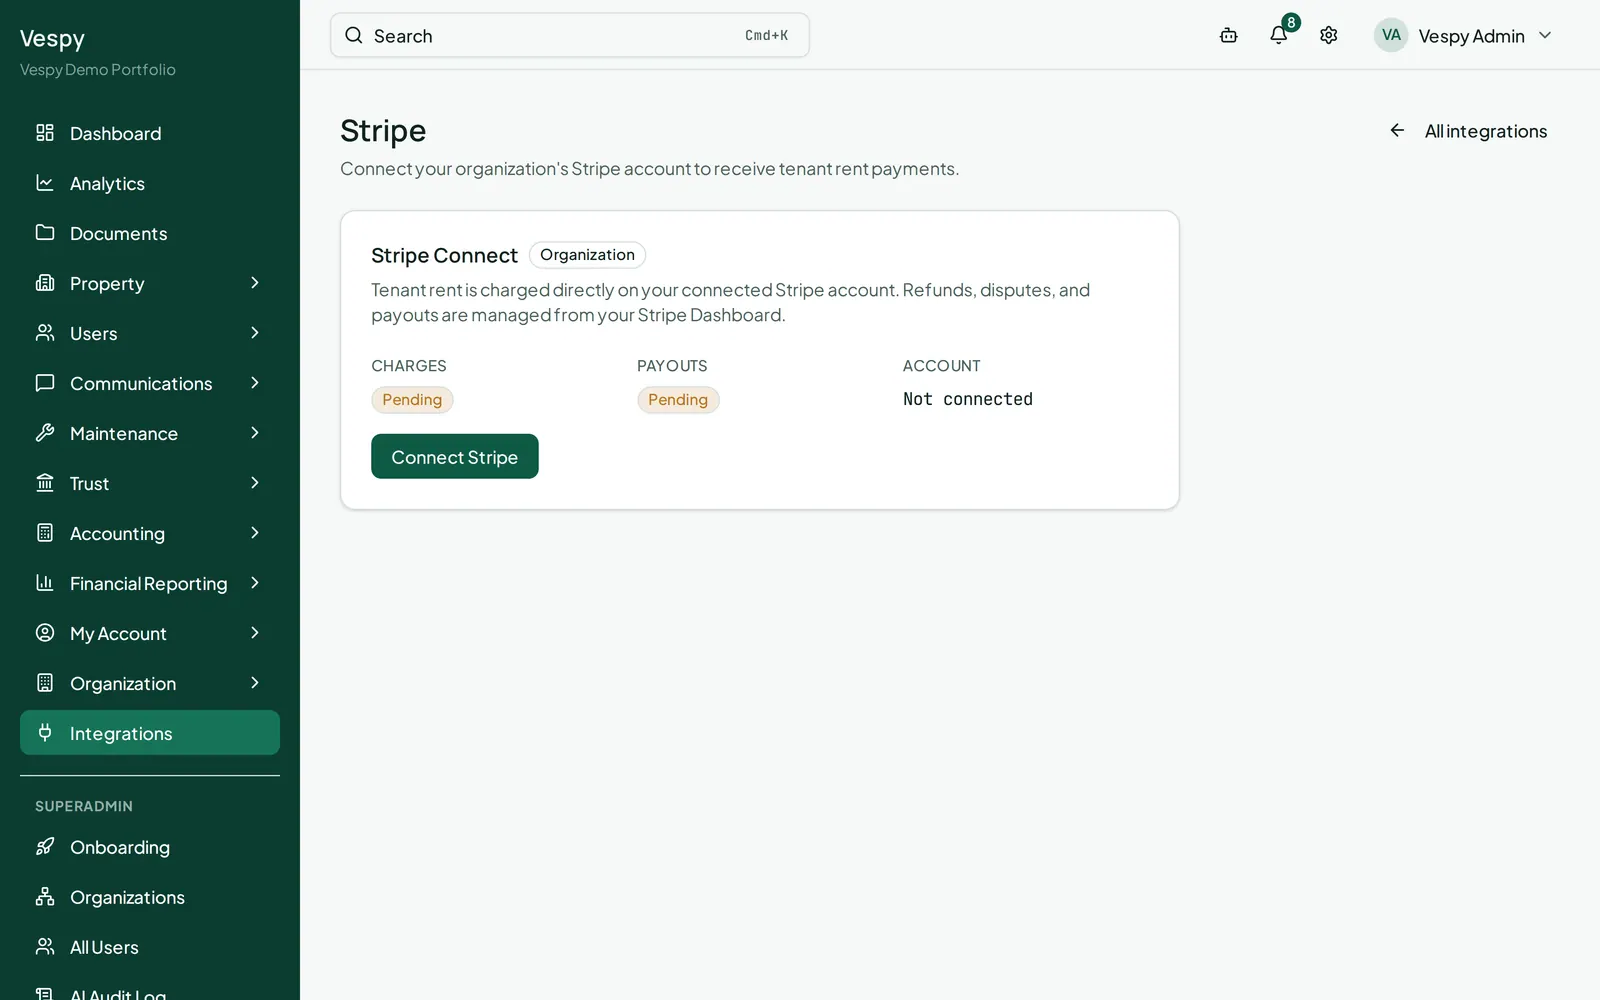
**Organization > Payments** — connects your **Stripe** account so tenants can pay rent online. Click **Connect Stripe** (or **Continue Stripe setup** if you started but didn’t finish) to go through Stripe’s hosted onboarding. The page shows whether charges and payouts are enabled once you’re set up.
## Billing
[Section titled “Billing”](#billing)
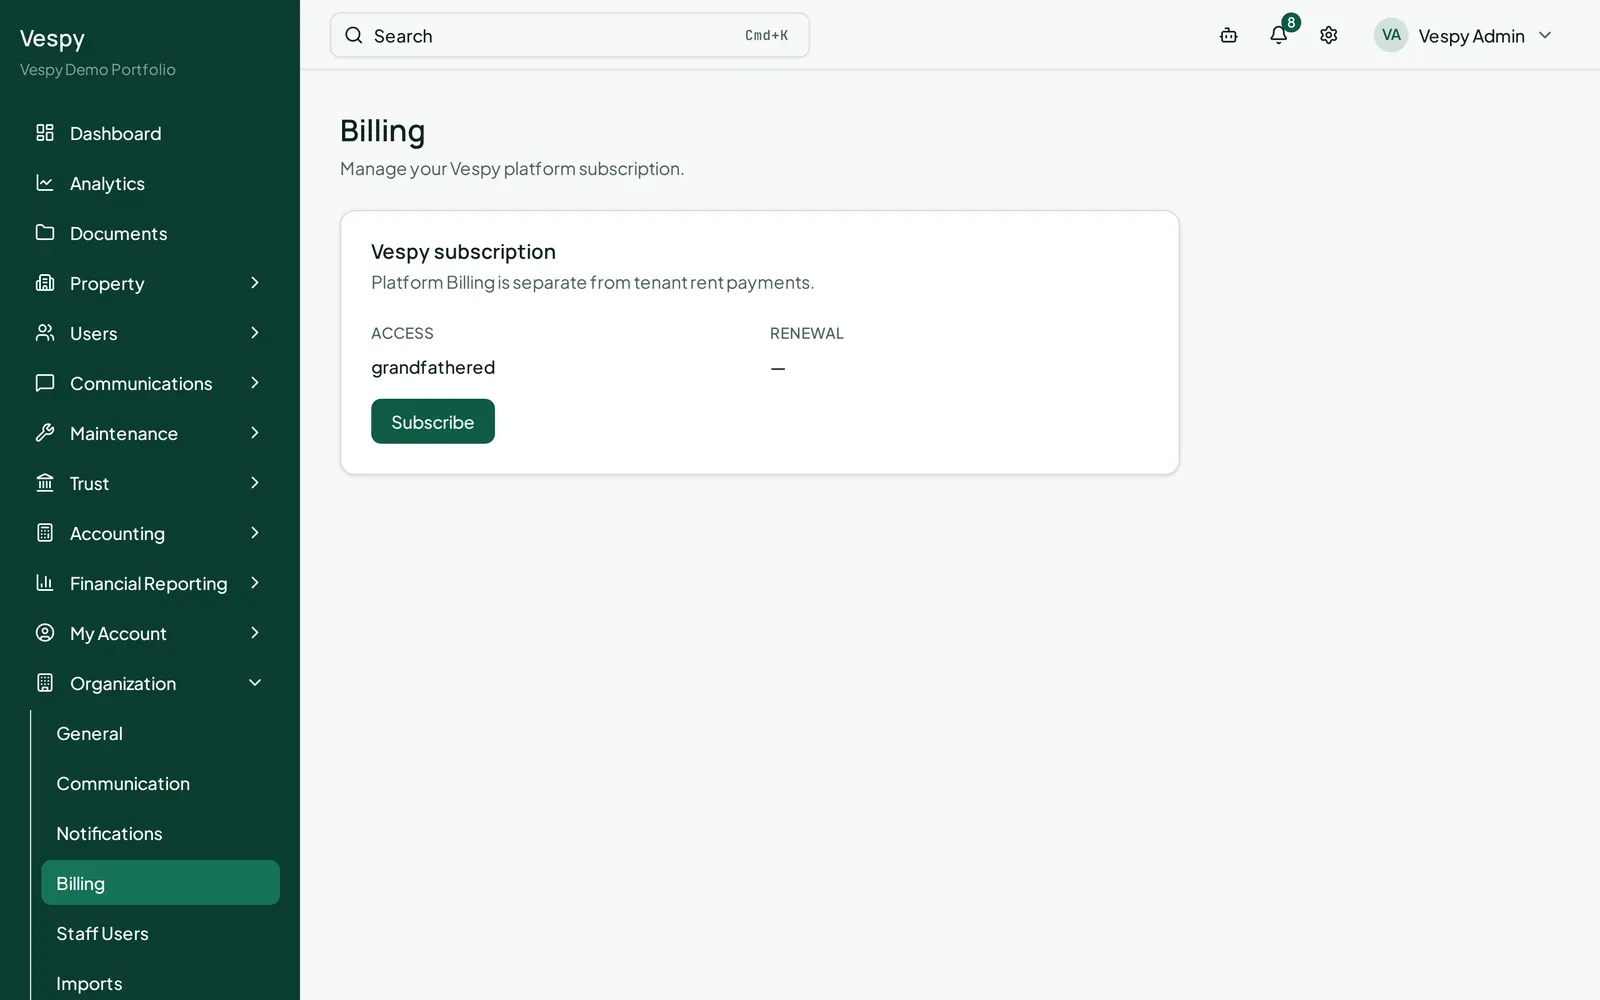
**Organization > Billing** — this is your organization’s own Vespy subscription, not tenant rent payments. Shows your access mode and renewal date, with **Subscribe** or **Manage billing** buttons that open Stripe’s hosted checkout/billing portal.
## Afterwards
[Section titled “Afterwards”](#afterwards)
* [Bulk-importing your portfolio data via CSV](/workflows/bulk-importing-your-portfolio-data/) — also under the Organization menu.
* [Connecting Gmail](/workflows/integrations/connecting-gmail/) — connect a new email account for your organization or yourself.
* [Syncing with QuickBooks Online](/workflows/integrations/syncing-with-quickbooks-online/) — connect your accounting system and export your books.
# Gmail and QuickBooks Online guides
> Choose a guide for connecting Gmail or syncing your books with QuickBooks Online.
The integration workflows now have separate guides:
* [Connect Gmail](/workflows/integrations/connecting-gmail/)
* [Sync with QuickBooks Online](/workflows/integrations/syncing-with-quickbooks-online/)
# Generating an AI lease draft
> Draft lease language from a lease's terms, edit it by hand, and save it as a document.
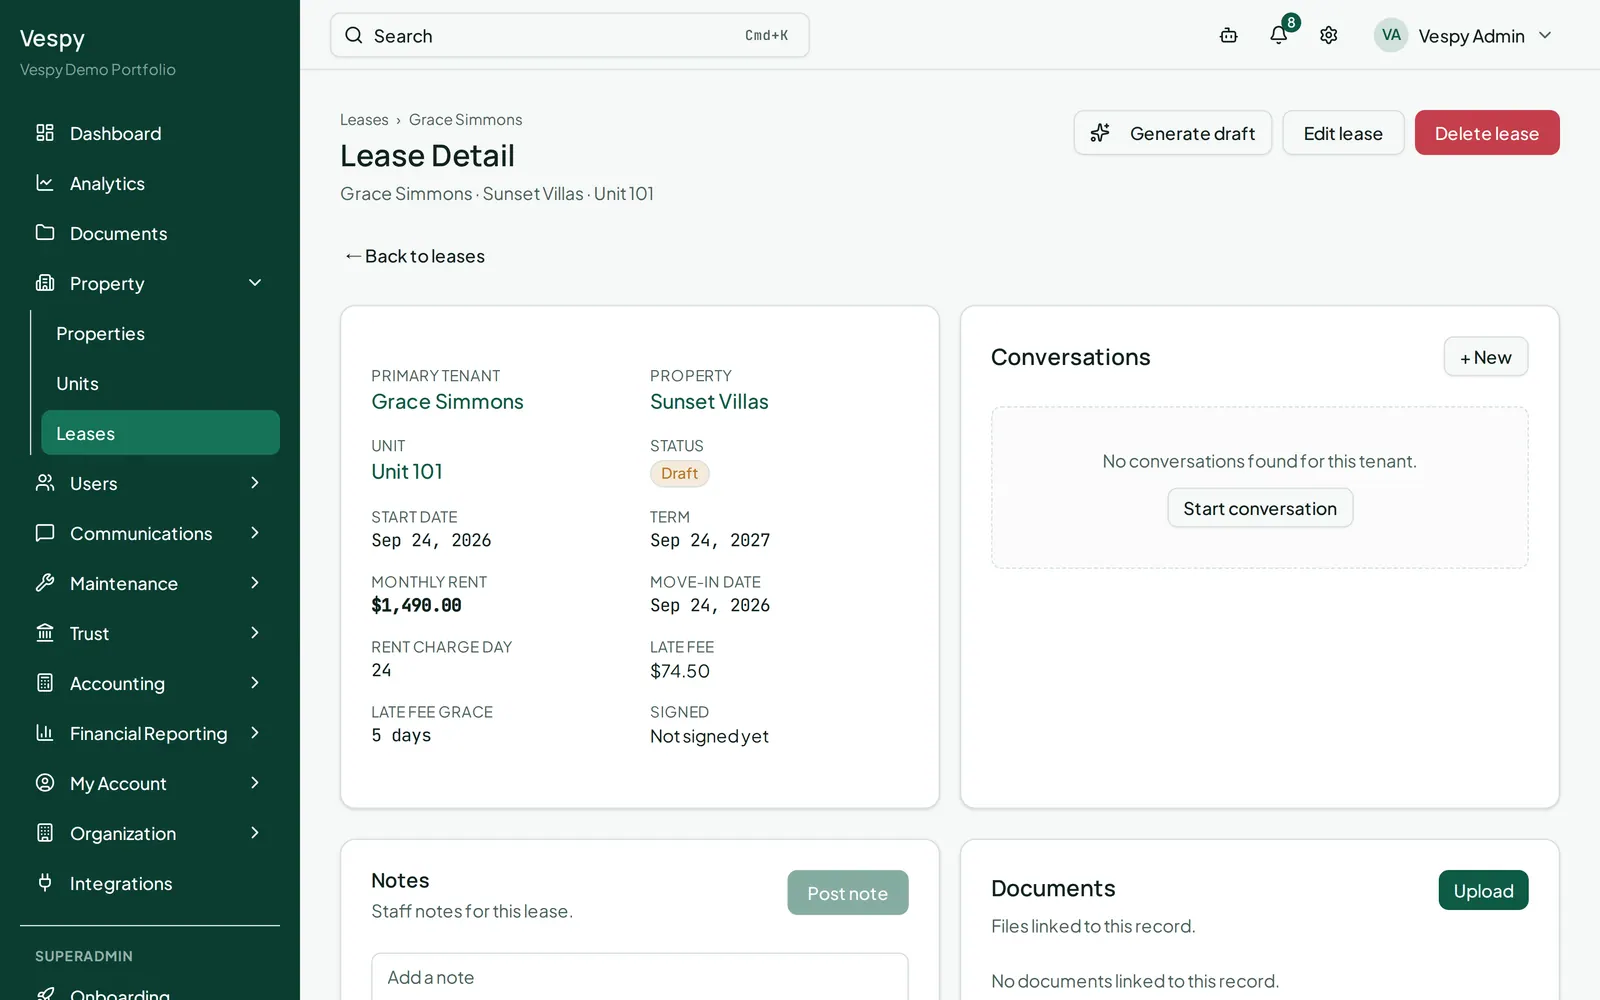
Open a lease and click **Generate draft** (in the header action menu, next to Renew and End lease early) to have Vespy write a first pass at the lease agreement text based on the lease’s own terms.
## 1. Generate
[Section titled “1. Generate”](#1-generate)
A summary strip confirms the tenant, property/unit, and term dates the draft will be based on.
Note
Add anything specific — security deposit terms, utilities, pets, parking, extra occupants — as a note on the lease first. The draft reads those notes to produce something closer to what you actually need.
Click **Generate**. The draft streams into a large text box as plain lease language.
## 2. Edit it
[Section titled “2. Edit it”](#2-edit-it)
Everything in the text box is freely editable — treat it as a starting point, not a final document. If you want a completely fresh attempt instead of hand-editing, click **Regenerate**; it replaces the current text entirely rather than adding to it.
## 3. Save it
[Section titled “3. Save it”](#3-save-it)
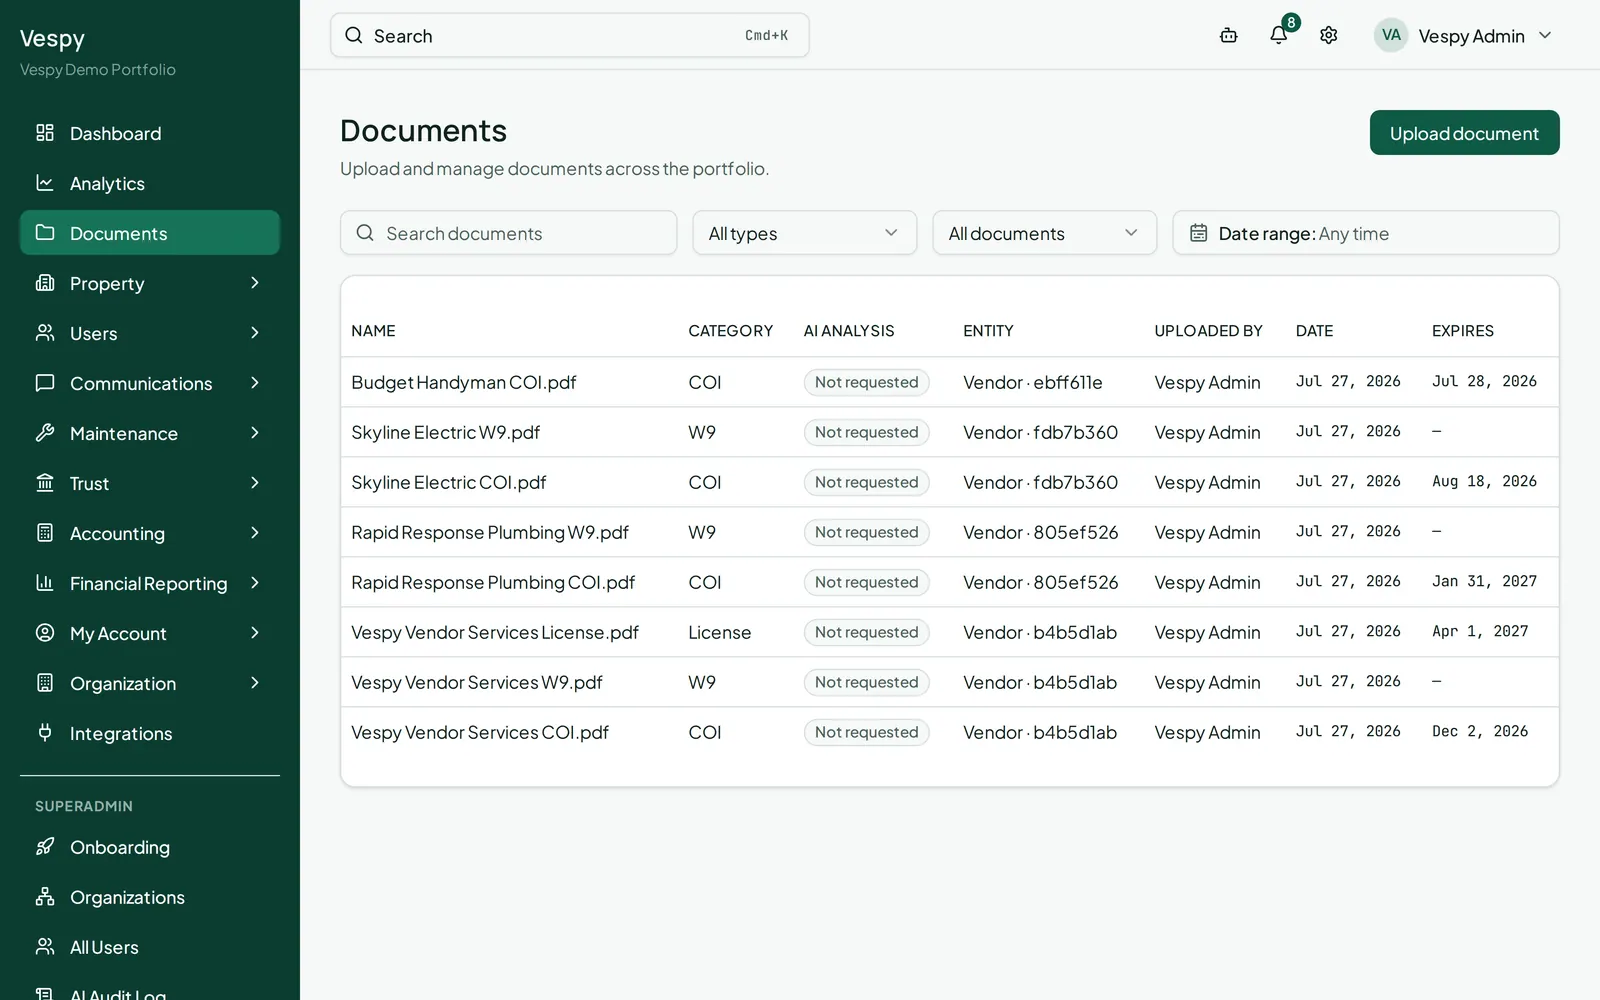
Click **Save draft** to turn the text into an actual document attached to the lease, so it shows up alongside the lease’s other documents from then on.
Caution
If you see “AI lease generation is not configured for this environment,” the feature isn’t enabled for your organization. A rate-limit message means you’ve generated recently — wait a minute and try again.
## Afterwards
[Section titled “Afterwards”](#afterwards)
* [Onboarding a property](/workflows/onboarding-a-property/) — where the lease you’re drafting for was created.
* [Managing the document library](/workflows/managing-the-document-library/) — where the saved draft lives once you save it.
# Handling a security deposit
> Hold a deposit in a segregated trust account, deduct or refund it at move-out, and reconcile the account.
A security deposit is the tenant’s money, not yours — it’s never revenue. Vespy tracks it separately from your regular rent ledger, so what you hold per tenant can always be checked against the bank statement.
## 1. Set up a trust bank account
[Section titled “1. Set up a trust bank account”](#1-set-up-a-trust-bank-account)
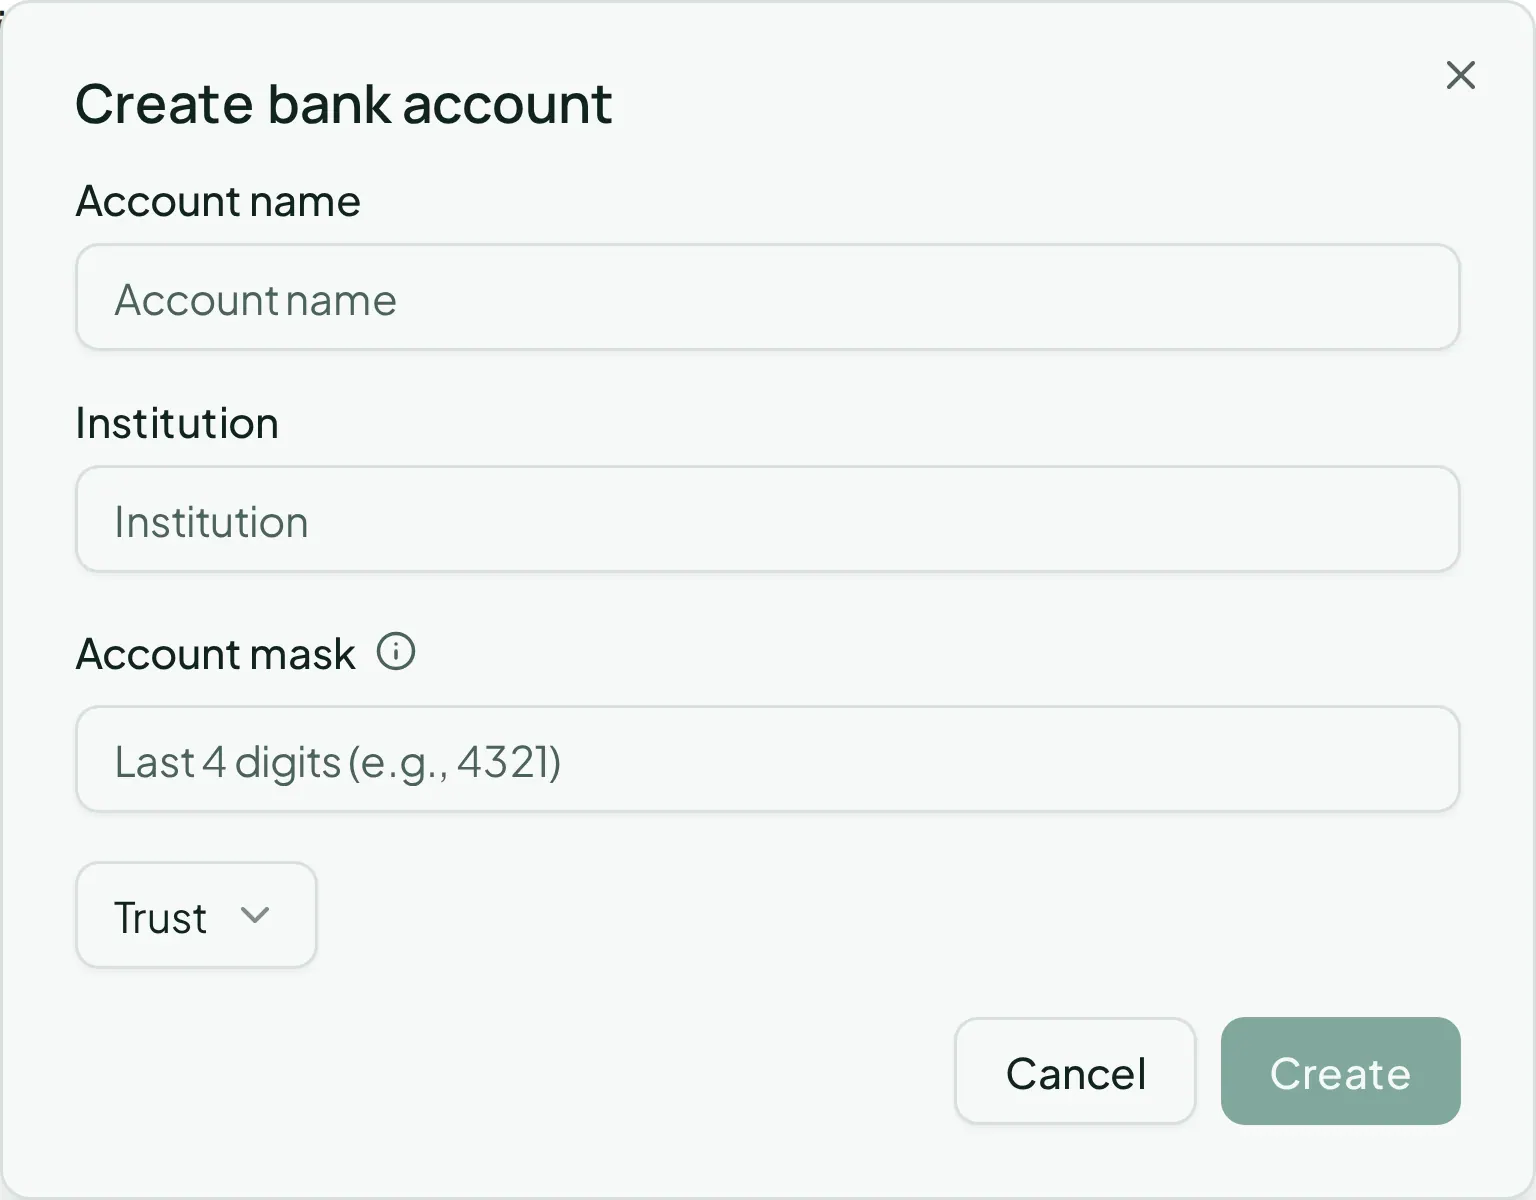
Do this once, for the account you use to hold deposits — it shouldn’t be the same account your operating funds sit in. Go to **Trust > Bank Accounts** and click **Create account**:
* **Account name**
* **Institution**
* **Account mask** — just the last few digits; Vespy never stores full account numbers
* **Type** — pick **Security Deposit** (or Trust)
## 2. Record the deposit at move-in
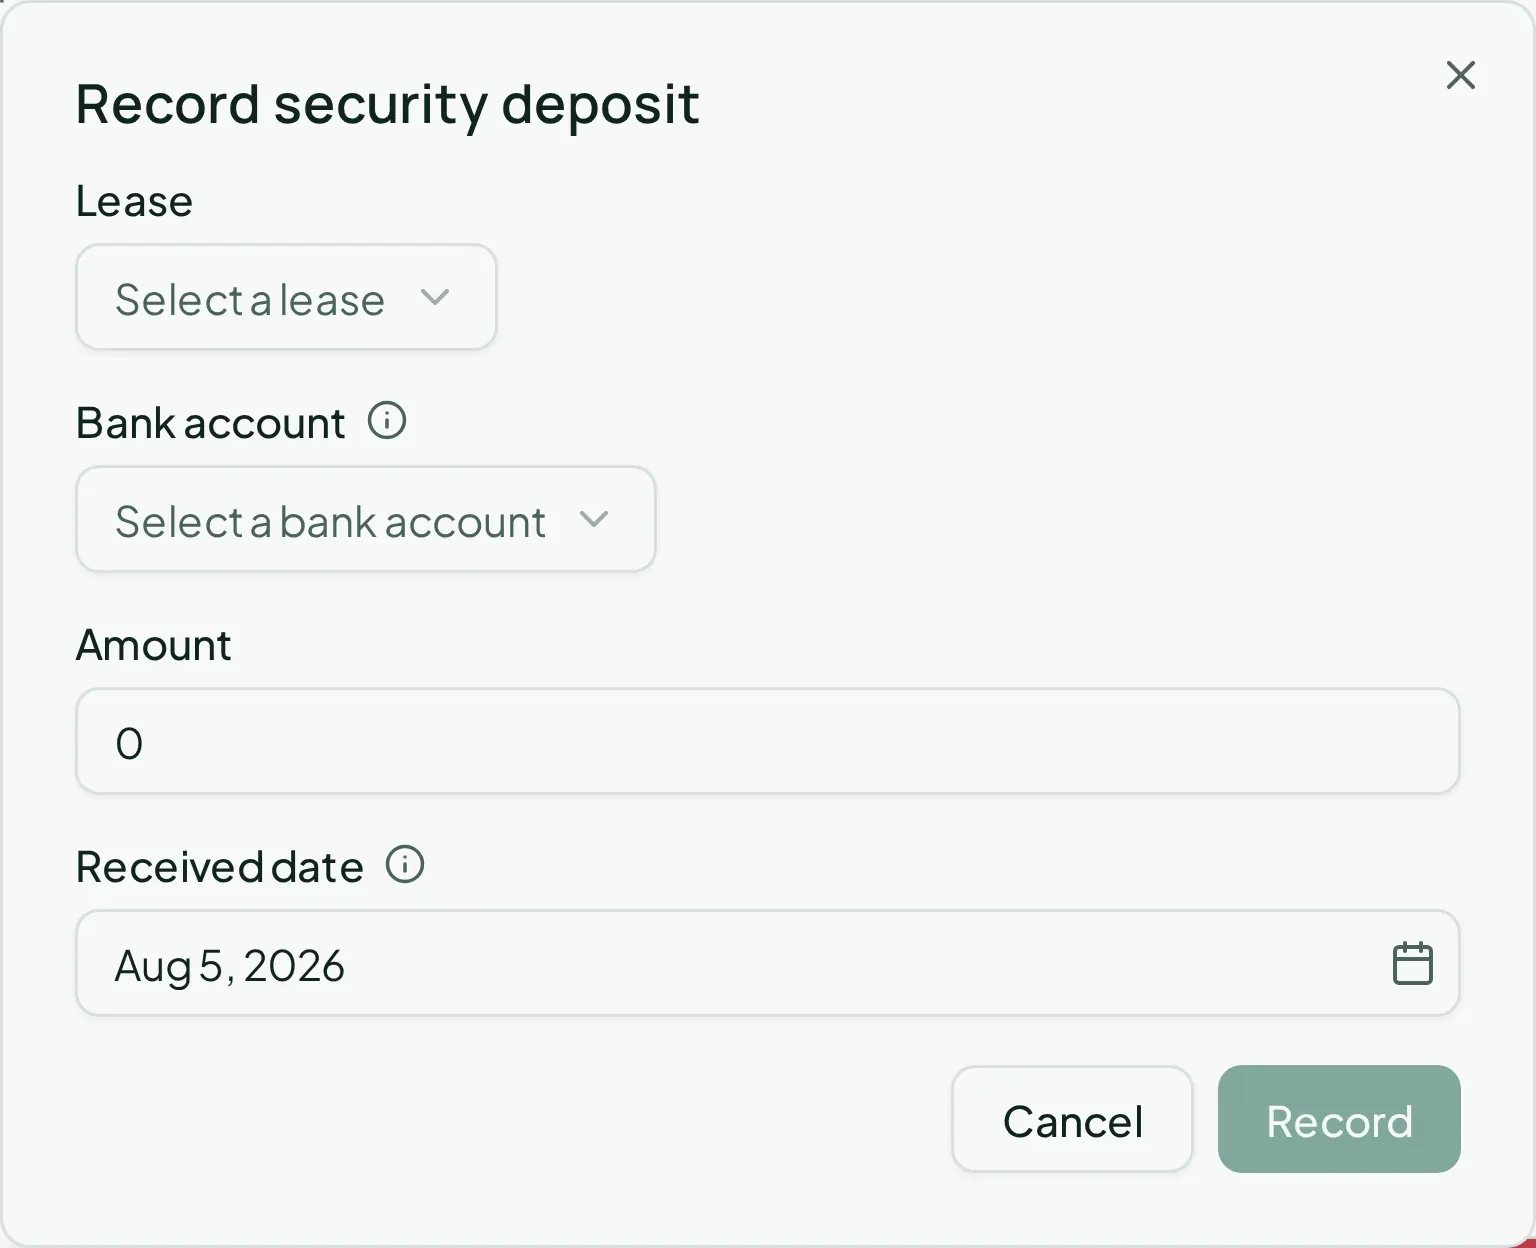
[Section titled “2. Record the deposit at move-in”](#2-record-the-deposit-at-move-in)
Go to **Trust > Deposits** and click **Record deposit**:
* **Lease**
* **Bank account** — filtered to your trust/security-deposit accounts
* **Amount**
* **Received date** — used to calculate the jurisdiction’s return deadline, shown later on the deposit’s own page
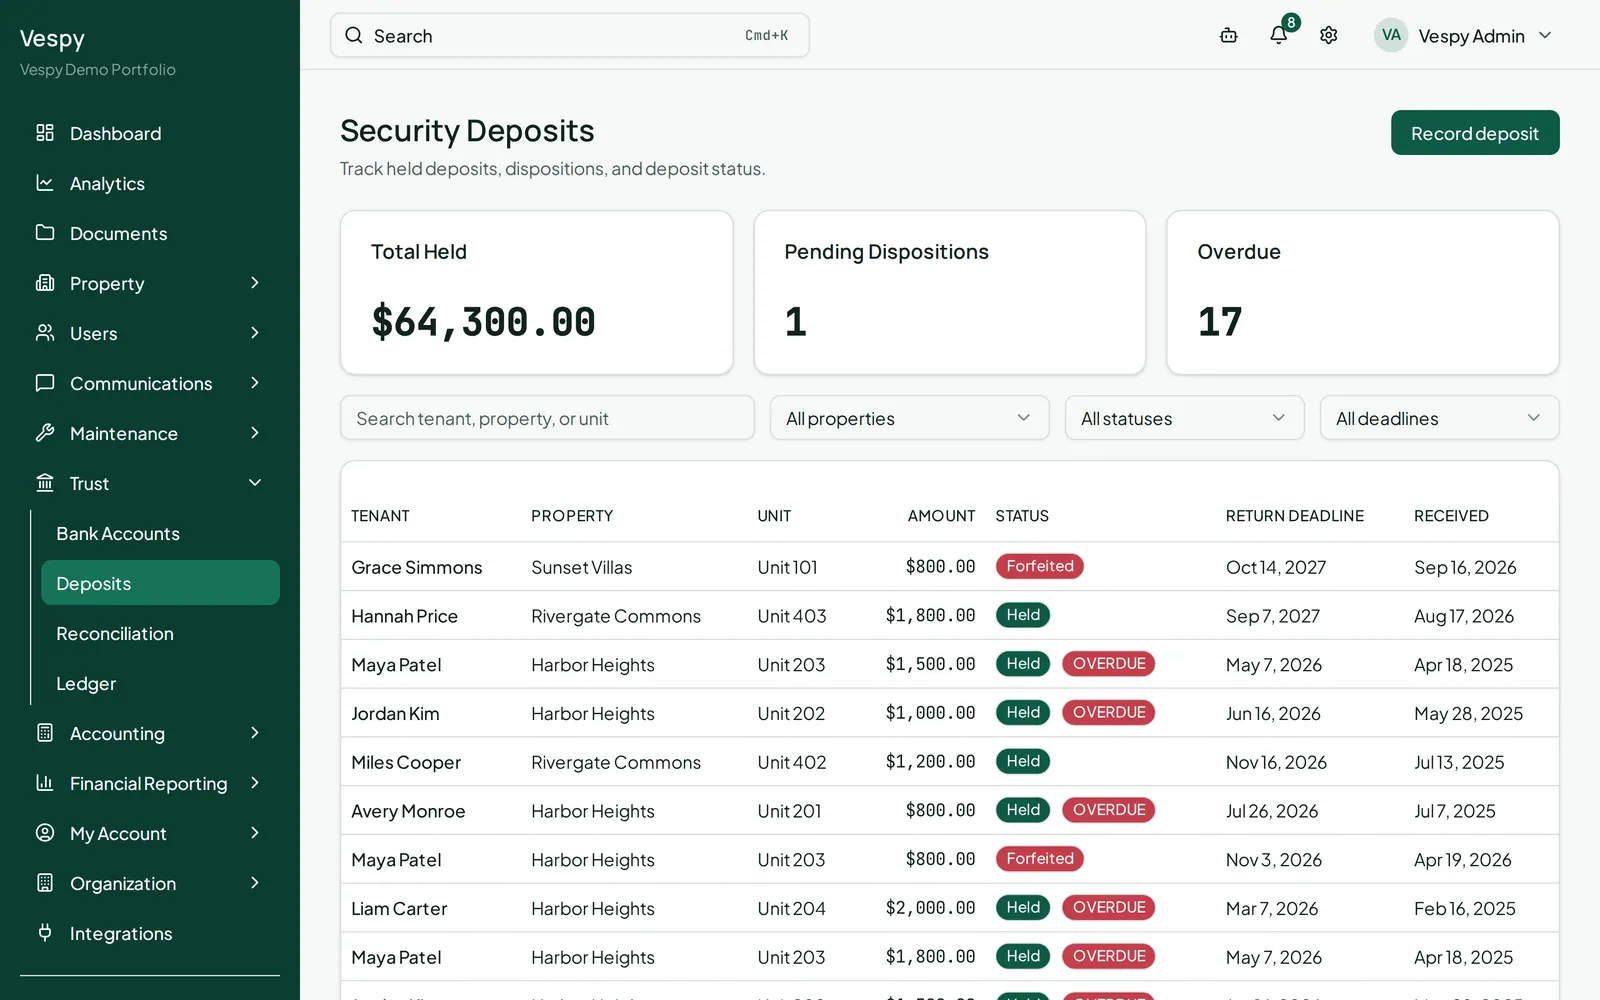
The Deposits list also shows summary cards for Total Held, Pending Dispositions, and Overdue, so you can see at a glance what needs attention.
## 3. Deduct or refund it at move-out
[Section titled “3. Deduct or refund it at move-out”](#3-deduct-or-refund-it-at-move-out)
Click into the deposit from the Deposits list. Depending on its remaining balance and status, you’ll see up to three buttons:
* **Return** — opens pre-filled with the full remaining amount
* **Deduct** — record a partial deduction
* **Forfeit** — pre-filled with the full amount, for keeping the whole deposit
For a deduction, add **line items** (a description and amount for each — carpet replacement, cleaning, and so on) using **Add line item**. The line items have to add up to exactly the amount you’re deducting before you can save.
Note
Once at least one deduction exists, a **Download Itemized Statement (PDF)** button appears on the deposit’s page — most jurisdictions require sending the tenant an itemized statement, and this generates it from the line items you entered.
The deposit’s page also tracks a **Return Deadline** countdown based on your state’s law, and a full history of every disposition recorded against it.
## 4. Reconcile the account
[Section titled “4. Reconcile the account”](#4-reconcile-the-account)
Go to **Trust > Reconciliation** and click **Run reconciliation**:
* **Bank account**
* **Statement period** (start and end date)
* **Statement ending balance** — straight off your bank statement
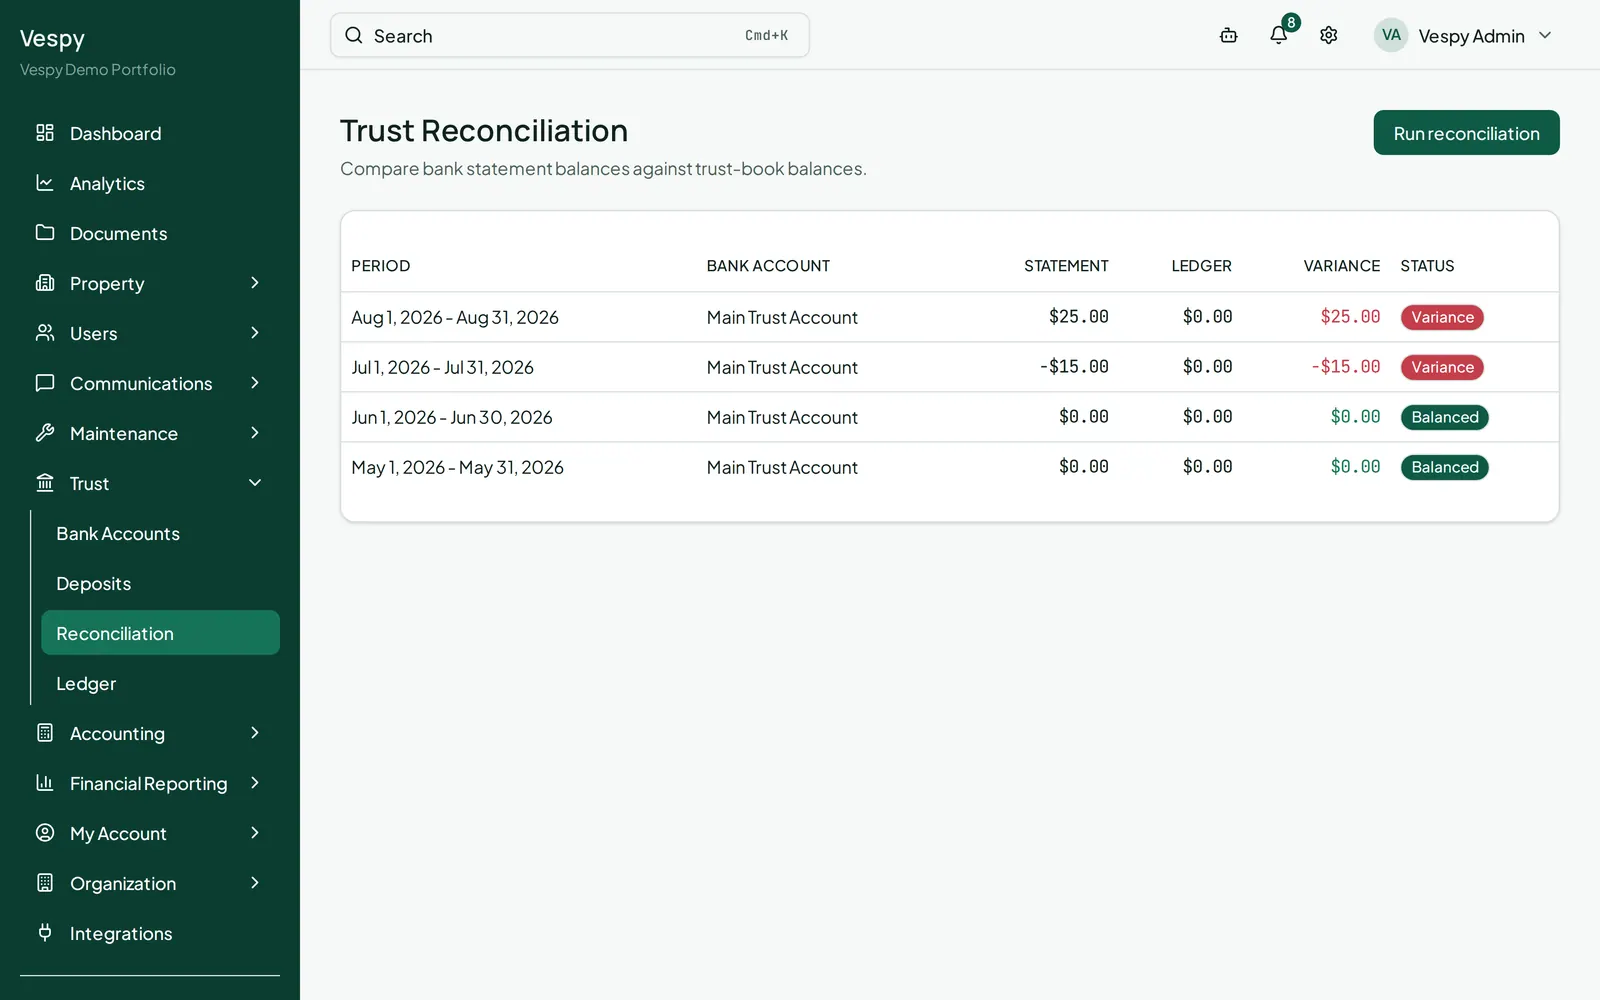
The result shows the statement balance, ledger balance, and any variance between them, plus a breakdown of deposits held per property. If there’s a variance, treat it as real — it means something in the trust account doesn’t match your records, and it’s worth tracking down rather than adjusting a number to force a match.
Note
For a chronological, running-balance view of every deposit-related transaction — received, returned, deducted, forfeited — go to **Trust > Ledger**. It’s filterable by bank account and date, and is a quicker way to answer “what happened to this deposit” than piecing it together from the deposit’s own history.
## Afterwards
[Section titled “Afterwards”](#afterwards)
* [Renewing or terminating a lease](/workflows/renewing-or-terminating-a-lease/) — ending a lease early can settle the deposit disposition in the same step.
* [Closing the books each month](/workflows/closing-the-books-each-month/) — trust activity feeds the same period close.
# Connecting Gmail
> Connect a shared or personal Gmail account for sending mail from Vespy.
Go to **Integrations** in the top navigation. Each integration card shows a health status — Healthy, Degraded, Expired, Revoked, or Not connected.
## Choose who can use the account
[Section titled “Choose who can use the account”](#choose-who-can-use-the-account)
Gmail connections can have one of two scopes:
* **Organization** connections are shared with your team. Only admins or managers can connect or remove one.
* **Personal** connections are visible only to you.
Choose the tab that matches how the account should be used, then click **Connect Gmail** (or **Connect another Gmail** if an account is already connected).
## Authorize Gmail
[Section titled “Authorize Gmail”](#authorize-gmail)
Vespy redirects you through Google’s sign-in and consent flow, then returns you to the Integrations page with a confirmation banner.
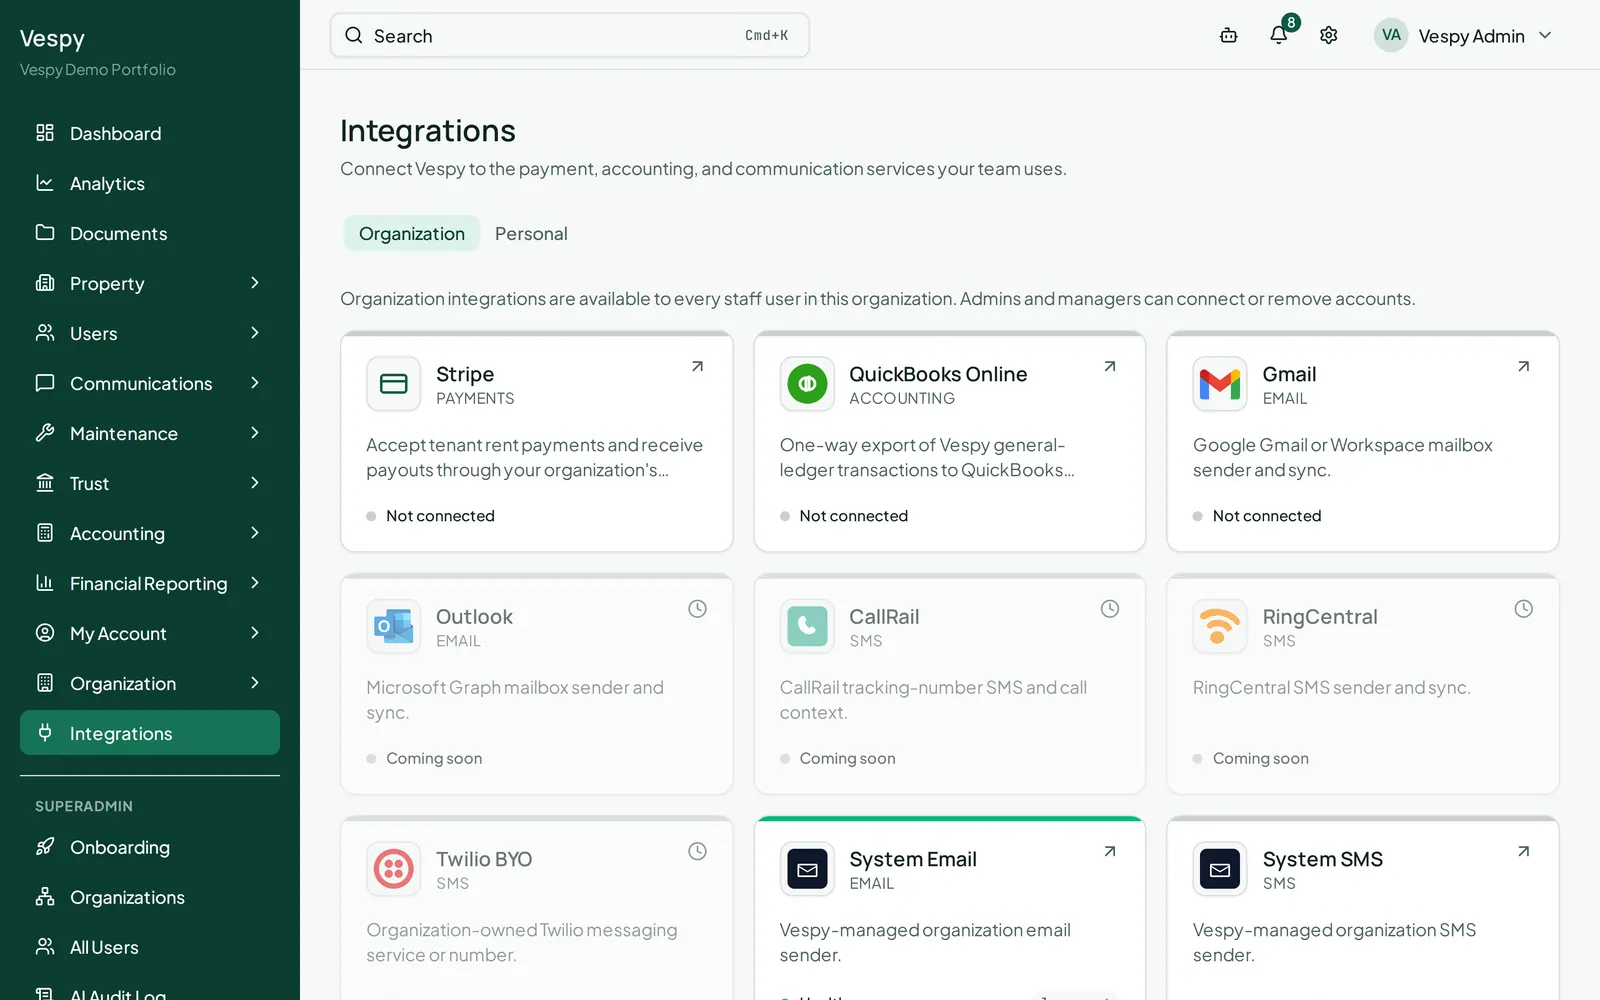
Your first connected account becomes the default automatically. If you connect more than one, use **Set as default** on the account Vespy should use going forward.
Select **Remove** to disconnect an account. Vespy will stop syncing with it and sending mail from it.
## Afterwards
[Section titled “Afterwards”](#afterwards)
* [Configure organization settings](/workflows/configuring-organization-settings/) — set a connected account’s display name, default status, and availability.
* [Message tenants and vendors](/workflows/messaging-tenants-and-vendors/) — use the connected account in day-to-day communication.
# Syncing with QuickBooks Online
> Connect QuickBooks Online, map your accounts, and export your books.
Go to **Integrations** in the top navigation. Each integration card shows a health status — Healthy, Degraded, Expired, Revoked, or Not connected.
## Connect QuickBooks Online
[Section titled “Connect QuickBooks Online”](#connect-quickbooks-online)
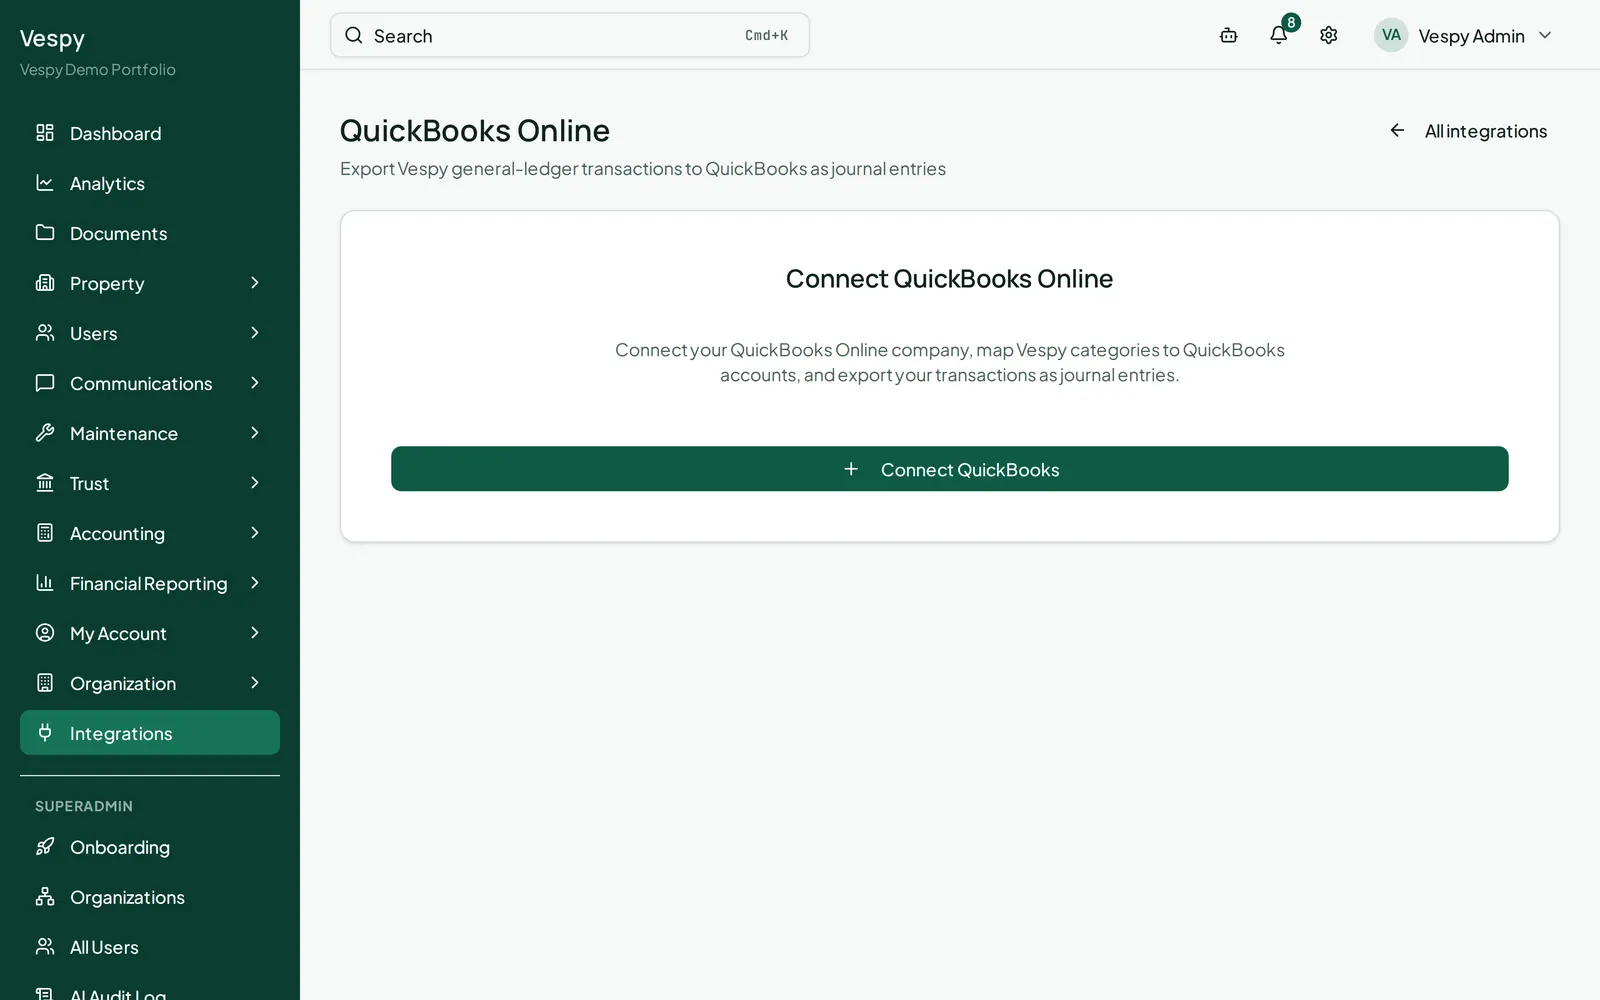
From the Integrations catalog, click **Connect QuickBooks**. QuickBooks is available at the organization scope only, with one connection per organization.
Vespy redirects you through QuickBooks’ sign-in and authorization flow, then returns you to the Integrations page with a confirmation banner. Click **Manage mappings & export** to open the dedicated QuickBooks page.
## Map your accounts
[Section titled “Map your accounts”](#map-your-accounts)
Before anything can export, your categories need to be matched to QuickBooks accounts. On the QuickBooks page, categories are grouped by type (Assets, Liabilities, Equity, Income, Cost of Services, Operating Expenses, Trust Accounts), each with a dropdown to pick its QuickBooks match.
* **Auto-map required** fills in only the mappings QuickBooks needs before it’ll accept anything — creating new QuickBooks accounts for you if needed.
* **Auto-suggest** fills in everything else with its best guess, for you to review.
* **Save mappings** commits your choices.
Note
Categories that track money owed to or from someone (receivables/payables) have to map to a regular asset or liability account — QuickBooks’ own AR/AP accounts require a customer or vendor attached, which Vespy categories don’t have.
## Export your books
[Section titled “Export your books”](#export-your-books)
Pick an **export range** (or leave it blank to export everything not yet synced), then click **Export now**. It runs in the background — the page checks in every few seconds and shows you a summary once it’s done: how many transactions synced, failed, or were skipped.
The **export log** lists every transaction that’s been attempted, with a status you can filter by (Synced, Failed, Skipped, Pending, Conflicts) and a plain-language error message for anything that didn’t go through — a missing mapping, an unbalanced entry, or a duplicate document number, for example.
## Afterwards
[Section titled “Afterwards”](#afterwards)
* [Close the books each month](/workflows/closing-the-books-each-month/) — close a period before exporting its activity.
* [Export to QuickBooks through the API](/guides/quickbooks-sync/) — implement the same workflow with API requests.
# Inviting a tenant to the portal
> Send a portal invite so a tenant can log in, and see what they can do once they accept.
Creating a tenant record doesn’t give them a login — that’s a deliberate, separate step, usually taken once their lease exists.
## 1. Send the invite
[Section titled “1. Send the invite”](#1-send-the-invite)
Go to **Communications > Tenant Invites** and click **New Invite**:
* **Tenant**
* **Send via** — **Email**, **Text message**, or both. Nothing is preselected, so pick at least one before the invite can be created.
* **Invite email** — shown when you pick Email, prefilled from the tenant’s record, editable
* **Invite phone** — shown when you pick Text message, prefilled from the tenant’s record and editable. US numbers can be typed however you like; for anything else, start with `+`.
* **Lease** — pick theirs, or **No lease yet** if it isn’t created yet
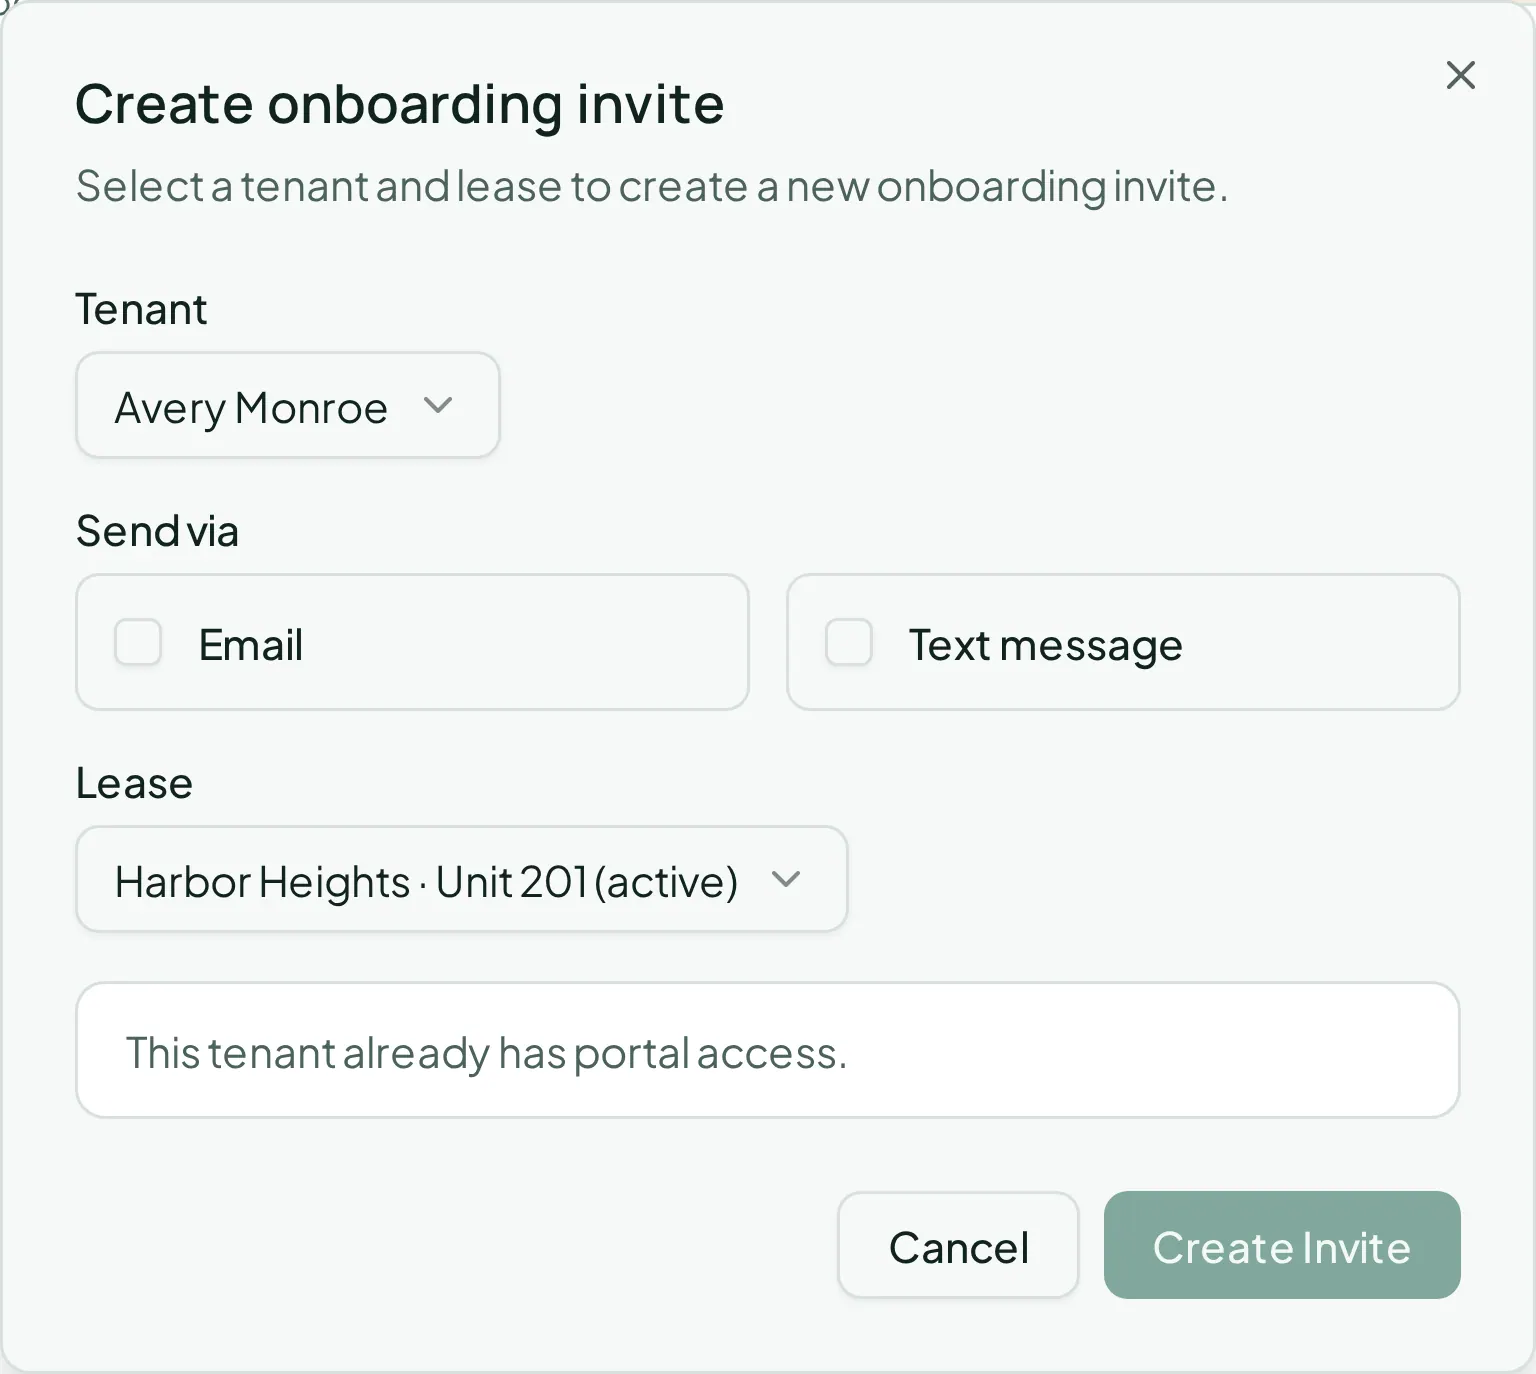
Click **Create Invite**. A **Latest invite link** panel appears with a **Copy** button — useful if you’d rather hand the link to the tenant directly instead of relying on the message going through.
A texted invite carries a short link rather than the full one, so it fits comfortably in a single message. That short link expires along with the invite and stops working the moment the invite is revoked or accepted. Texts are transactional, identify Vespy as the sender, and tell the recipient they can reply STOP to opt out.
Note
If a message fails to send, you’ll see a warning naming the channel: *“Invite created, but email delivery failed… Share the link manually.”* The invite still exists — just copy the link and send it yourself. The same applies to a failed text.
The button is grayed out with an explanation if the tenant already has portal access or an already-accepted invite pending.
## 2. The tenant accepts
[Section titled “2. The tenant accepts”](#2-the-tenant-accepts)
The tenant clicks the link, sets a password, and walks through a short setup — reviewing their lease and, if you’ve enabled it, setting up a payment method. None of this requires anything further from you.
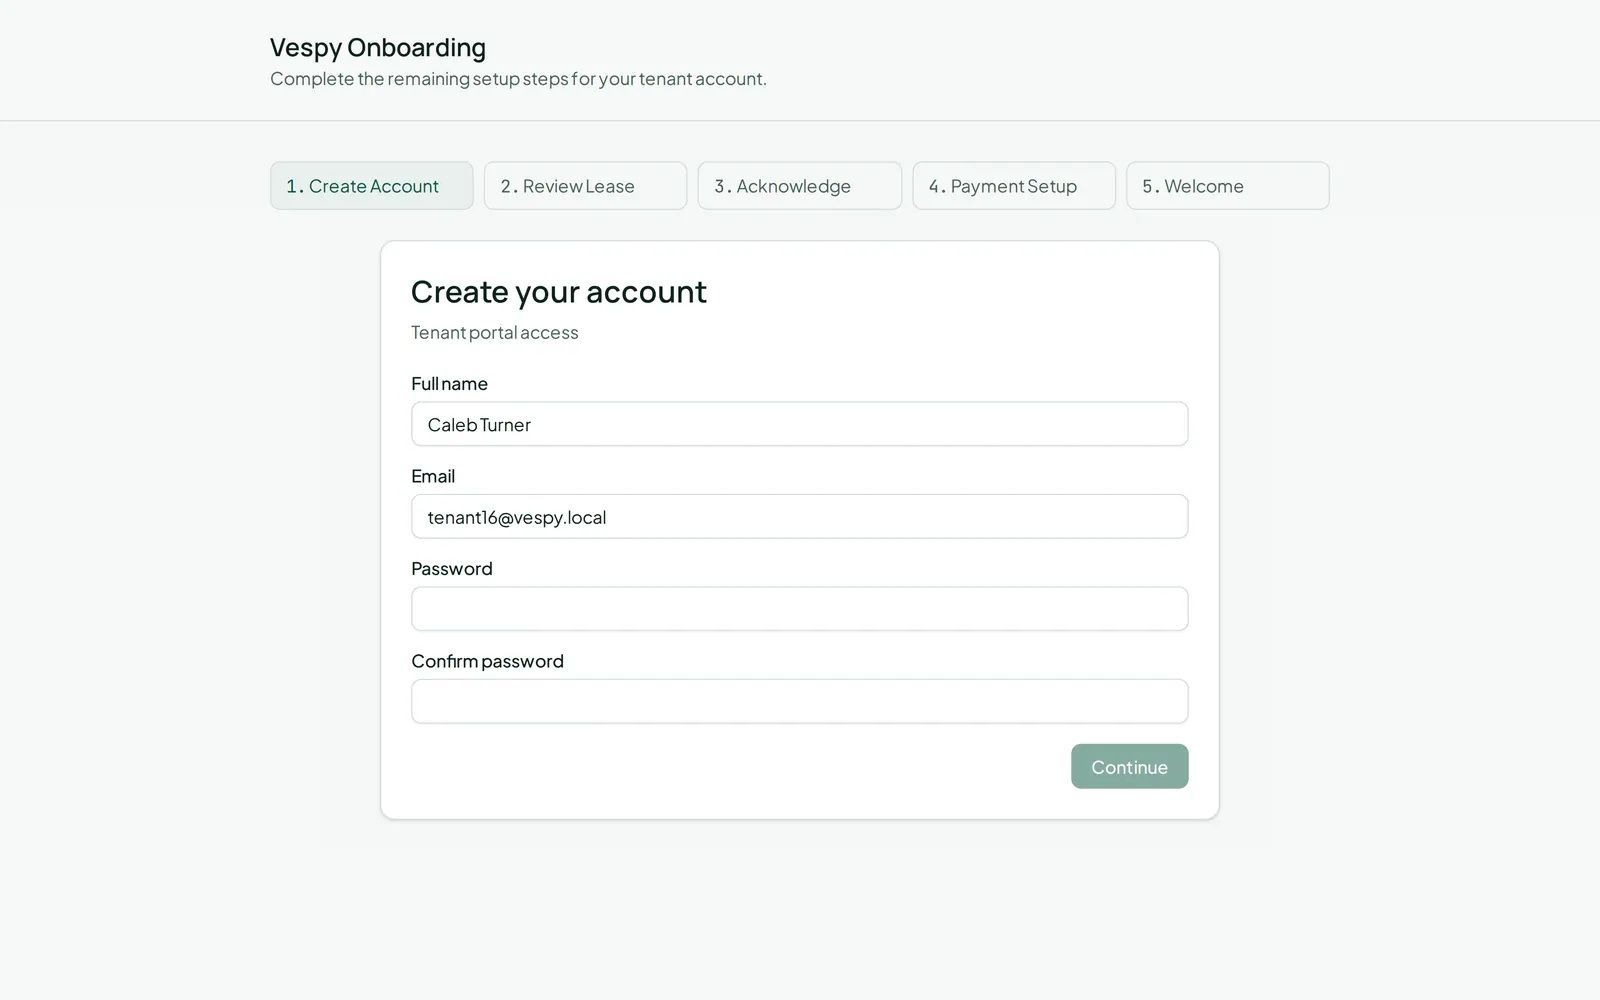
## 3. Manage outstanding invites
[Section titled “3. Manage outstanding invites”](#3-manage-outstanding-invites)
The Tenant Invites list shows every invite’s status, when it was created, when it expires, and whether it’s been accepted or revoked. Each pending invite has **Copy Link** and **Revoke** buttons — revoke one if it’s gone stale and you want to send a fresh one.
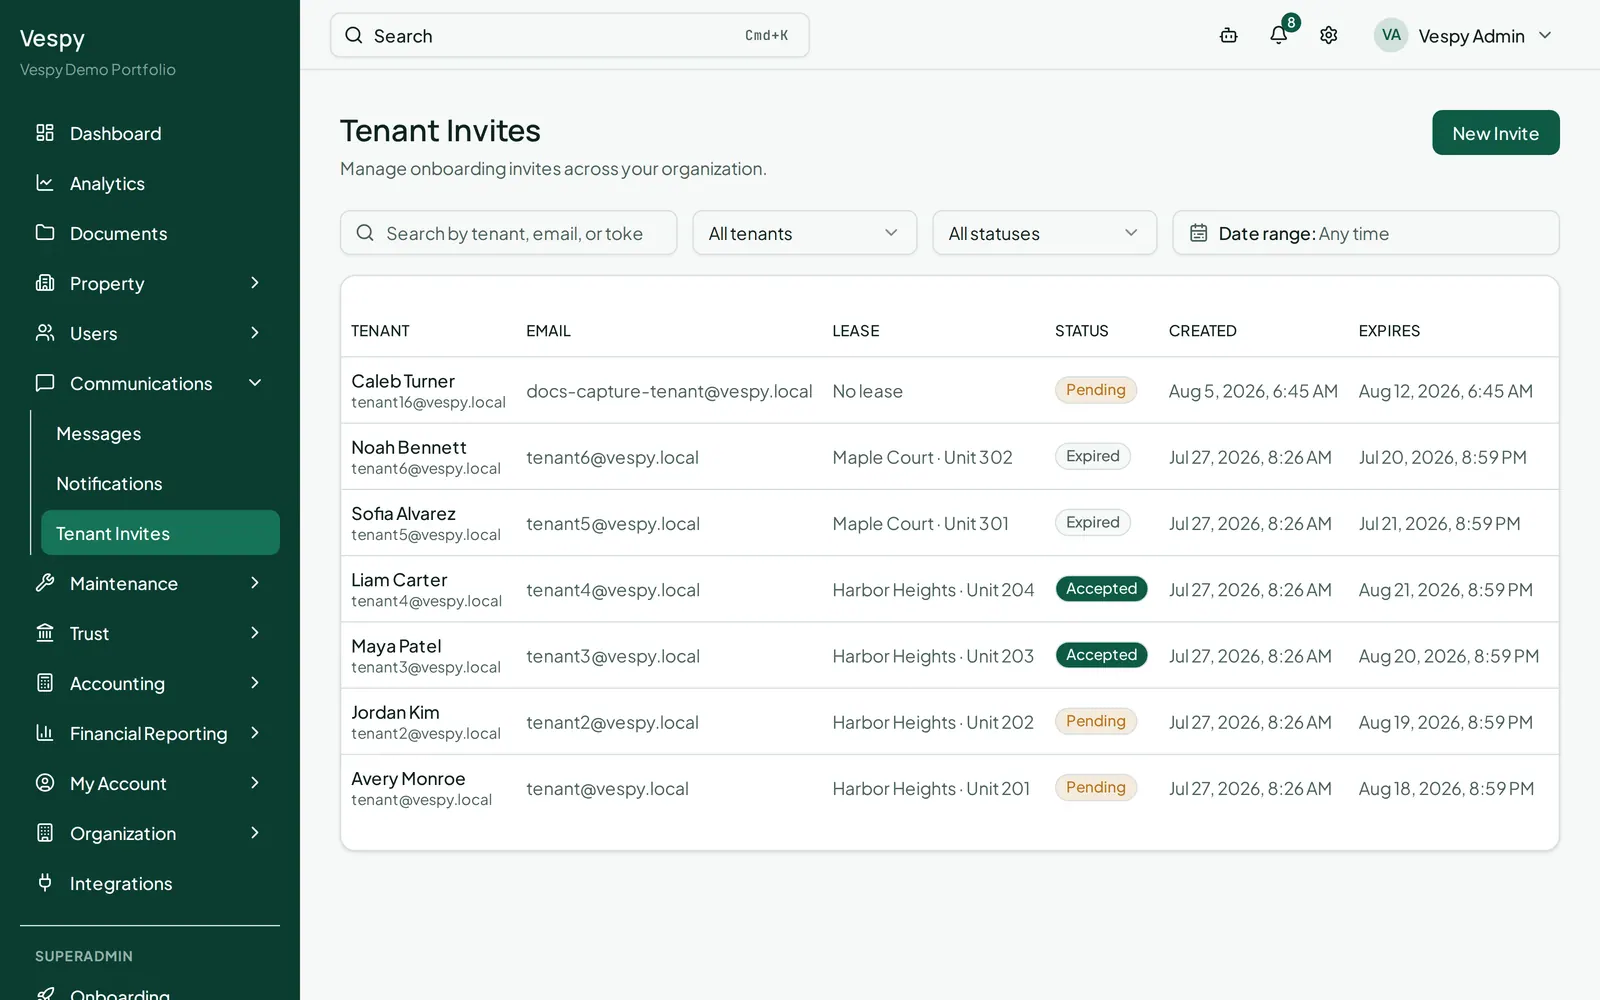
## What the tenant can now do
[Section titled “What the tenant can now do”](#what-the-tenant-can-now-do)
Once they’ve accepted, the tenant has their own portal with:
* A dashboard showing their lease and balance
* Their full payment history and running balance
* A way to file and follow up on maintenance requests
* Documents you’ve shared with them
Note
A maintenance request a tenant files themselves is automatically tied to their own lease and unit — they can’t file one against a unit they don’t rent. See [Managing maintenance requests](/workflows/managing-maintenance-requests/).
## Afterwards
[Section titled “Afterwards”](#afterwards)
* [Billing rent and collecting payments](/workflows/billing-rent-and-payments/) — the tenant can see this the moment they log in.
* [Managing maintenance requests](/workflows/managing-maintenance-requests/) — what happens when they file one themselves.
# Managing maintenance requests
> Open a work order, assign it to a vendor, move it through its states, and control who sees each note.
Work orders are the one thing three different people touch: you manage them, the tenant reports and follows them, and the vendor does the work. Getting the status and the note visibility right matters as much as opening the request in the first place.
## 1. Open a work order
[Section titled “1. Open a work order”](#1-open-a-work-order)
Go to **Maintenance > Work Orders** and click **Create work order**. Fill in:
* **Title**, **Property**, **Unit**
* **Priority** — Low, Normal, High, or Emergency
* **Category** (and, once chosen, an optional **Subcategory**)
* **Vendor** (optional — leave as Unassigned for now if you don’t know who’s doing it)
* **Description** and **Entry instructions** (the latter auto-fills from the unit’s saved access instructions)
* **Scheduled time** (optional)
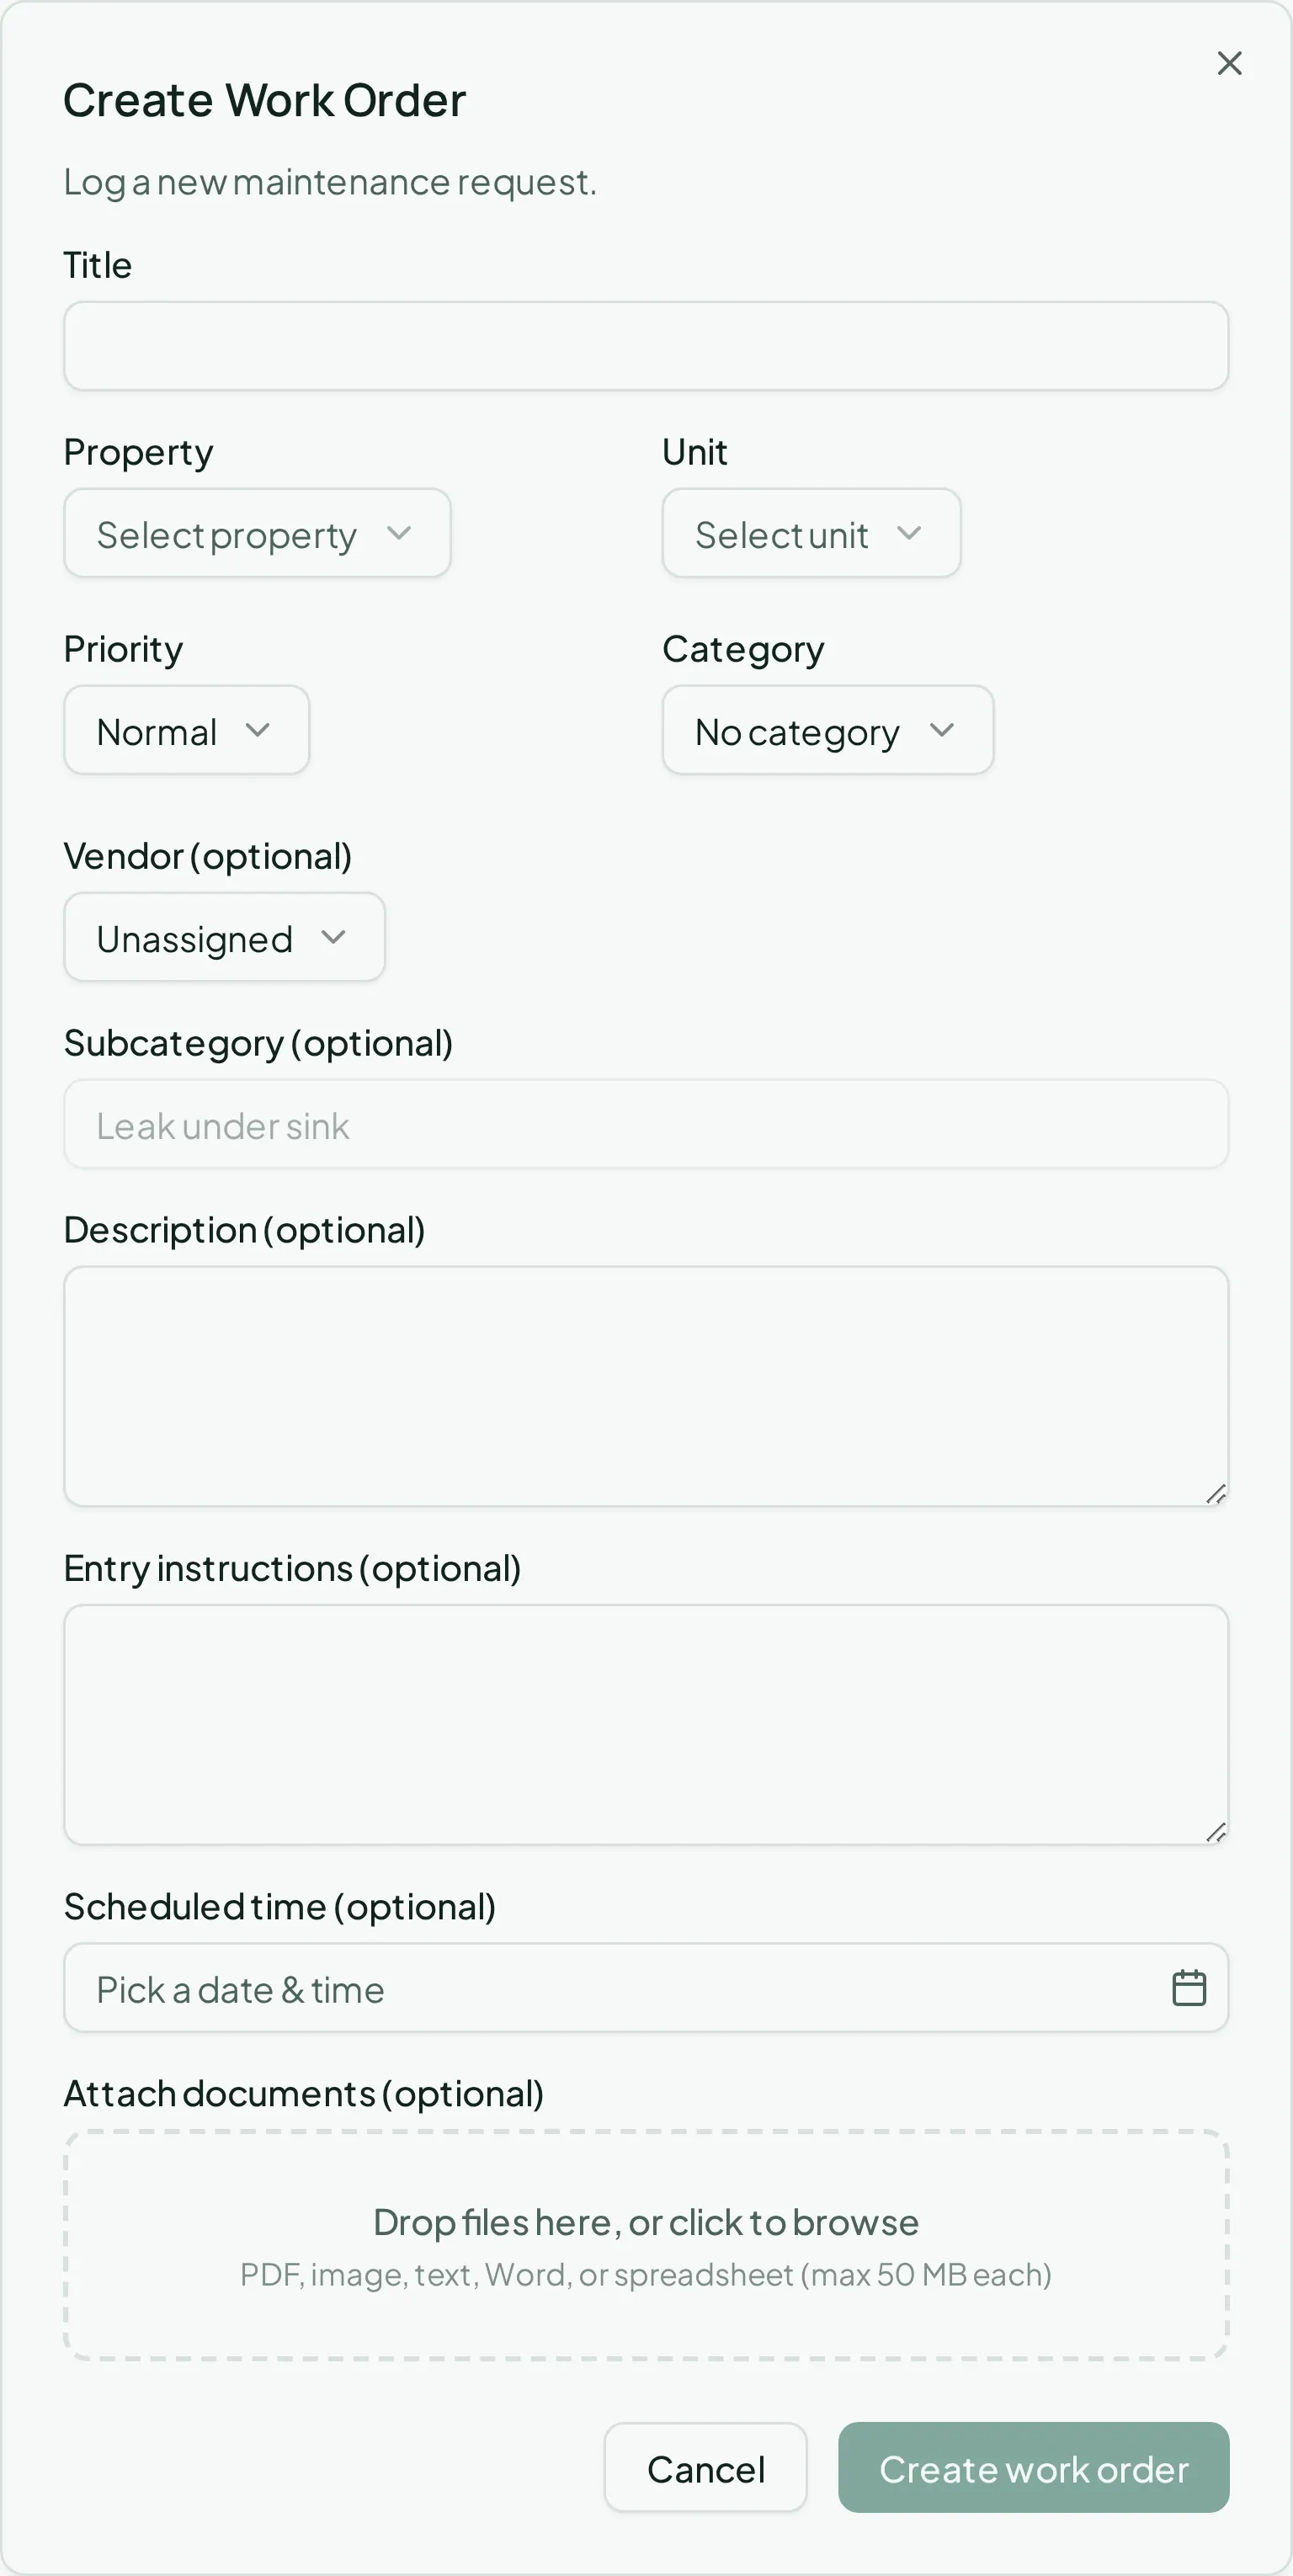
Note
There’s also a **Create with AI** option that reads through a tenant conversation and proposes a work order for you to review and adjust before creating it.
## 2. Assign it and move it forward
[Section titled “2. Assign it and move it forward”](#2-assign-it-and-move-it-forward)
Open the work order and click **Edit work order** to assign or reassign a **Vendor**, and to change **Status**. Status only offers the moves that actually make sense from where it is: open moves to in-progress or cancelled, in-progress moves to completed or cancelled, and completed/cancelled are final.
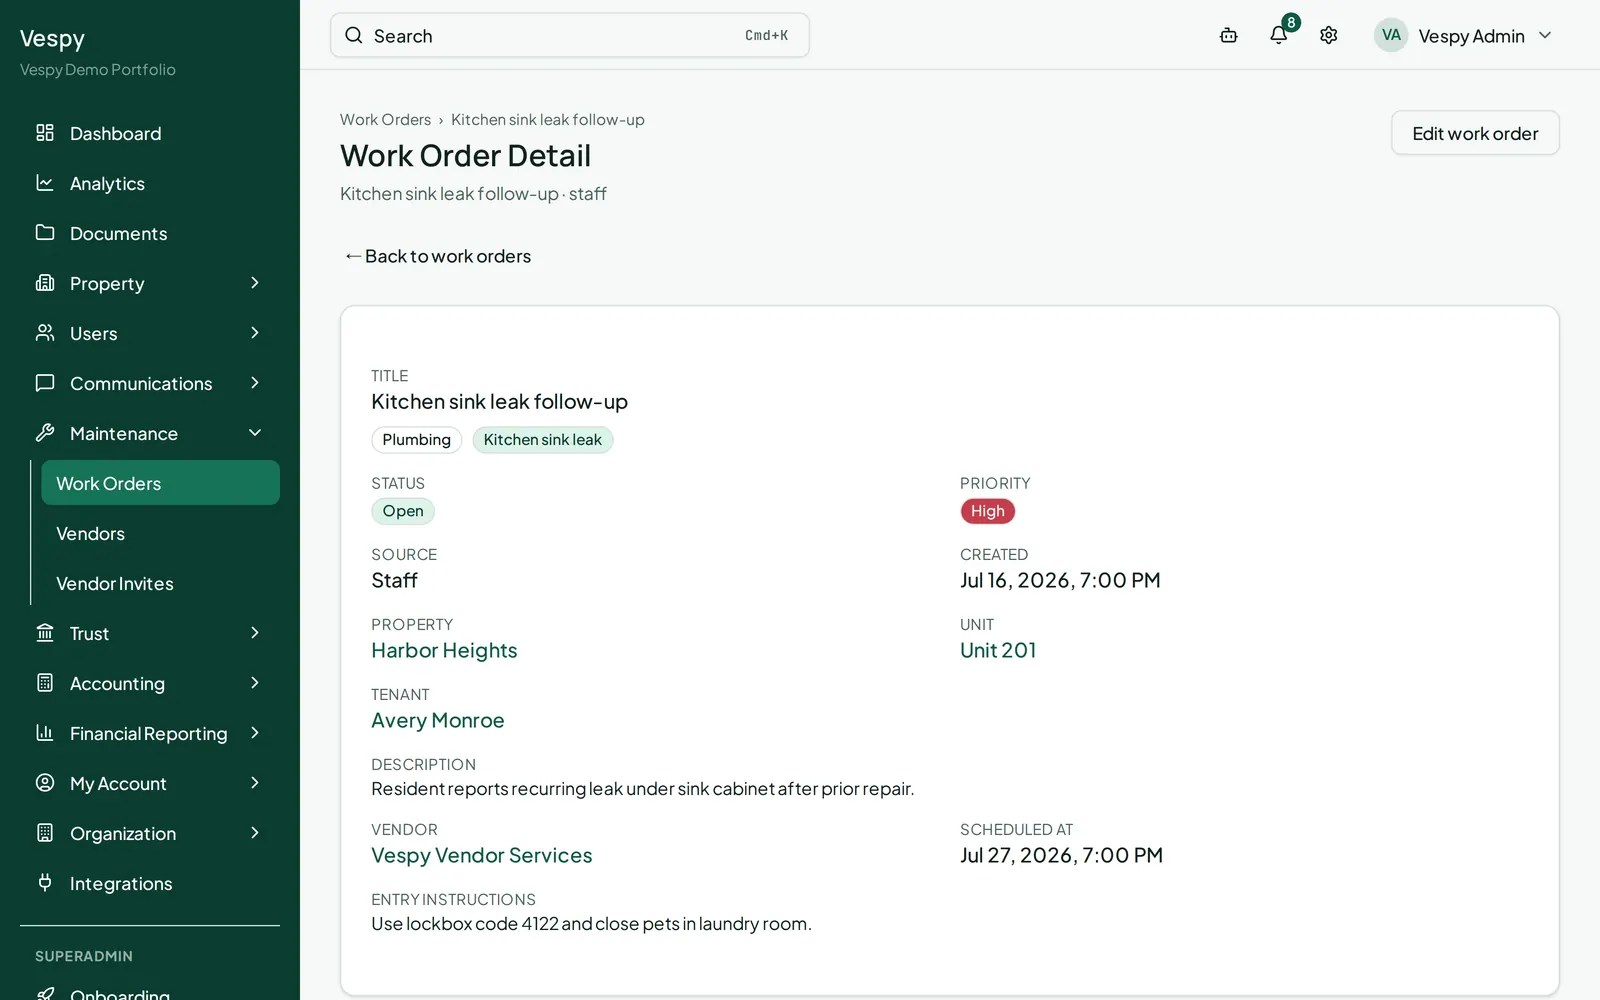
Note
Assigning a vendor here only puts the job in front of them if they already have vendor portal access. If not, invite them first — see [Adding a vendor and paying them](/workflows/adding-a-vendor-and-paying-them/).
## 3. Keep a shared record with notes
[Section titled “3. Keep a shared record with notes”](#3-keep-a-shared-record-with-notes)
On the work order’s page, the Notes section lets you **Create note**, with a **Share with** option for **Tenant** and **Vendor** — leave both unchecked and it’s staff-only. Each note shows a badge for who can see it: Staff only, Shared with Tenant, Shared with Vendor, or both.
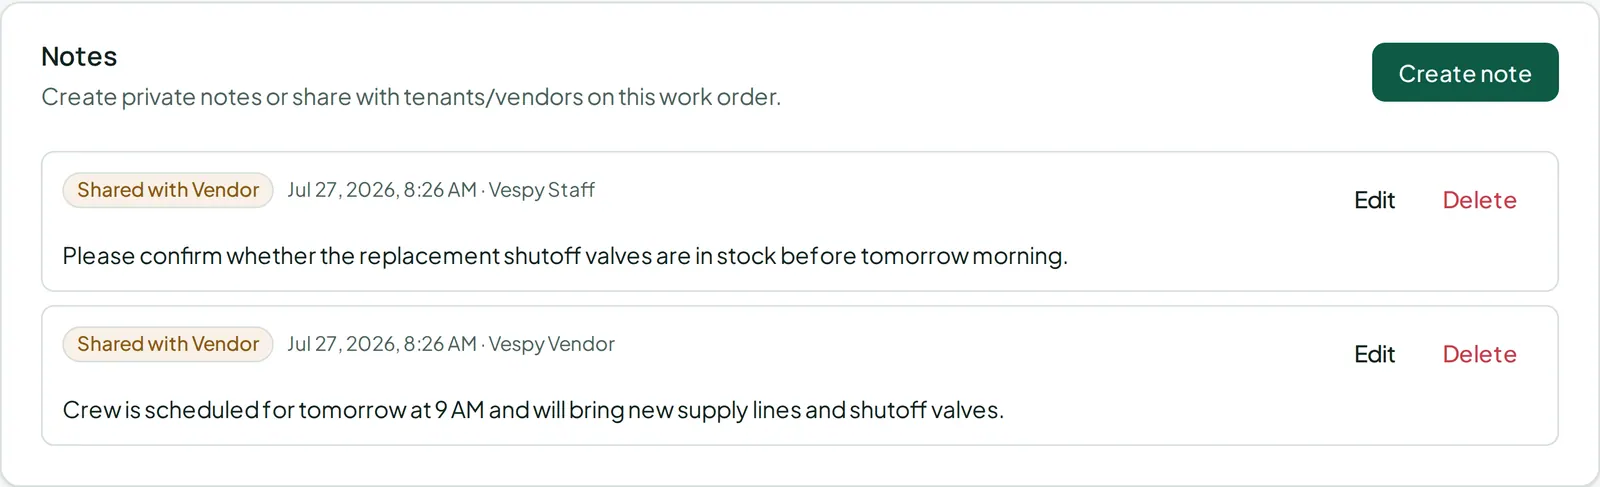
Caution
Visibility is enforced when people read notes back — a tenant only ever sees notes marked shared with them, and a vendor only sees ones shared with them. Double-check the box before you save anything you don’t want the wrong audience to see.
## 4. Track the cost
[Section titled “4. Track the cost”](#4-track-the-cost)
Linking an [expense](/workflows/adding-a-vendor-and-paying-them/) to the work order (via its **Create linked expense** button) is what makes the job’s total cost show up right on its own page, alongside the notes and any attachments.
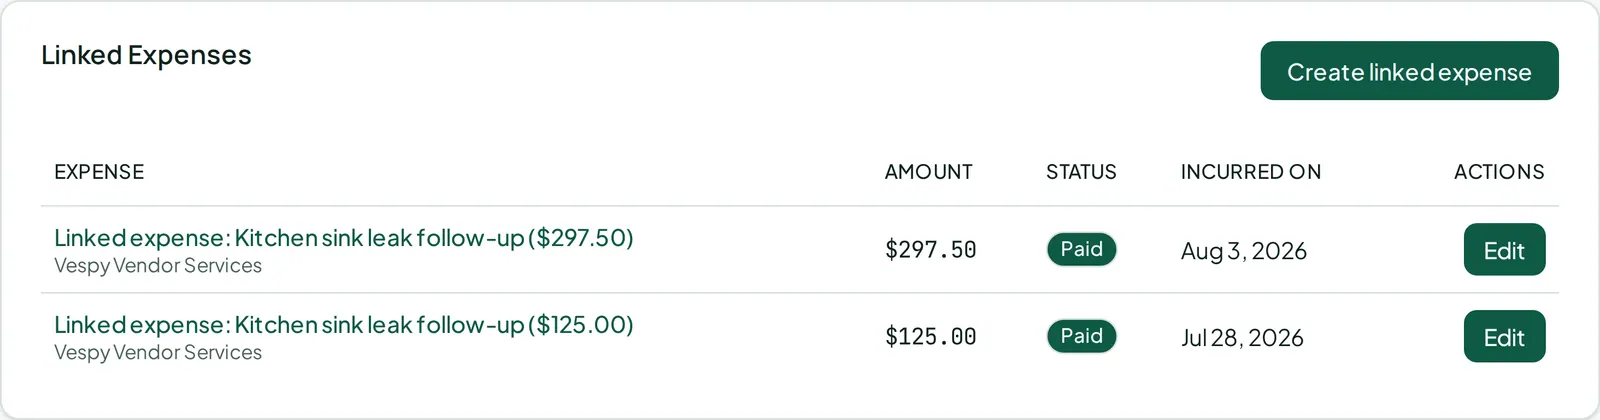
## 5. Close it out
[Section titled “5. Close it out”](#5-close-it-out)
Change **Status** to **Completed** once the work is done. It’s a final state — if the same issue comes back later, you’ll open a new work order rather than reopening this one.
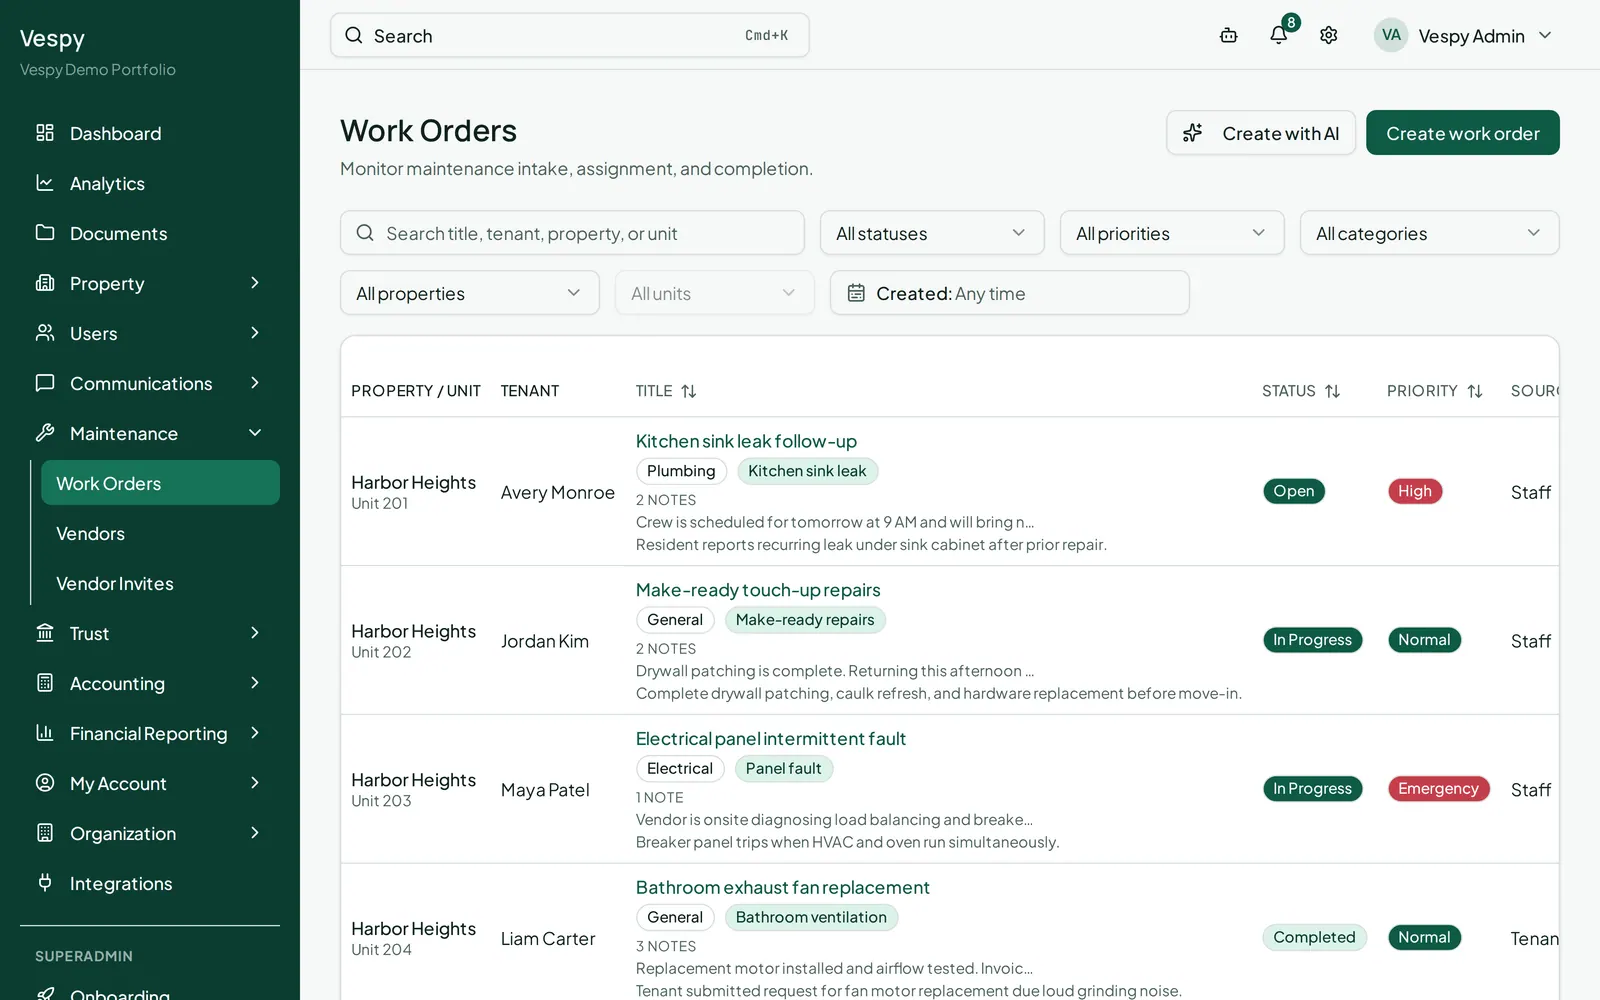
## What the tenant and vendor each see
[Section titled “What the tenant and vendor each see”](#what-the-tenant-and-vendor-each-see)
A tenant can file their own request from their portal (title, description, issue type, urgency, and photos) — Vespy fills in their unit and lease automatically, so they can’t open one against a unit they don’t rent. A vendor can view the jobs assigned to them and add comments, but only staff can change a work order’s status.
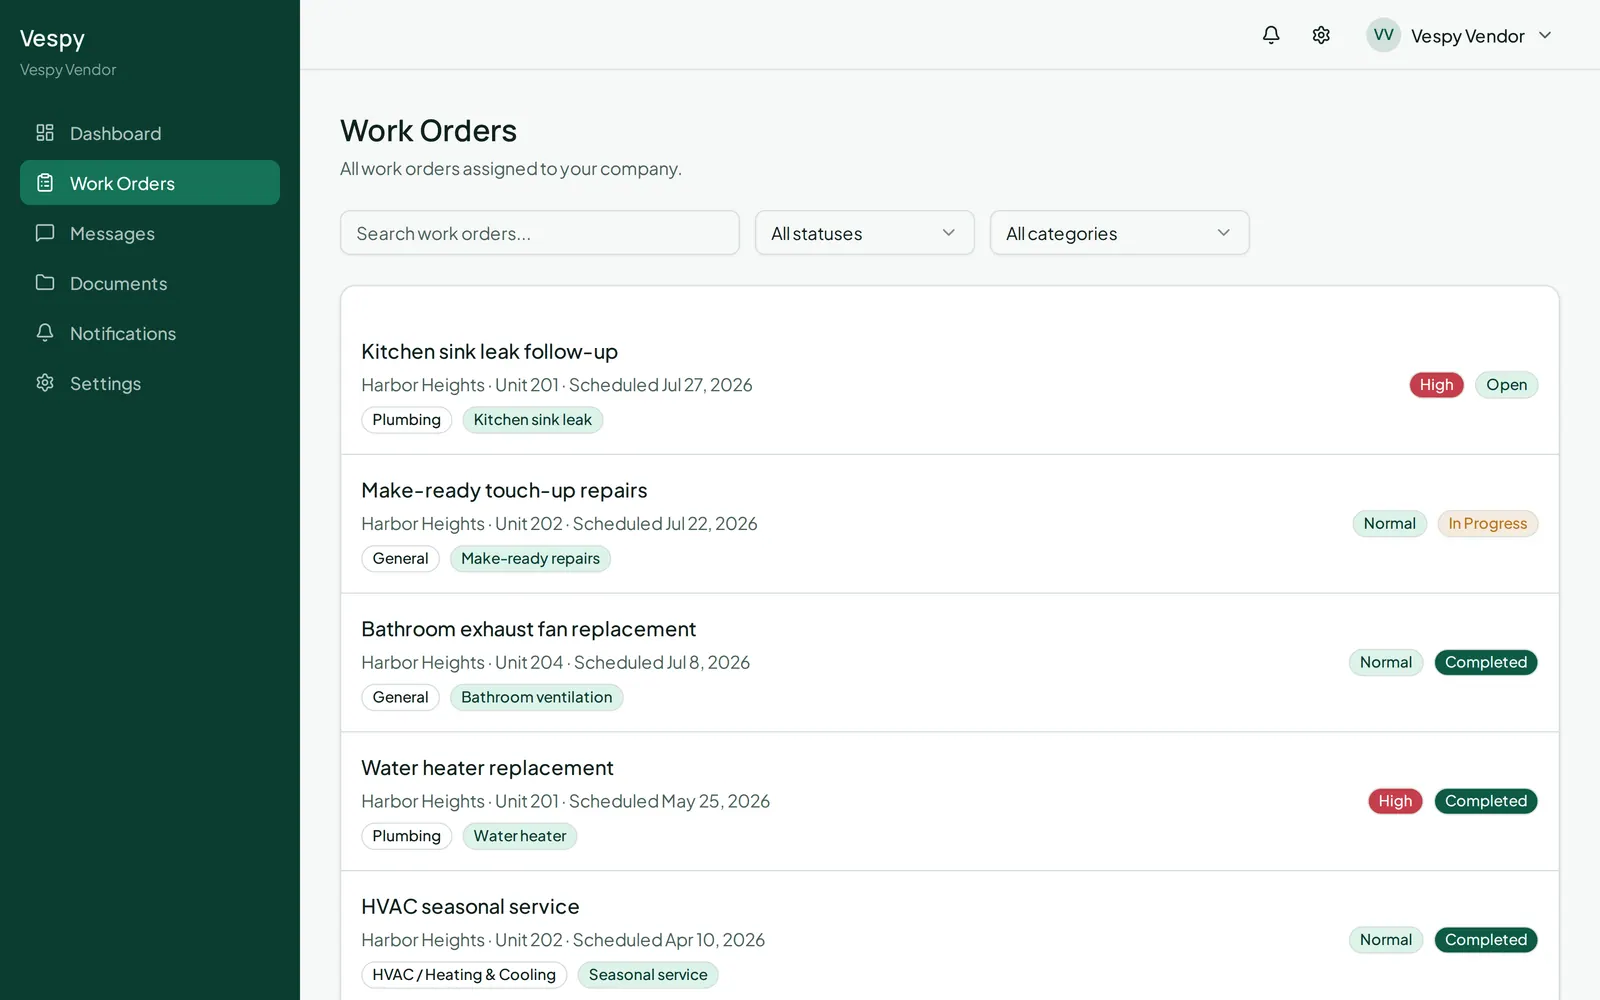
## Afterwards
[Section titled “Afterwards”](#afterwards)
* [Adding a vendor and paying them](/workflows/adding-a-vendor-and-paying-them/) — who does the work, and how they get paid for it.
# Managing the document library
> Upload, tag, find, and preview documents, and see what the AI analysis panel tells you about each one.
Every document you upload anywhere in Vespy — a lease, a certificate of insurance, a receipt — lands in one central library, whether or not you attached it to a specific record.
## 1. Upload a document
[Section titled “1. Upload a document”](#1-upload-a-document)
Go to **Documents** in the top navigation and click **Upload document**:
* Drag a file in, or use the file picker
* **Name**
* **Entity association** (optional) — link it to a property, unit, tenant, owner, payment, expense, lease, vendor, or work order. If you got here from that record’s own page, this is already filled in for you.
* **Category**, **Tags**, **Description**, **Expiration date** — all optional
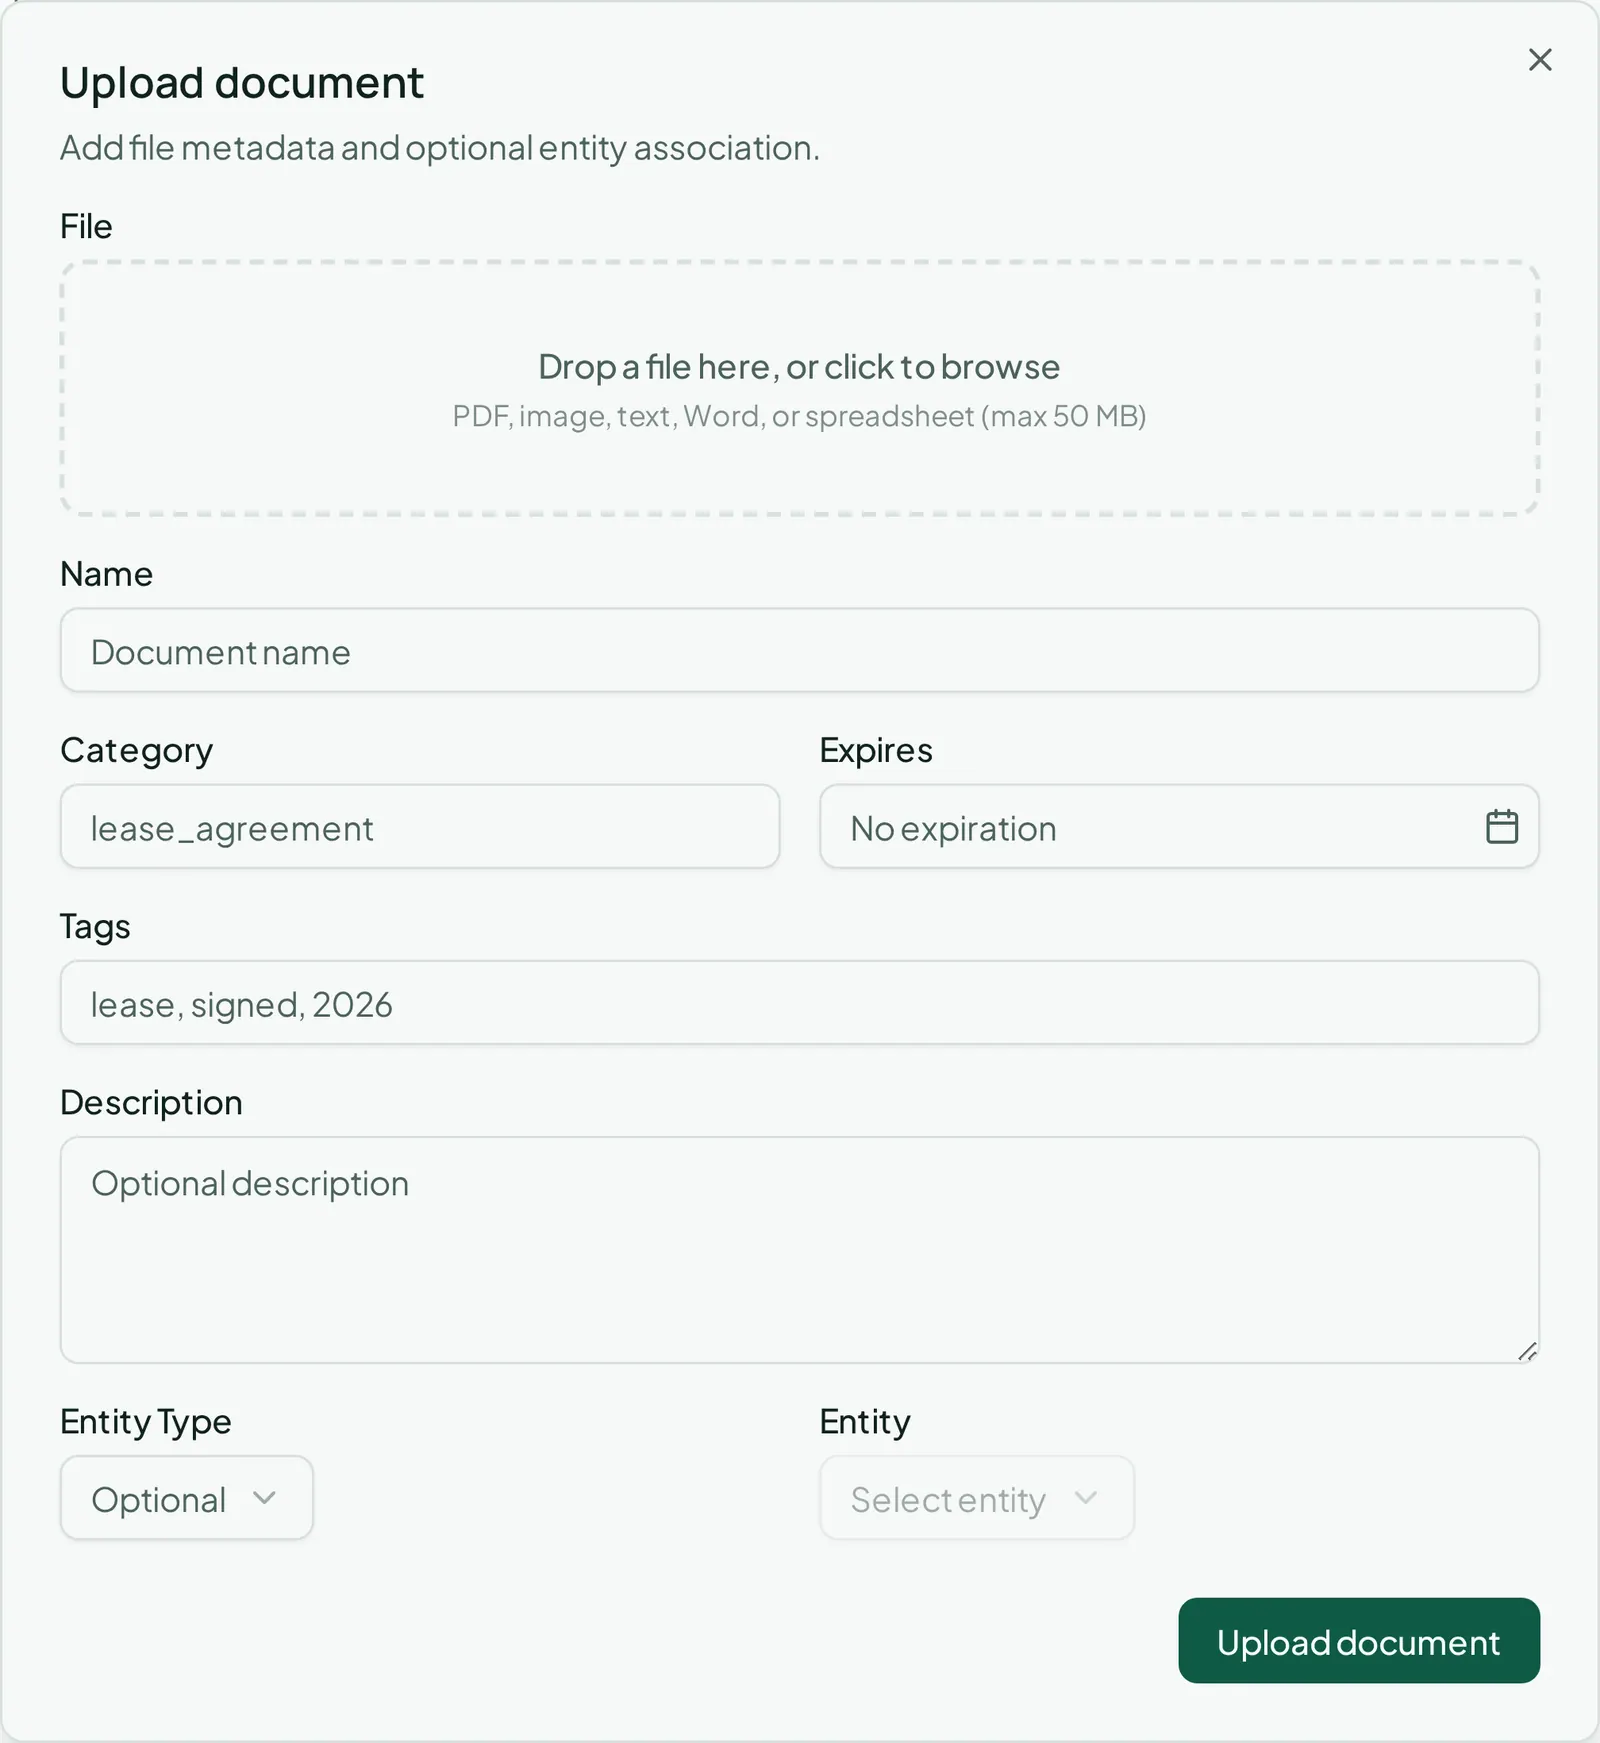
## 2. Find something later
[Section titled “2. Find something later”](#2-find-something-later)
Use the search box (name or category), or filter by entity type and by **“Expiring in 30 days”** to catch anything that needs renewing soon. There’s also a date range filter on when it was uploaded. The table shows each document’s category, an AI analysis status badge, which entity it’s linked to, who uploaded it, and its expiration date.
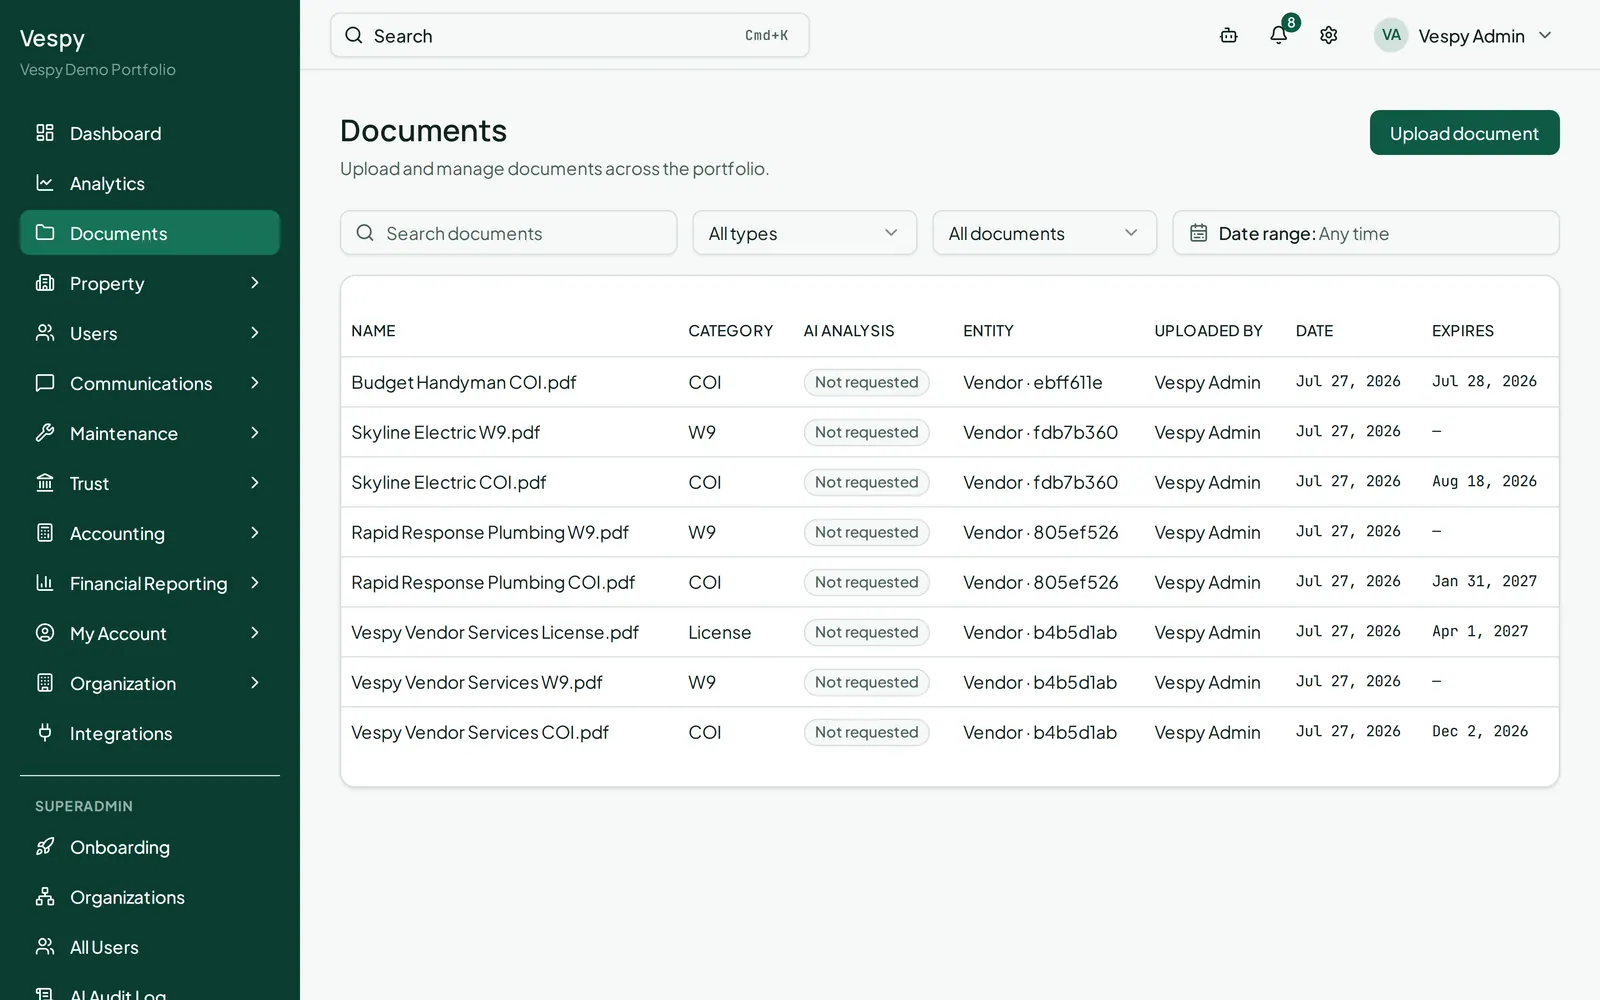
## 3. Open, preview, or download
[Section titled “3. Open, preview, or download”](#3-open-preview-or-download)
Click any row to open its detail page. **Download** grabs the file; PDFs, images, and text/markdown/CSV/JSON files also **preview** inline. **Edit** lets you change the name, category, tags, description, or expiration date after the fact. **Delete** removes it (admins and managers only).
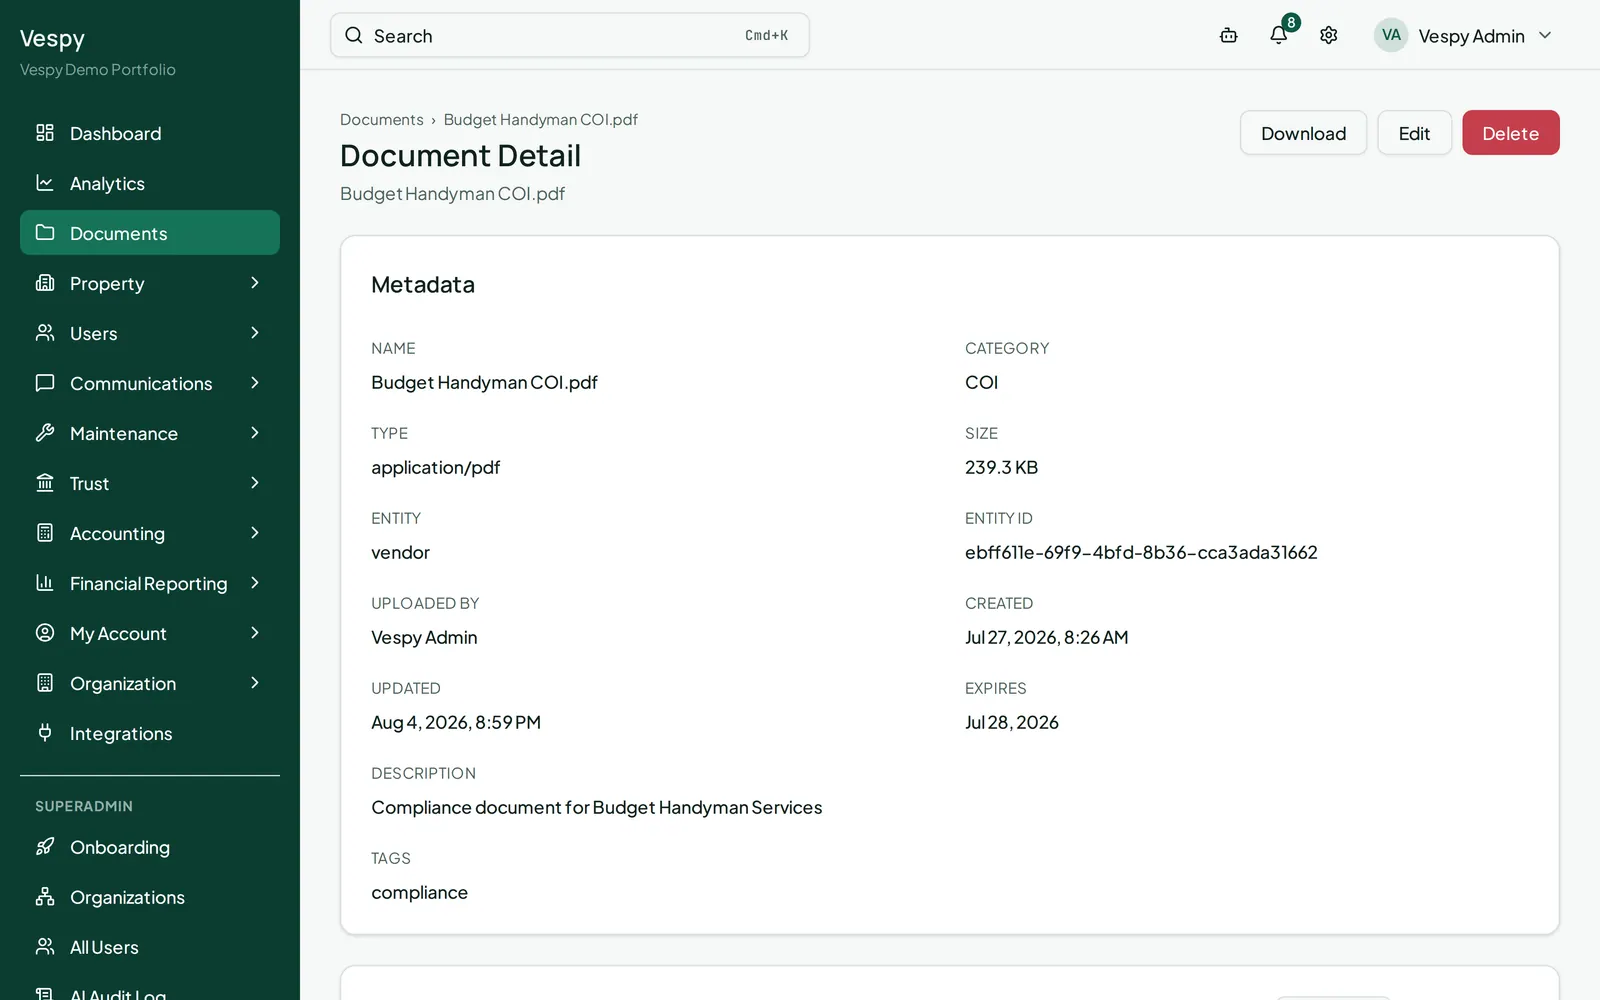
## What the AI analysis panel tells you
[Section titled “What the AI analysis panel tells you”](#what-the-ai-analysis-panel-tells-you)
Every document gets automatically analyzed. For text documents (a lease, for example), you’ll see a classification of what kind of document it is, a plain-language summary, any parties named in it, and key dates it mentions. For images, you get a visual category and a short summary instead.
Note
If the analysis looks stale or wasn’t quite right, click **Reanalyze** to run it again. It’s limited to once every 15 minutes per document, and the status badge updates live while it re-runs.
## Afterwards
[Section titled “Afterwards”](#afterwards)
* [Adding a vendor and paying them](/workflows/adding-a-vendor-and-paying-them/) — vendor compliance documents (COI, W-9, license) live in this same library.
* [Handling a security deposit](/workflows/handling-security-deposits/) — attach photos or invoices as documents, then reference them when recording a deduction.
# Messaging tenants and vendors
> A unified inbox for every tenant and vendor conversation, across in-app, email, and SMS.
Go to **Communications > Messages** for one inbox covering every conversation with your tenants and vendors, regardless of which channel they came in on.
## 1. Find a conversation
[Section titled “1. Find a conversation”](#1-find-a-conversation)
The left pane lists every participant, sorted by most recent activity, with an unread badge and a last-message preview. Filter by **All participants / Tenants / Vendors**, or search by name or email.
## 2. Reply
[Section titled “2. Reply”](#2-reply)
Open a thread to see the full history as chat bubbles, each labeled with who sent it and which channel it went through (in-app, email, or SMS). The reply box only offers channels that participant actually has an email or phone number for. Replying by email lets you pick which of your connected email accounts to send **From**. Press Enter to send, or Shift+Enter for a new line.
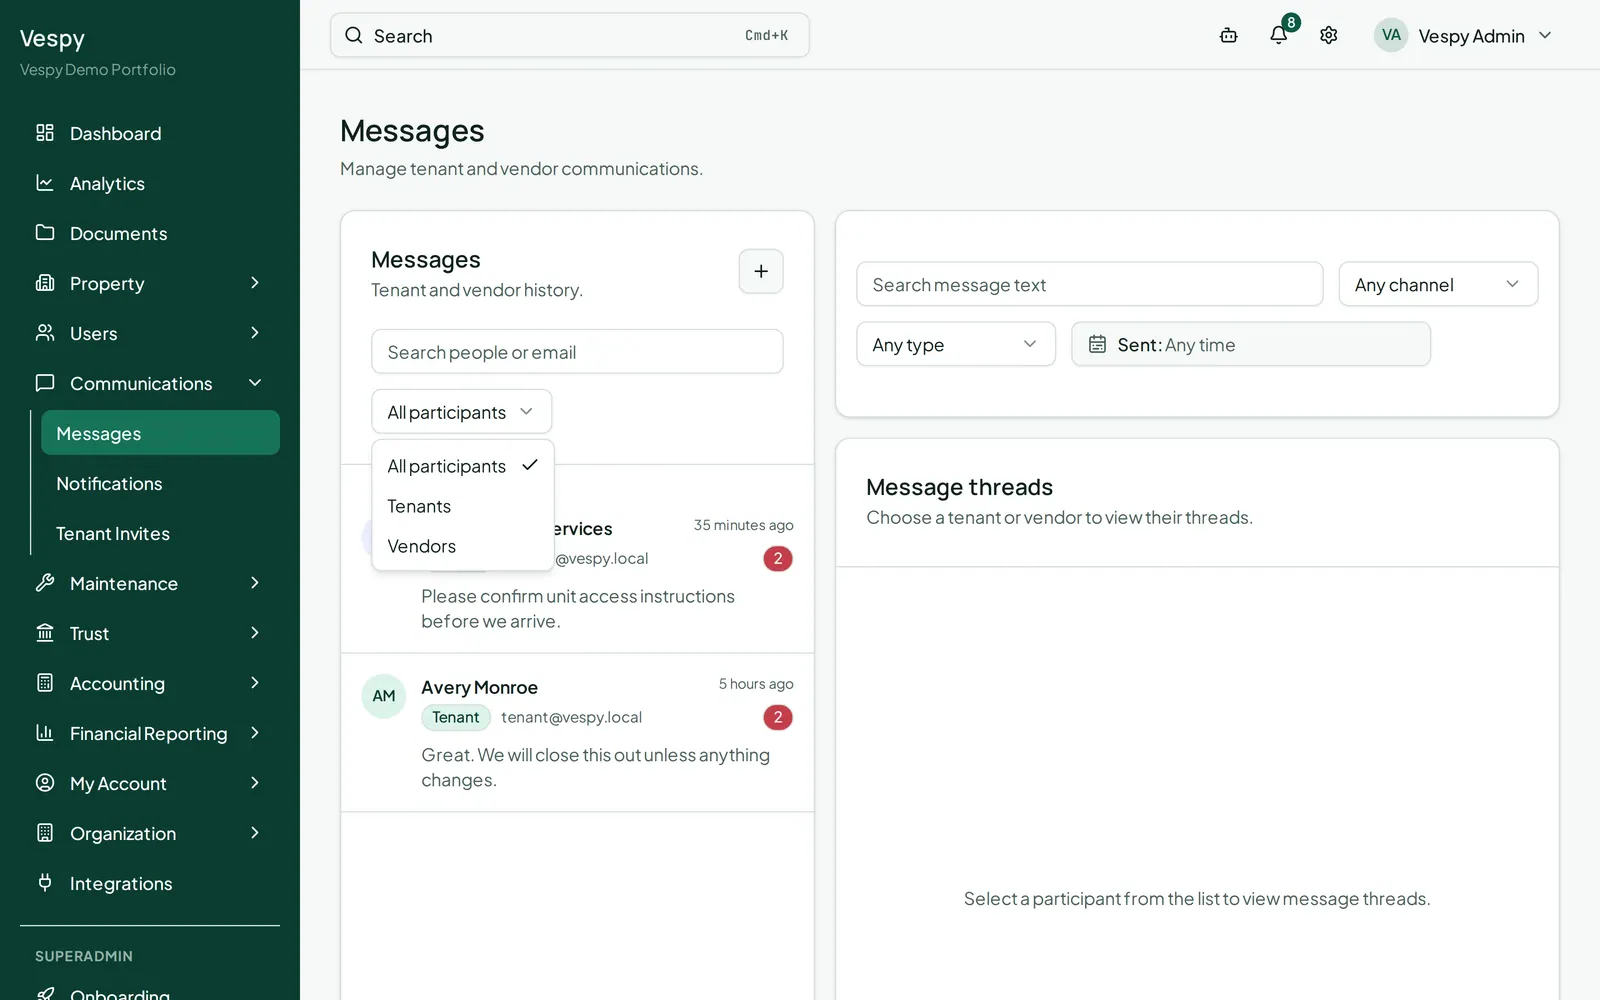
## 3. Start a new conversation
[Section titled “3. Start a new conversation”](#3-start-a-new-conversation)
Click **compose**, pick a tenant or vendor, choose a channel, and write your message (with an optional subject if you’re starting a new email thread).
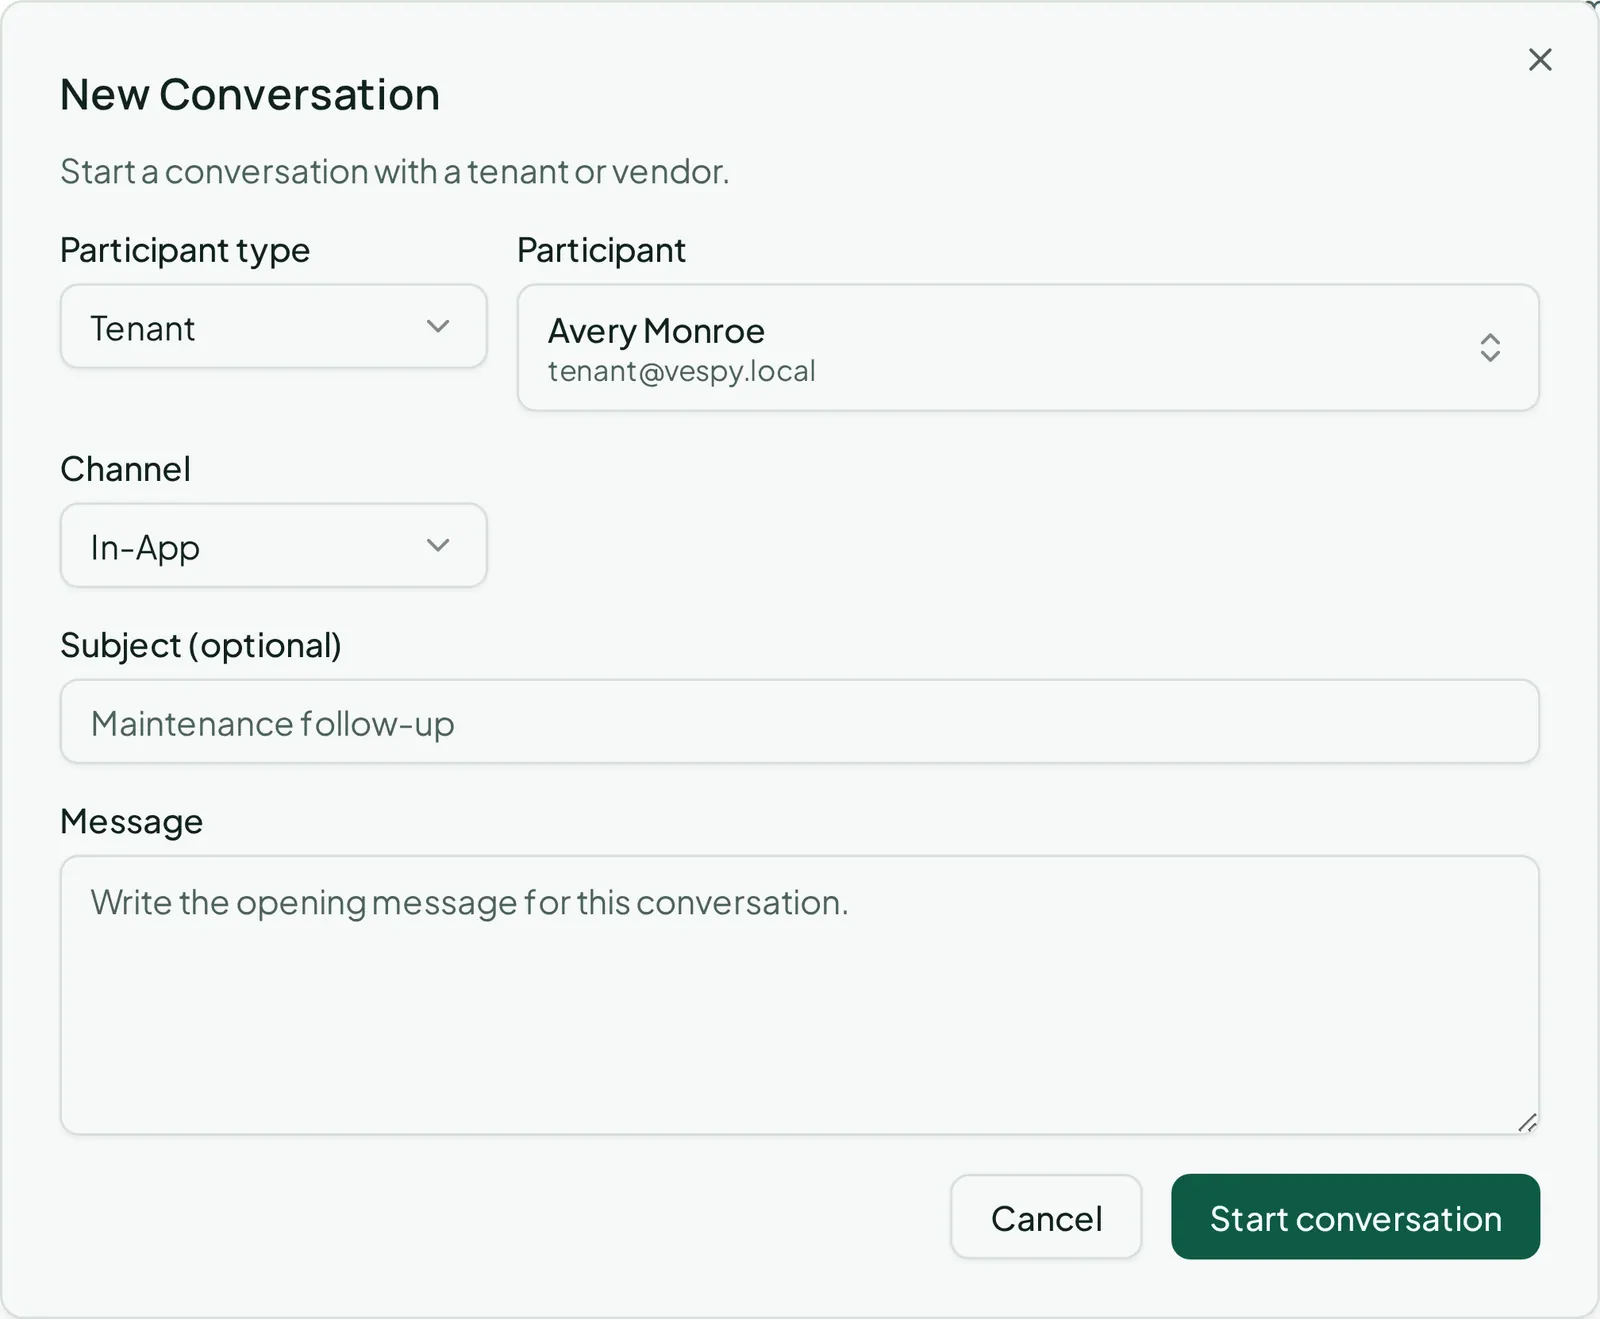
## 4. Wrap up or export
[Section titled “4. Wrap up or export”](#4-wrap-up-or-export)
**Close** a thread once it’s resolved — the reply box disappears, and it moves out of your active list. Need a record of the whole conversation? **Export to PDF** from the thread header.
## Searching everything at once
[Section titled “Searching everything at once”](#searching-everything-at-once)
Above the inbox, a separate search looks across every message org-wide — filter by channel, participant type, and a date range. Clicking a result jumps straight to that message, highlighted in its thread.
## Afterwards
[Section titled “Afterwards”](#afterwards)
* [Notifications and sending a blast](/workflows/notifications-and-sending-a-blast/) — for reaching many tenants at once instead of one conversation at a time.
# Notifications and sending a blast
> The bell, the delivery history log, sending a blast to many tenants at once, and your own personal preferences — three related but different screens.
“Notifications” shows up in three different places in Vespy, and they’re easy to confuse with each other:
* The **bell icon** in the top nav — your own real-time alerts
* **Communications > Notifications** — an organization-wide log of everything sent, plus where you send a blast
* **My Account > My Notifications** — your personal preferences for which alerts reach you and how
## The bell
[Section titled “The bell”](#the-bell)
Click the bell for a popover of your unread alerts first, then your most recently read ones. Each shows who triggered it, when, and which channels delivered it. Click one to mark it read and jump straight to whatever it’s about — a lease, a work order, a payment. **Mark all as read** clears the badge in one click; **View all** takes you to the full history below.
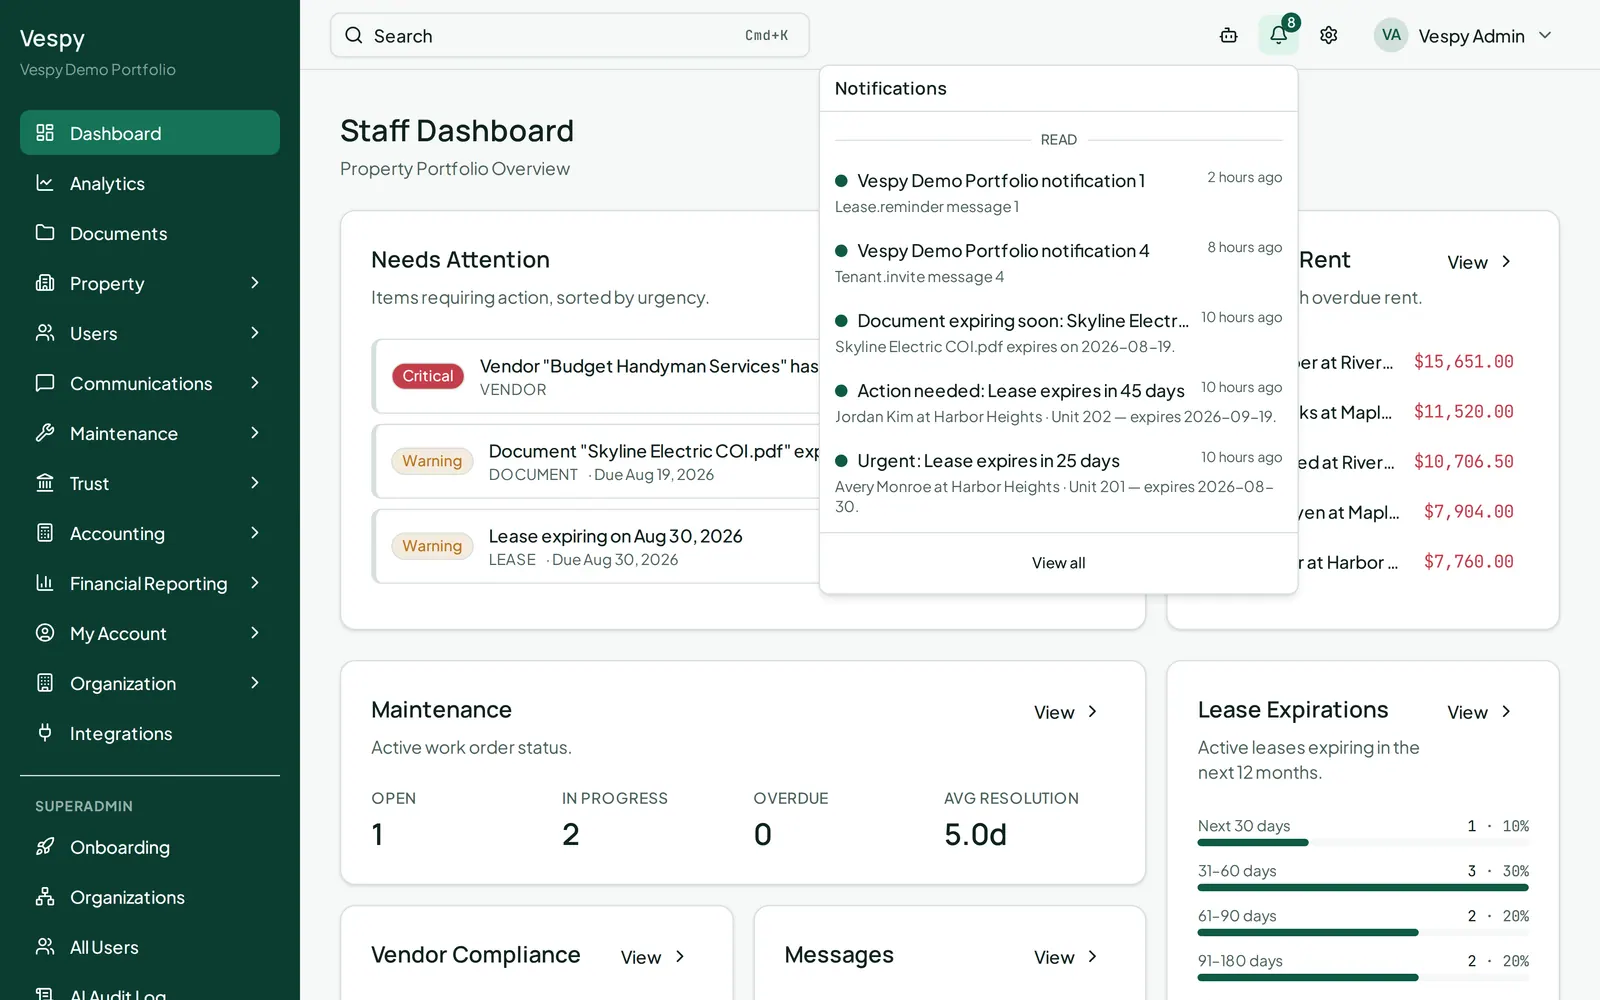
## The delivery history
[Section titled “The delivery history”](#the-delivery-history)
**Communications > Notifications** is not just “your” notifications — it’s a searchable log of everything your organization has sent to anyone, with who received it, on which channels, and when. Filter by recipient or channel, and click any row for the full delivery breakdown (delivered in-app, sent by email, queued for a digest, still pending).
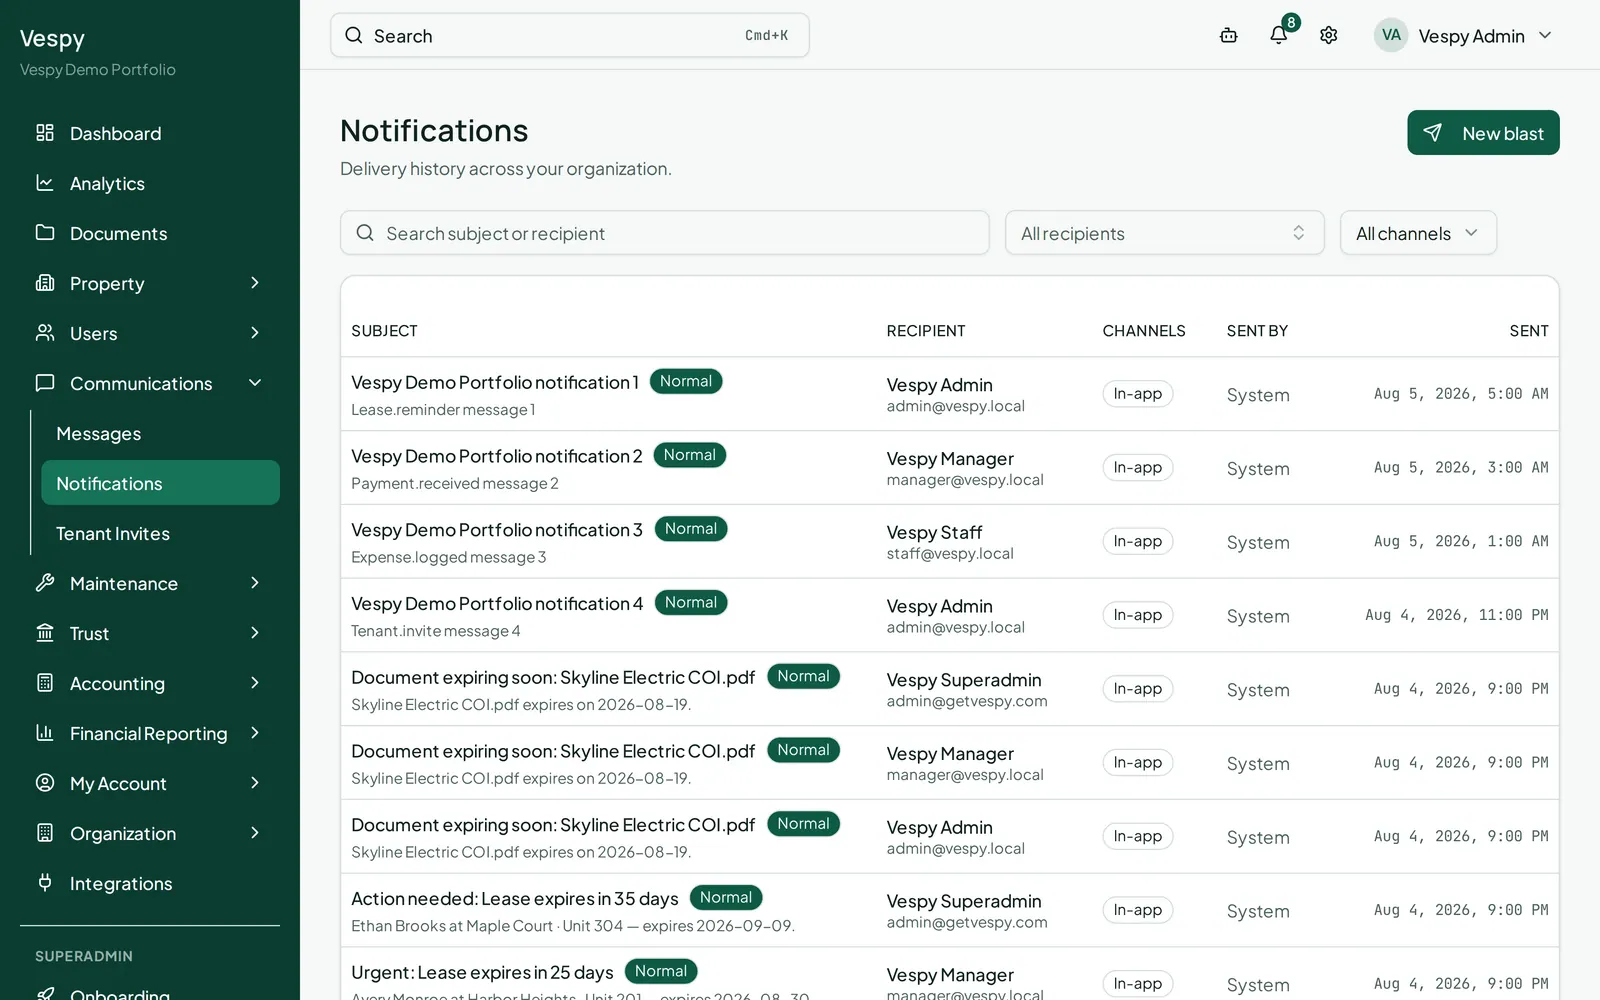
## Sending a blast
[Section titled “Sending a blast”](#sending-a-blast)
This is also where you reach many tenants at once. Click **New blast**:
1. **Subject** and **Message**
2. **Recipients** — pick Properties, Units, and/or specific Tenants directly; it reaches every active-lease tenant in whatever properties/units you selected, plus anyone you added by name
3. **Delivery channels** — In-app, Email, and/or SMS (In-app and Email are checked by default)
4. **Auto-translate** (optional) — generates a version in each recipient’s preferred language
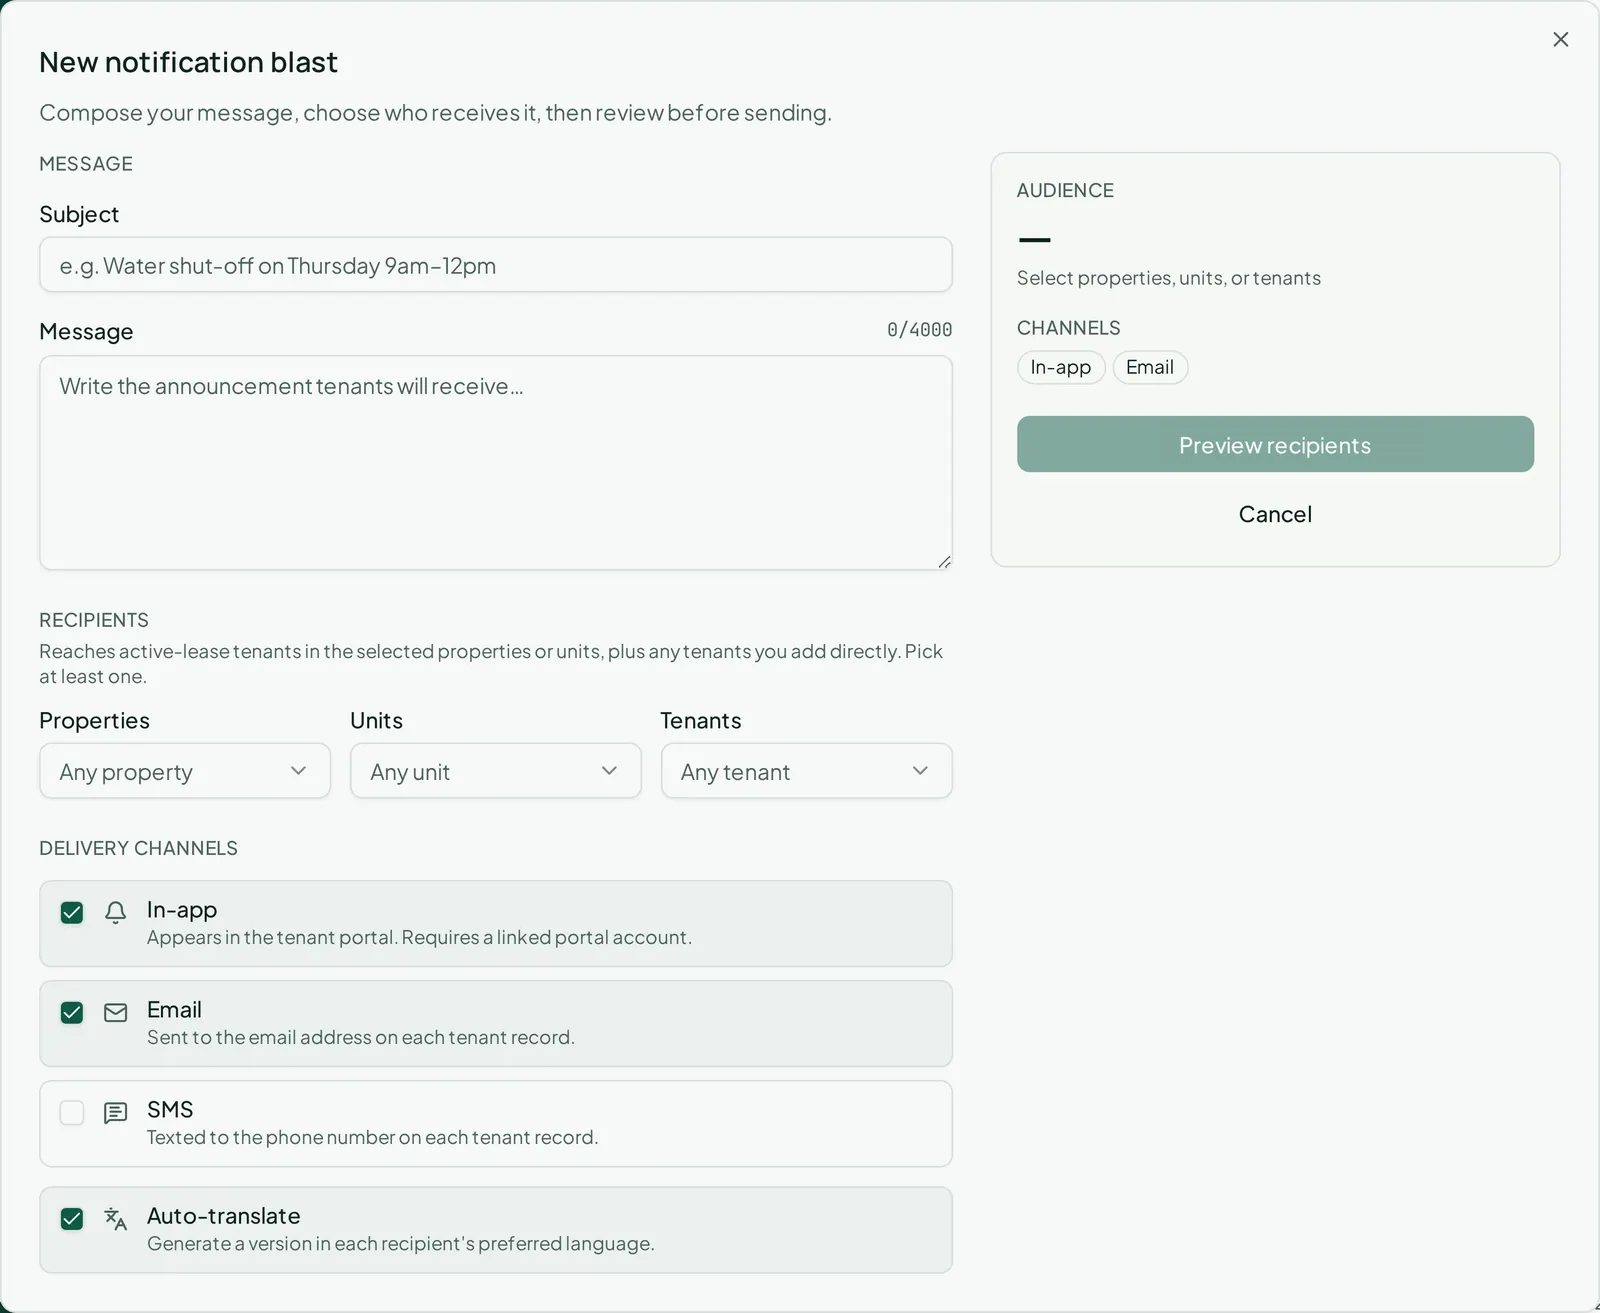
Click **Preview recipients** before you can send. This shows exactly how many people you’re reaching, a breakdown by language if you turned on auto-translate, and a warning if some tenants have no contact method for the channels you picked. You can hand-edit any translated version right there before sending.
Caution
Changing anything in the form after previewing invalidates the preview — you’ll need to preview again before **Send** becomes available.
## Your own preferences
[Section titled “Your own preferences”](#your-own-preferences)
**My Account > My Notifications** controls which categories reach *you* personally (maintenance, compliance, messaging, payments, statements, leasing), on which channels, and whether email arrives immediately or as a daily digest. Turning on email or SMS requires a one-time consent step; withdrawing consent turns those channels back off. **Send test notification** buttons let you confirm delivery on each channel before relying on it.
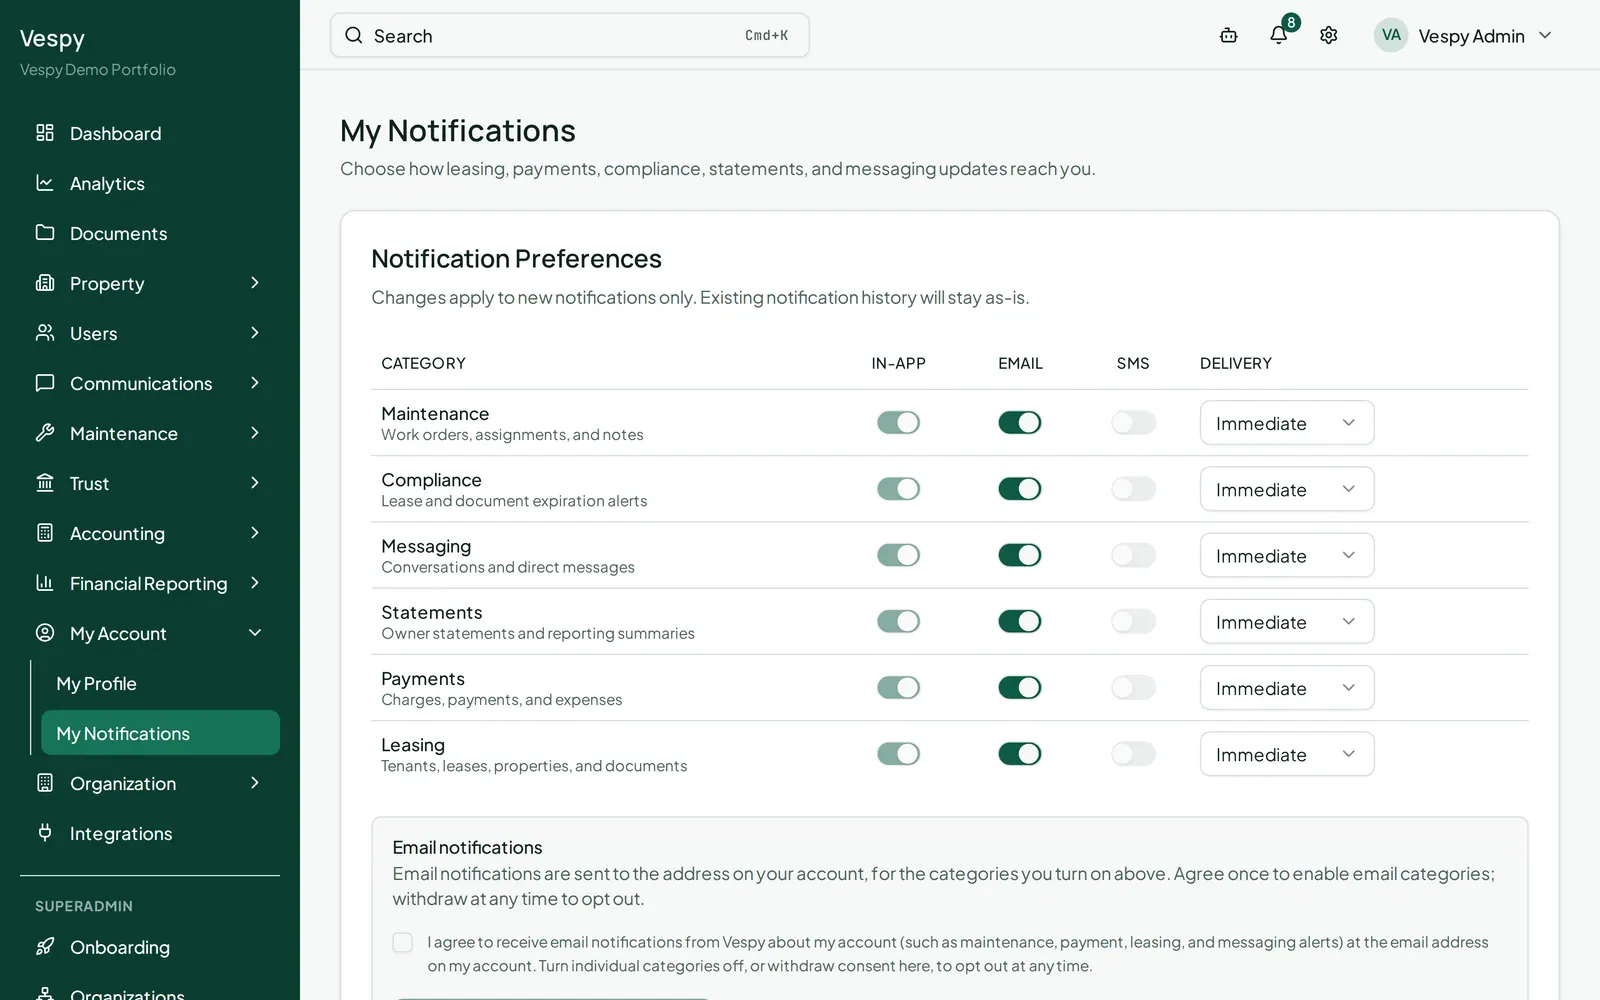
## Afterwards
[Section titled “Afterwards”](#afterwards)
* [Messaging tenants and vendors](/workflows/messaging-tenants-and-vendors/) — for a conversation with one person, rather than a broadcast to many.
# Onboarding a property
> The full path from an empty portfolio to a billable, active lease.
This is the workflow every new Vespy organization walks through first. Nothing else in the platform is useful until a property has units, a unit has a tenant, and a lease connects the two:
```plaintext
property → unit ──┐
├─→ lease → charges → payments
tenant ────────────┘
```
Note
Your **Dashboard** (the first thing you see after logging in) is a good home base while you do this — it surfaces past-due rent, open maintenance, expiring leases, and recent activity across everything you set up below, all clickable through to the record itself.
## 1. Create the property
[Section titled “1. Create the property”](#1-create-the-property)
Go to **Property > Properties** and click **Create property**. Fill in:
* **Property name**
* **Street address**, **Address line 2** (optional), **City**, **State**, **ZIP code**
* **Owners** (optional) — select from the ones you’ve already added
* **Total units**
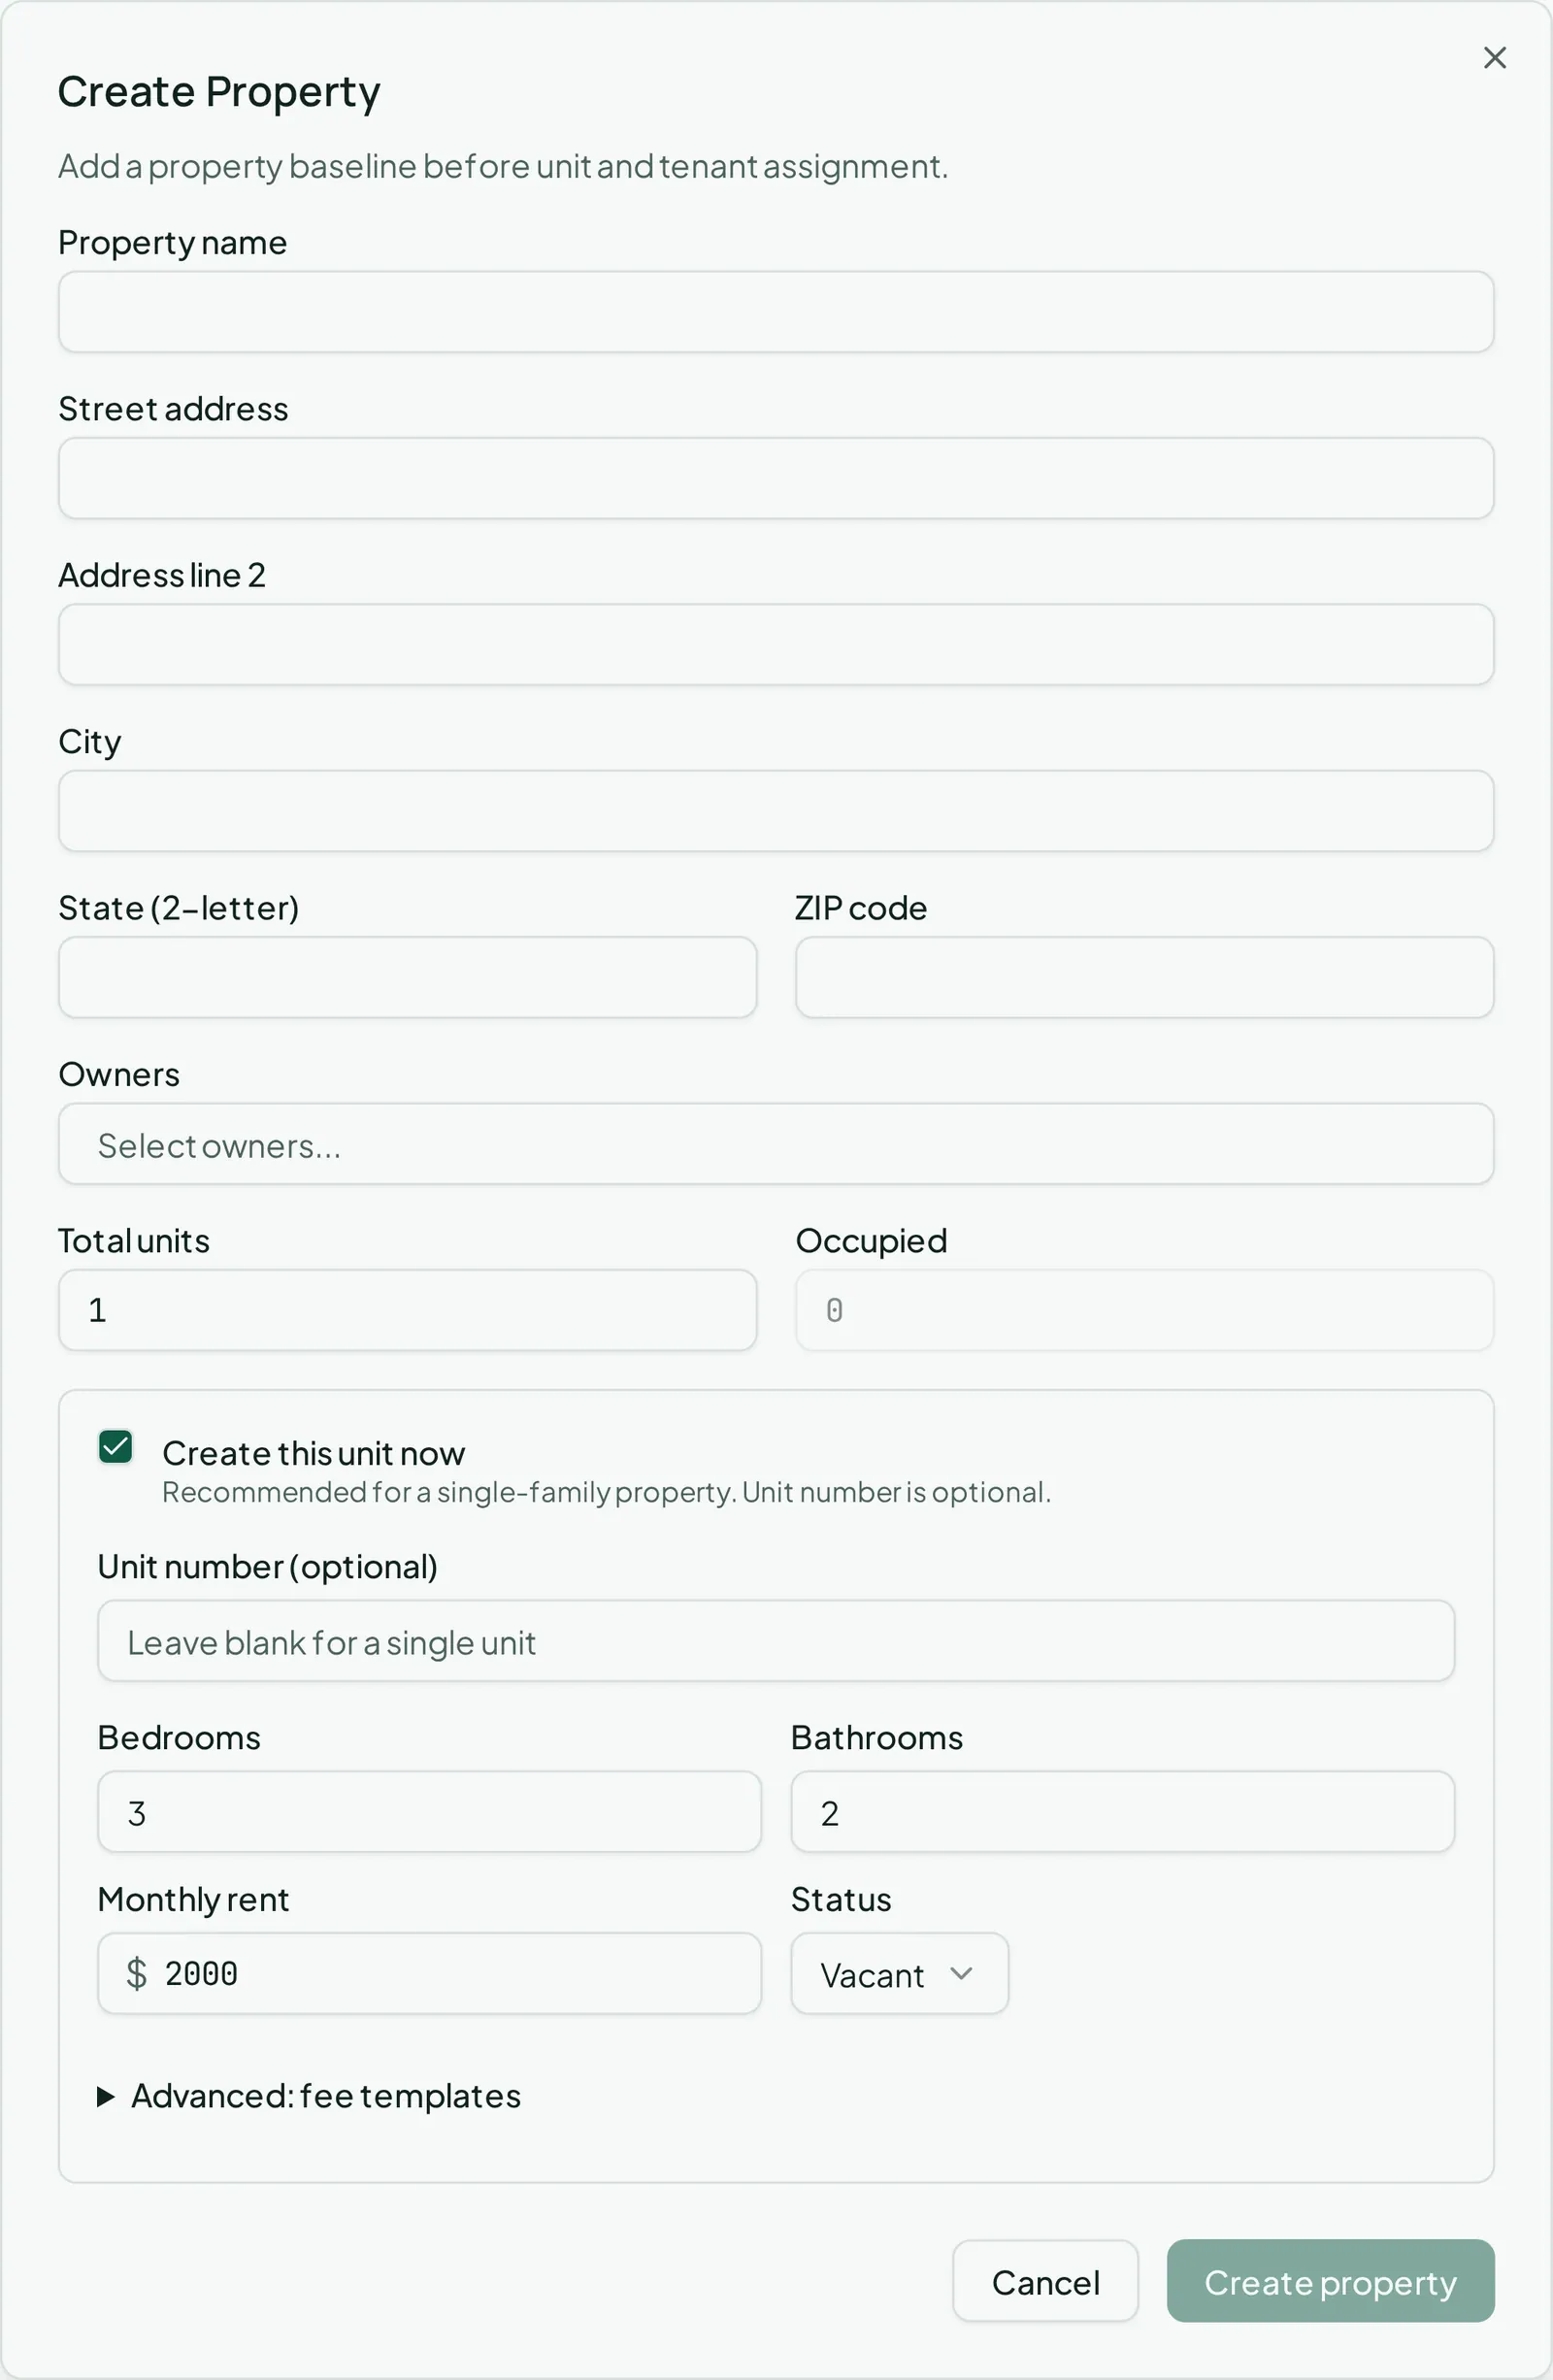
If **Total units** is `1`, a box appears letting you check **Create this unit now** and fill in the unit’s details right here — bedrooms, bathrooms, monthly rent, status, and so on. For anything bigger, save the property first and add units next.
## 2. Add units
[Section titled “2. Add units”](#2-add-units)
If you didn’t create the unit inline above, go to **Property > Units** and click **Create unit** (or, from the property’s own page, use the **+ Create unit** link in its Units card — it takes you to the same form, pre-filled). Fill in:
* **Property**
* **Unit number** (optional)
* **Bedrooms**, **Bathrooms**
* **Monthly rent**
* **Status** — Vacant, Occupied, or Maintenance
* **Access instructions** (optional) — worth filling in now, since any maintenance request opened on this unit later copies these instructions in automatically
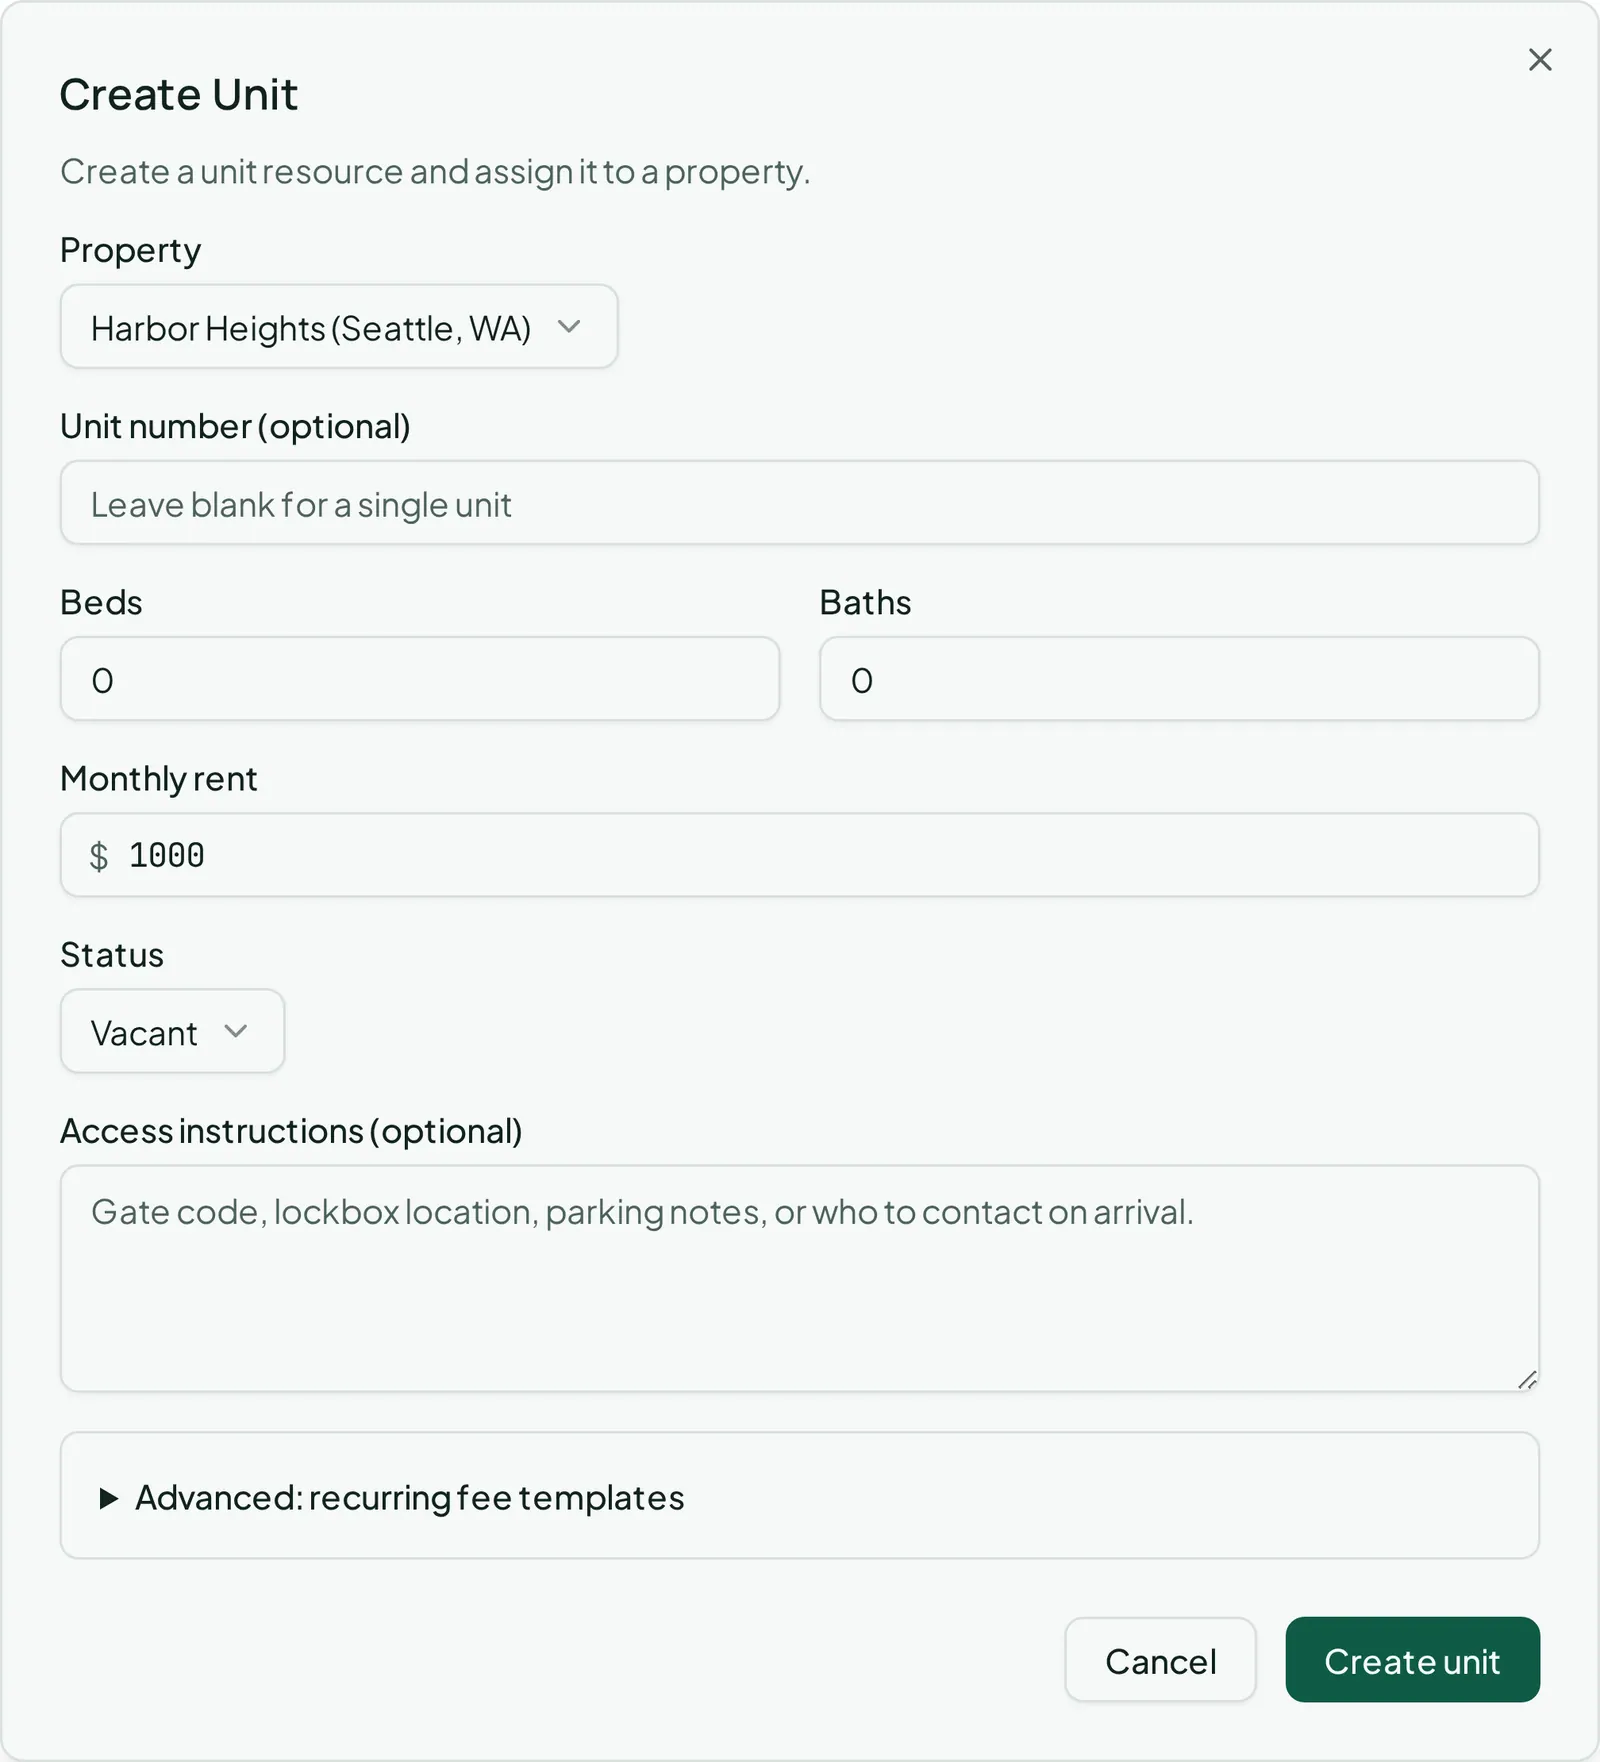
You can also set up recurring fee templates here (a parking spot, a storage locker) that get offered automatically when you create a lease for this unit.
## 3. Create the tenant
[Section titled “3. Create the tenant”](#3-create-the-tenant)
Go to **Users > Tenants** and click **Create tenant**. Fill in:
* **Tenant name**, **Tenant email**
* **Phone** (optional)
* **Preferred language** (optional)
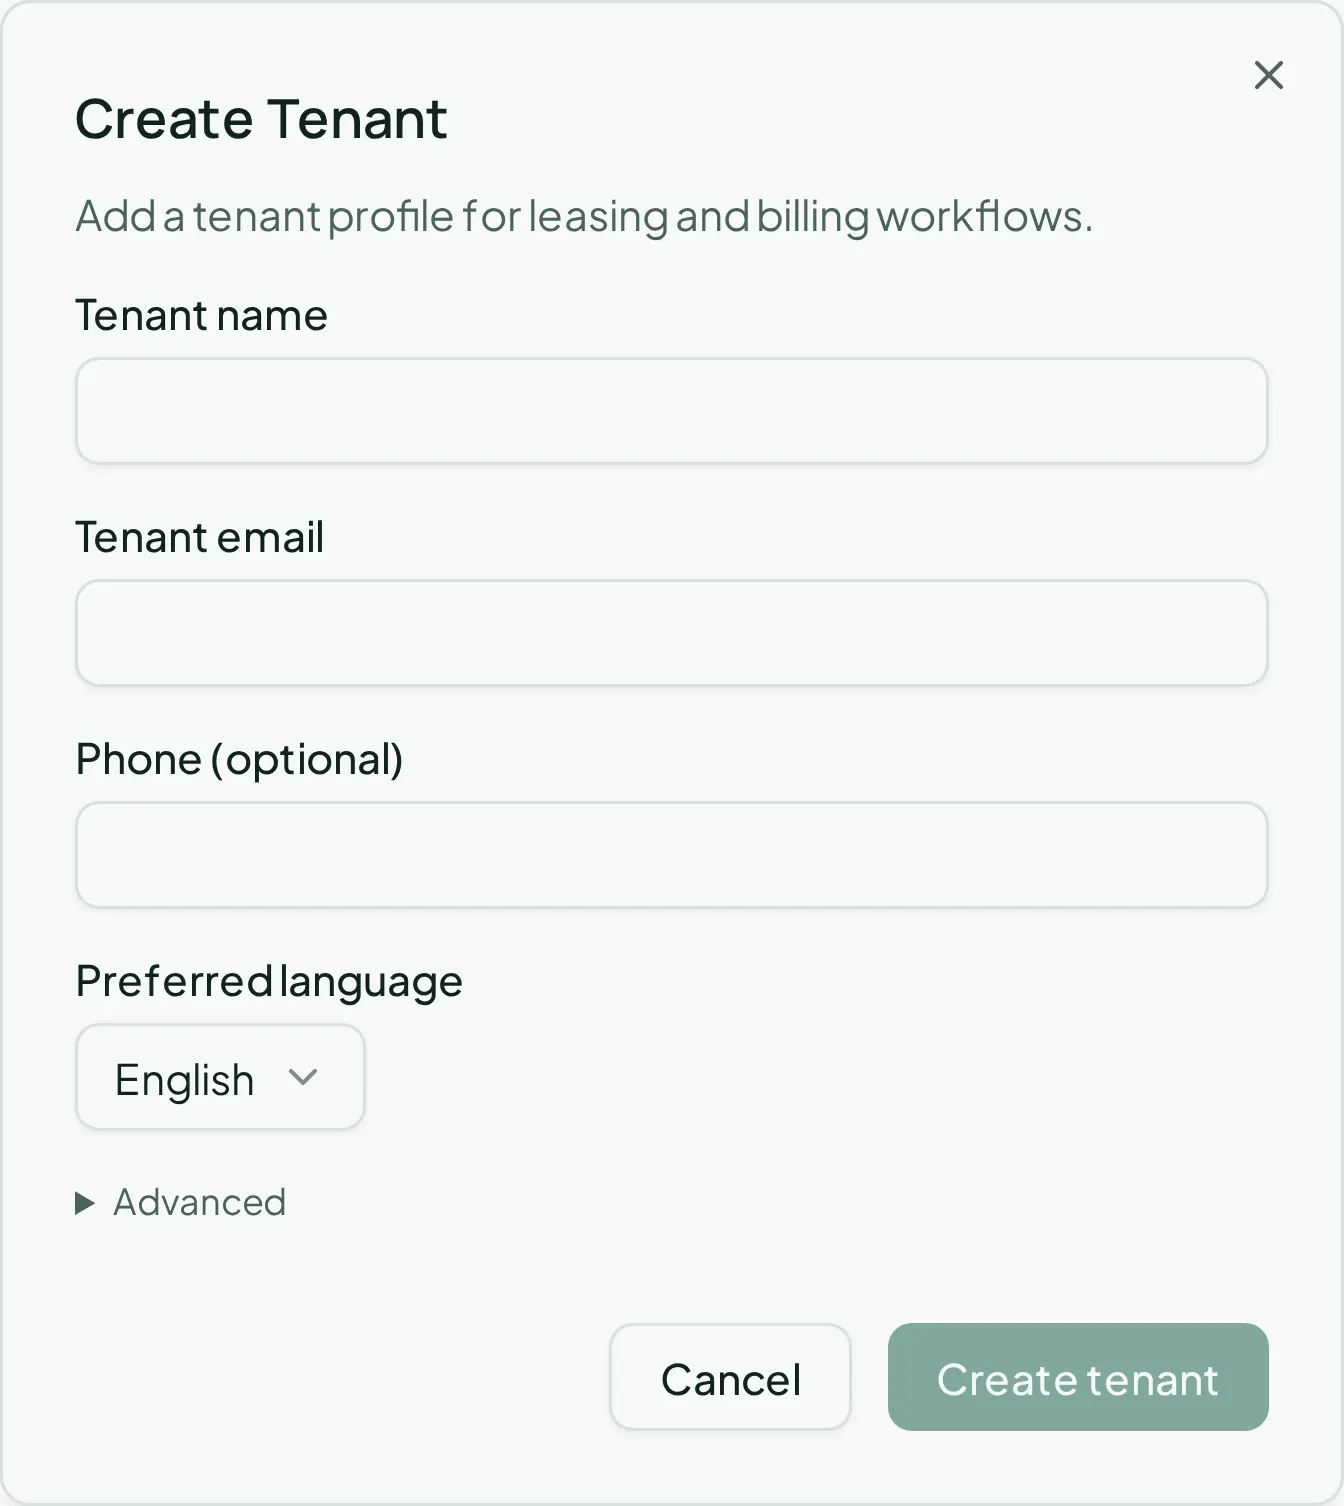
This creates a tenant profile — it does **not** give them a portal login. That’s a separate, later step: see [Inviting a tenant to the portal](/workflows/inviting-a-tenant-to-the-portal/).
## 4. Create the lease
[Section titled “4. Create the lease”](#4-create-the-lease)
Go to **Property > Leases** and click **Create lease** (or use the **Create Lease** link from the unit’s page, which pre-fills the property and unit for you). Fill in:
* **Property**, **Unit**, **Tenant**
* **Term type** — Fixed term or Month-to-month
* **Start date**, **End date** (hidden for month-to-month), **Move-in date**
* **Rent charge day** — the day of the month rent is billed, driving all future rent charges automatically
* **Monthly rent**
* **Initial status** — Draft, Active, Ended, or Terminated
* Any **additional recurring charges** (parking, pet rent), and a **late fee policy**
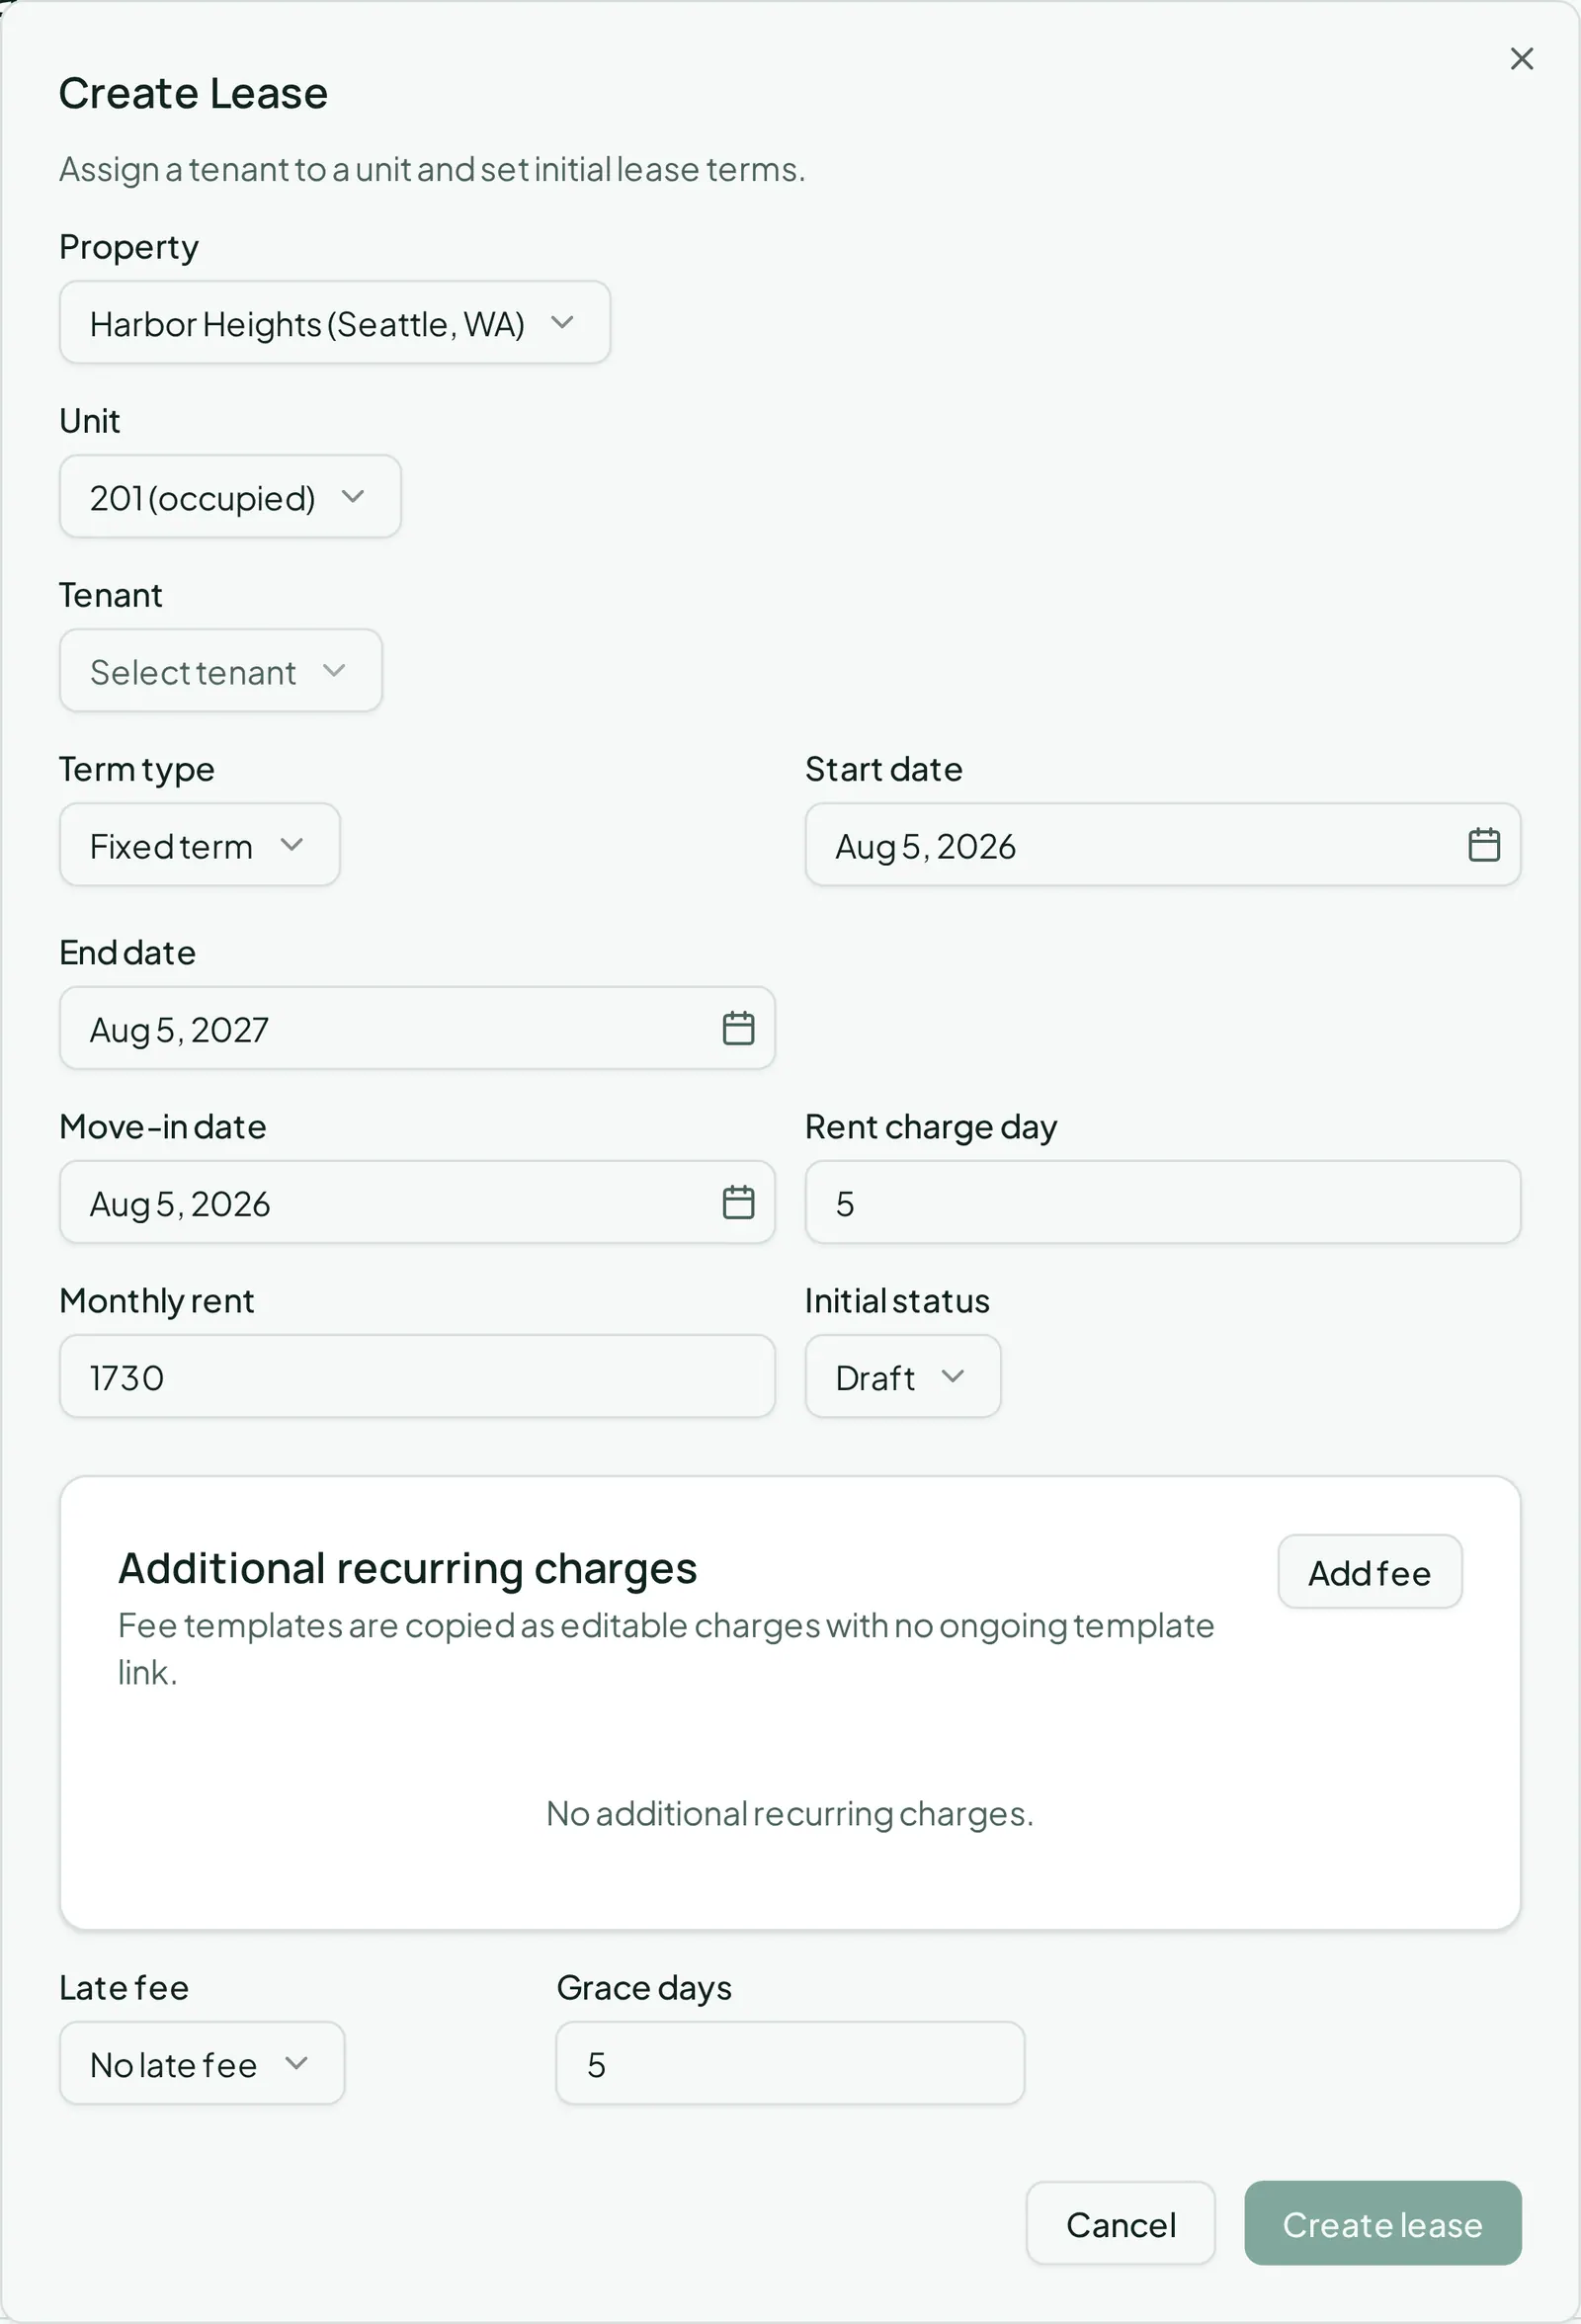
Note
**Initial status is the step that matters most.** A lease left in `Draft` bills nothing and doesn’t mark the unit occupied. To start the lease immediately, pick **Active** here. If you created it as a draft, activate it later from the lease’s own page: open it, click **Edit lease**, change **Status** to **Active**, and save. Activating flips the unit to occupied and starts rent generation from the rent charge day.
Caution
Bringing over an existing portfolio rather than onboarding one property at a time? See [Bulk-importing your portfolio data via CSV](/workflows/bulk-importing-your-portfolio-data/) rather than repeating this process property by property.
## Afterwards
[Section titled “Afterwards”](#afterwards)
* [Billing rent and collecting payments](/workflows/billing-rent-and-payments/) — the lease now bills; here’s how to collect on it.
* [Handling a security deposit](/workflows/handling-security-deposits/) — if you collected one at move-in.
* [Renewing or terminating a lease](/workflows/renewing-or-terminating-a-lease/) — the rest of this lease’s lifecycle.
# Reading your portfolio analytics
> Fourteen trend metrics across financials, occupancy, leasing, and maintenance, and how they differ from point-in-time reports.
Go to **Analytics** in the top navigation for trend charts — how something has changed over time, rather than a snapshot as of one date.
## Picking a metric
[Section titled “Picking a metric”](#picking-a-metric)
The left sidebar lists 14 metrics grouped into four categories:
* **Financial** — rent owed vs. collected, net operating income, operating expense ratio, expenses by category, outstanding receivables
* **Occupancy** — occupancy rate, economic occupancy, days vacant
* **Leasing** — new leases and move-ins, lease renewal rate, lease expirations
* **Maintenance** — delinquency rate, move-outs and turnover, work order throughput and resolution time
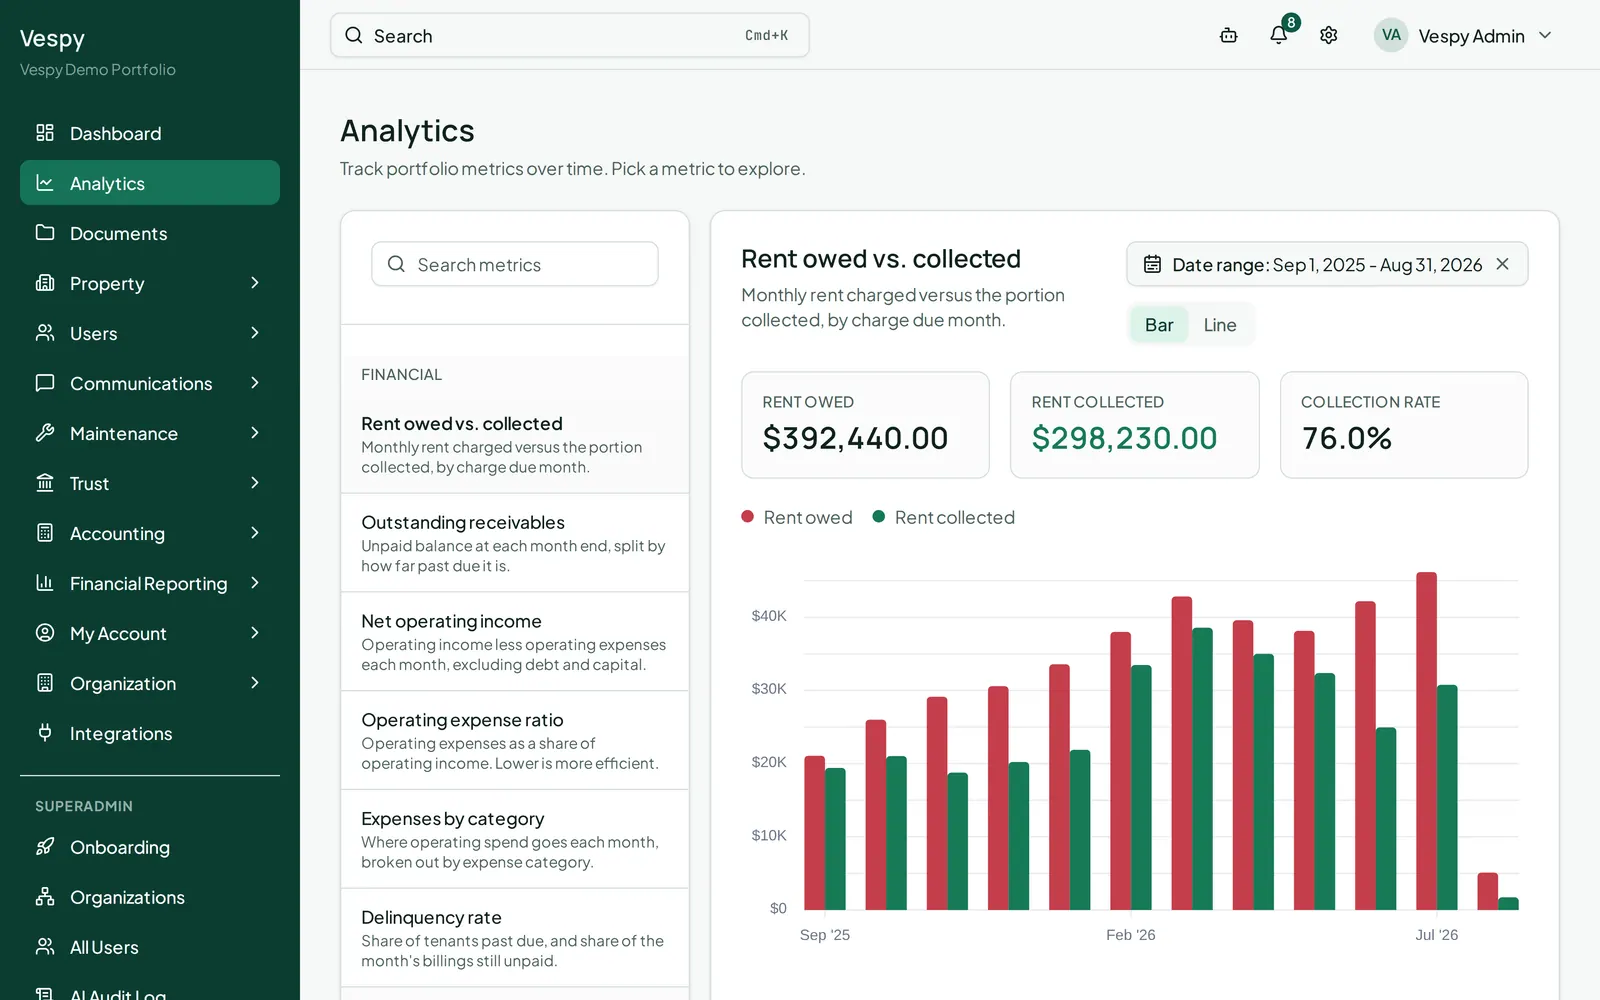
Selecting one updates the page URL, so you can bookmark or share a link straight to a specific metric.
## Reading the chart
[Section titled “Reading the chart”](#reading-the-chart)
Each metric shows a **date range** picker (most default to the trailing 12 months; lease expirations defaults forward 12 months instead), a **Bar/Line** toggle, three summary KPI tiles, and a color-coded chart with a legend.
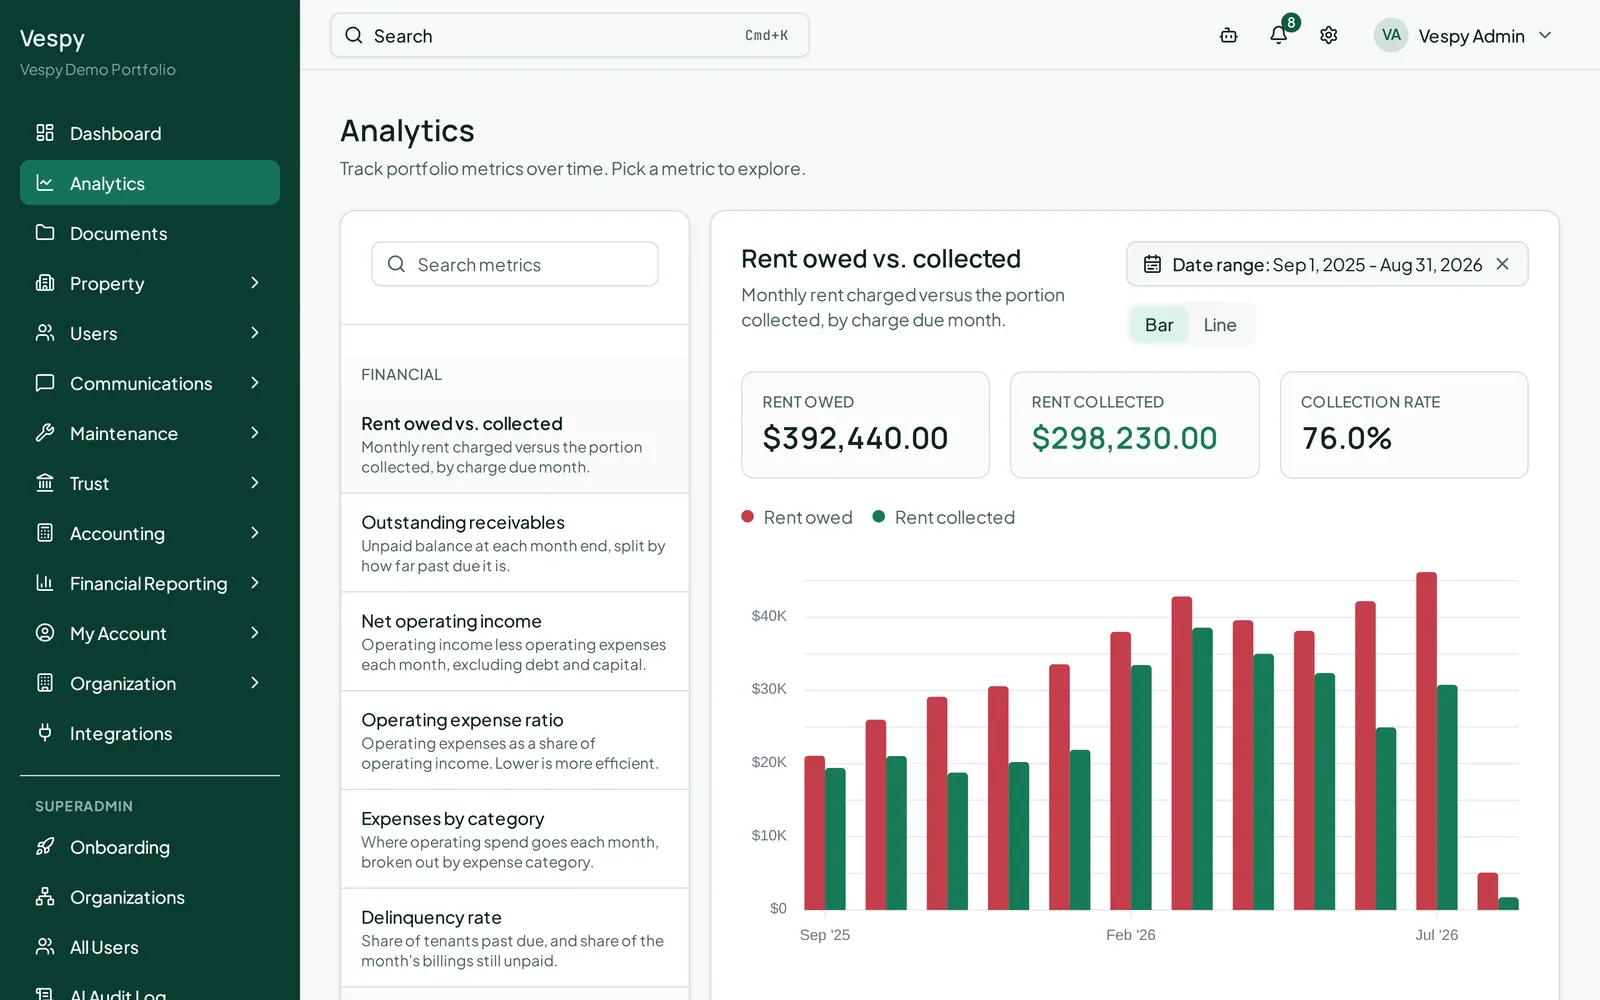
Note
Analytics is about the trend — how a number is moving. For a specific number as of right now or as of a chosen date, use [Reports](/workflows/running-and-exporting-financial-reports/) instead; unlike Reports, Analytics has no CSV/PDF export — it’s a visual read, not a document to hand off.
## Afterwards
[Section titled “Afterwards”](#afterwards)
* [Running and exporting financial reports](/workflows/running-and-exporting-financial-reports/) — for point-in-time numbers and exportable statements.
# Renewing or terminating a lease
> Carry a tenant into a new term, or end a lease early with proration and a deposit disposition in one step.
A lease reaching its end date doesn’t do anything on its own — you decide whether it renews or ends. Both actions live on the lease’s own page, and only show up once the lease is **Active**.
## Renewing
[Section titled “Renewing”](#renewing)
Open the lease and click **Renew**. It creates a **new** lease rather than editing the old one, so the original stays exactly as it was for your records:
* **Term type** — Fixed term or Month-to-month
* **Start date** — defaults to the day after the current lease ends
* **End date** (fixed term only) — defaults to about a year later
* **Move-in date** — defaults to the start date
* **New monthly rent** — defaults to the current rent; change it if the rent is going up
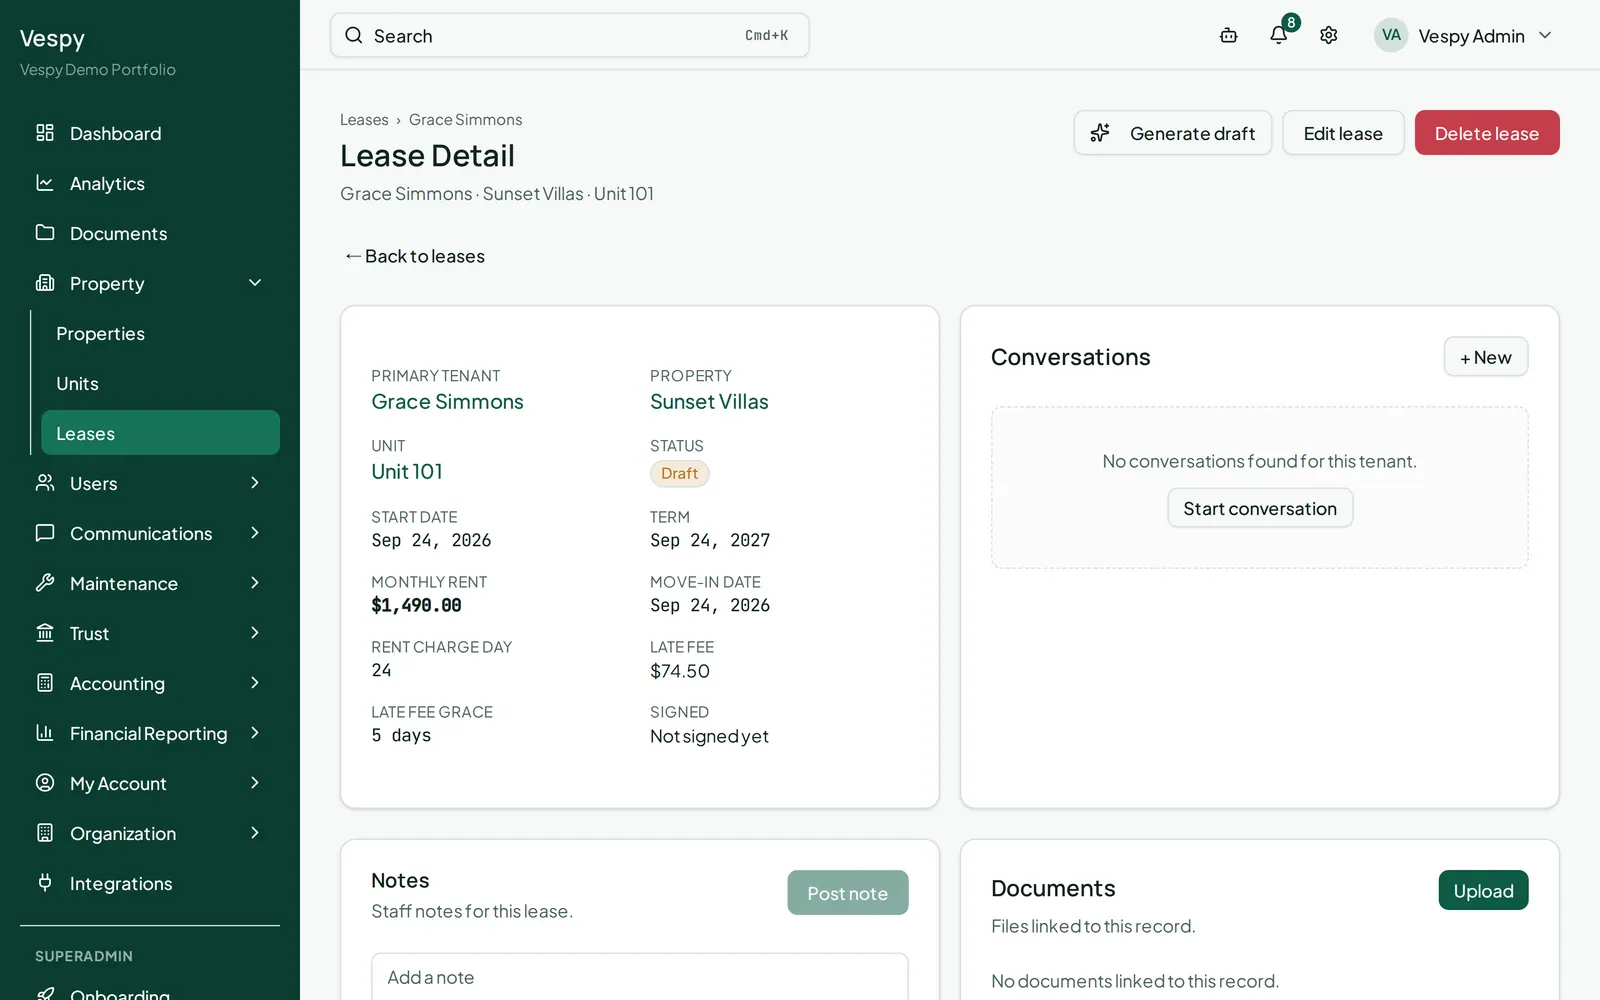
Click **Renew lease**, and you’re taken straight to the new lease’s page. Anything you didn’t change — occupants, late fee terms — carries over automatically.
## Terminating
[Section titled “Terminating”](#terminating)
Open the lease and click **End lease early**:
1. **Termination date**
2. Check **Generate prorated final rent charge** if you want the last rent charge adjusted to the actual number of days occupied rather than the full period — you’ll see an estimate on screen (the exact number is calculated when you confirm).
3. If there’s a security deposit still held on this lease, a **Security Deposit Reconciliation** section appears: add deductions (a reason and an amount for each), and the **Calculated Refund** updates live as you go.
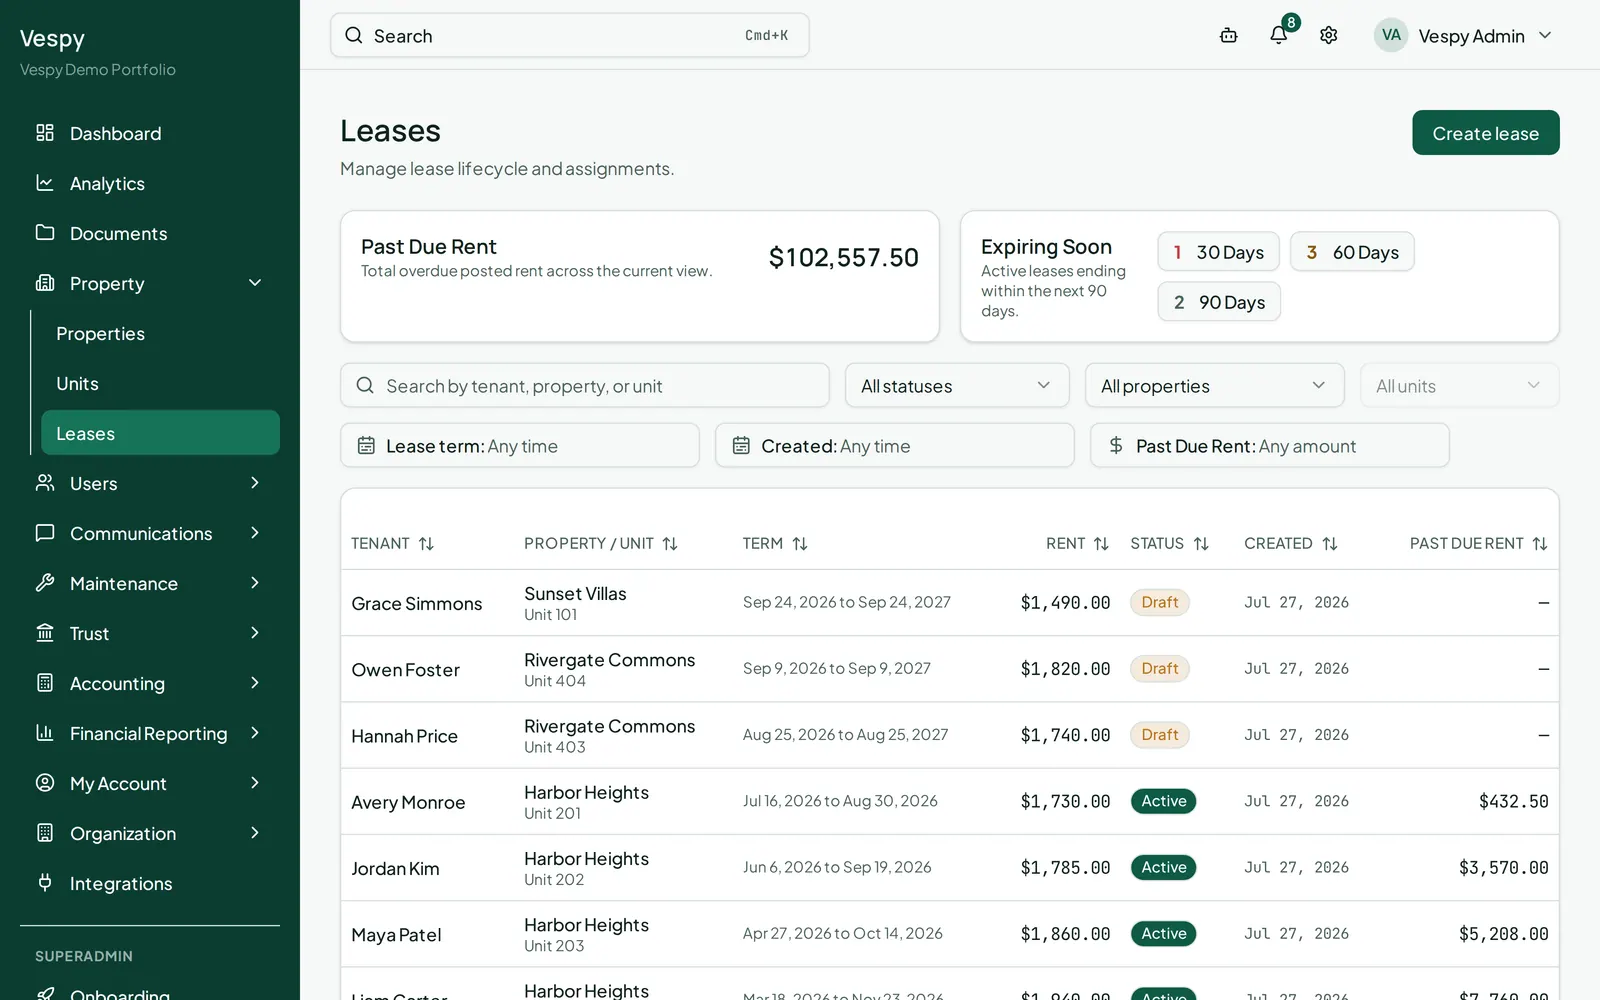
Click **Confirm Termination**. This is disabled if your deductions add up to more than the deposit on hand — fix the numbers rather than trying to push it through.
Caution
Terminating puts the unit back to vacant and stops future rent charges immediately. There’s currently no way to attach a move-out condition report to this step, so settle on your deduction amounts before you confirm.
## Afterwards
[Section titled “Afterwards”](#afterwards)
* [Onboarding a property](/workflows/onboarding-a-property/) — the unit is vacant again and ready for the next lease.
* [Handling a security deposit](/workflows/handling-security-deposits/) — the full deposit workflow, if you didn’t settle it here.
# Running and exporting financial reports
> The nine report types available, how to scope and export them, and where to check a single property's numbers at a glance.
Go to **Financial Reporting > Reports** to see nine report types, each a card that opens its own page:
| Report | What it shows |
| ----------------------- | ------------------------------------------------------------ |
| Rent Roll | Occupancy, tenant, rent, deposit, and balance by unit |
| Profit & Loss | Income and expenses, down to net operating income |
| Balance Sheet | Assets, liabilities, equity, and trust balances as of a date |
| Cash Flow | Cash activity: operating, investing, financing |
| General Ledger | Every account’s opening, activity, and closing balance |
| Delinquency | Overdue tenant charges, grouped by how overdue |
| Security Deposit Ledger | Deposit balances by lease and tenant |
| Lease Expirations | Active leases grouped by how soon they expire |
| Maintenance Costs | Work order and repair costs by property, vendor, or category |
## 1. Scope the report
[Section titled “1. Scope the report”](#1-scope-the-report)
Most reports let you filter by **Owner**, **Property**, and **Unit** (Unit only unlocks once you’ve picked a Property). Maintenance Costs swaps these for **Property**, **Unit**, **Tenant**, **Vendor**, and **Category** instead.
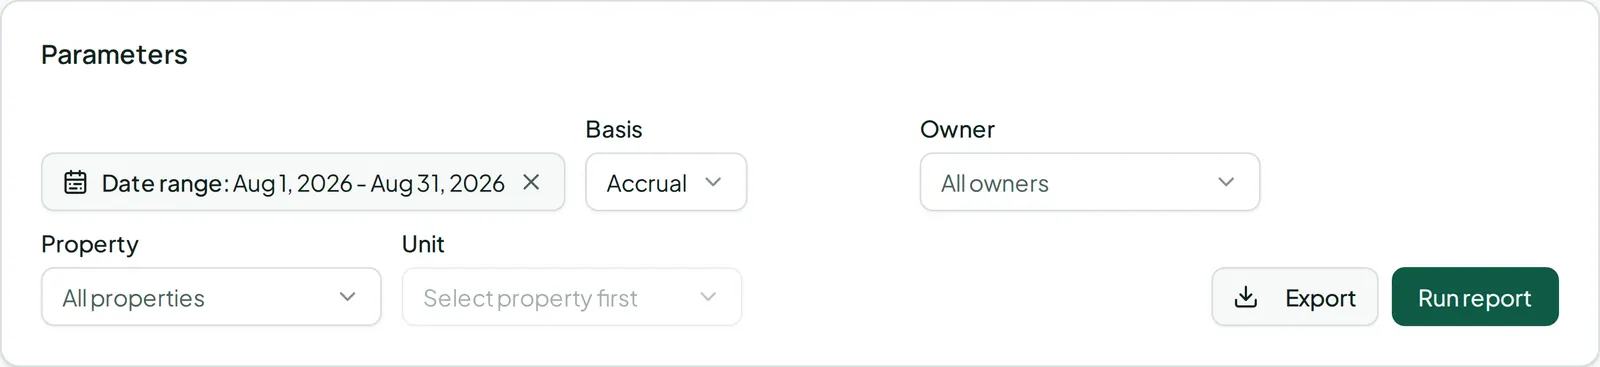
Rent Roll, Delinquency, Balance Sheet, and Security Deposit Ledger use an **“as of”** date — a snapshot at a single point in time. The others use a date **range**. Profit & Loss, Balance Sheet, and General Ledger also let you toggle between **Accrual** and **Cash** basis.
Note
If your “as of” date falls inside a period you’ve already closed, you’ll see a badge noting the values are locked in — see [Closing the books each month](/workflows/closing-the-books-each-month/).
## 2. Read the results
[Section titled “2. Read the results”](#2-read-the-results)
Profit & Loss, Balance Sheet, and Cash Flow render as a standard financial statement — sections with subtotals (Gross Profit, Net Income, Total Assets, and so on). Balance Sheet rows are clickable and drill straight into the General Ledger filtered to that account. Lease Expirations groups everything into buckets (0–30, 31–60, 61–90 days, etc.). Everything else is a sortable table with summary numbers up top.
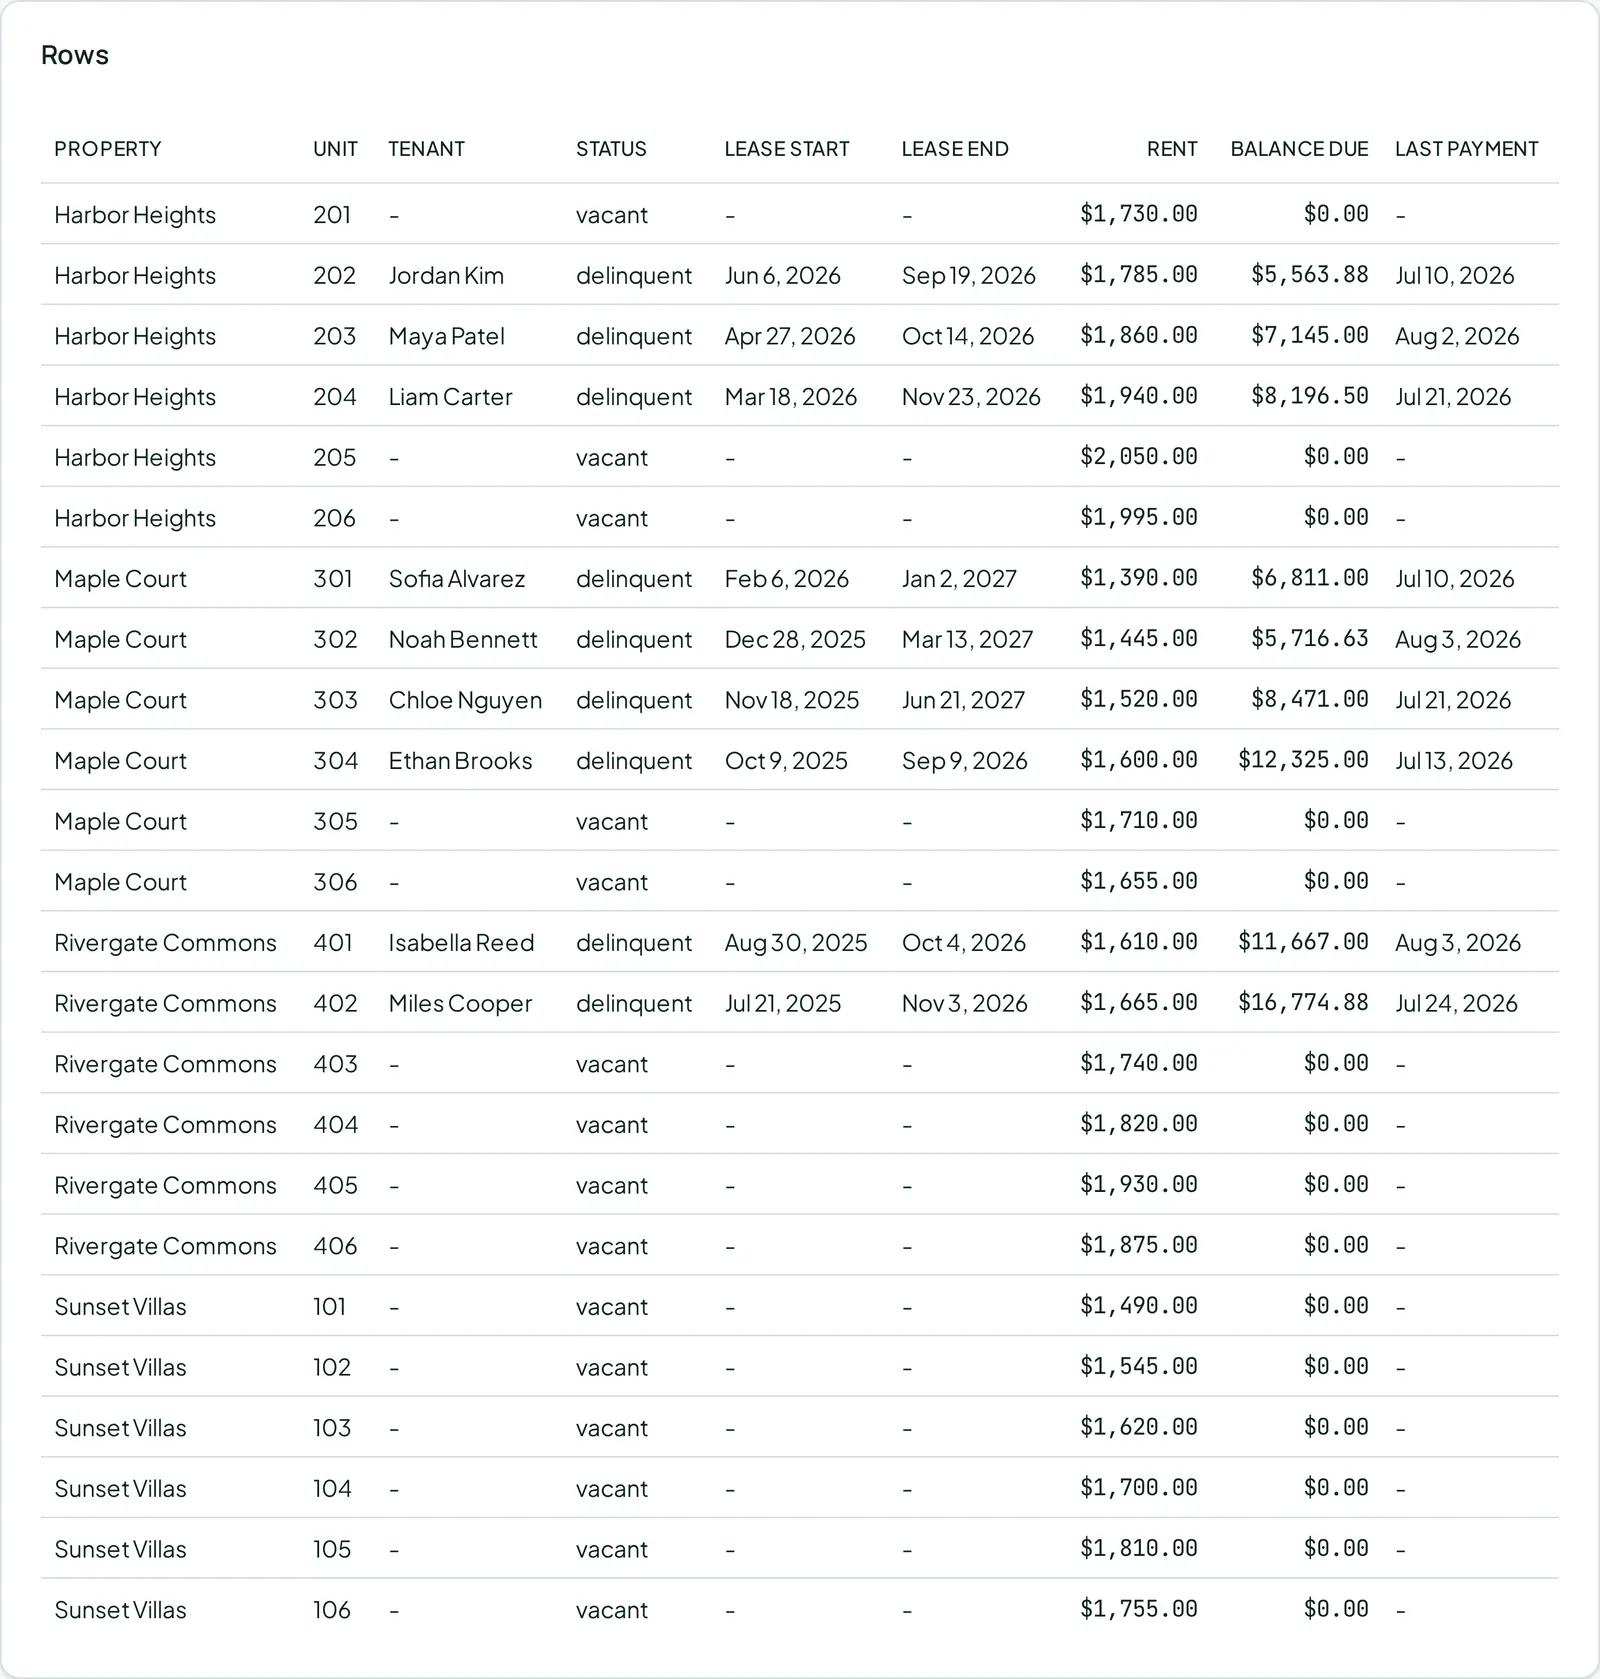
## 3. Export it
[Section titled “3. Export it”](#3-export-it)
Every report has an **Export** option for **CSV**, **Excel**, or **PDF**, downloaded with whatever filters you currently have applied.
## A quicker view for a single property
[Section titled “A quicker view for a single property”](#a-quicker-view-for-a-single-property)
Open any property and click its **Financial** tab for a lighter-weight snapshot — this month’s and year-to-date income and expenses by category, without leaving the property’s page. Clicking a category there jumps straight into **Accounting > Transactions**, pre-filtered to that property and category.
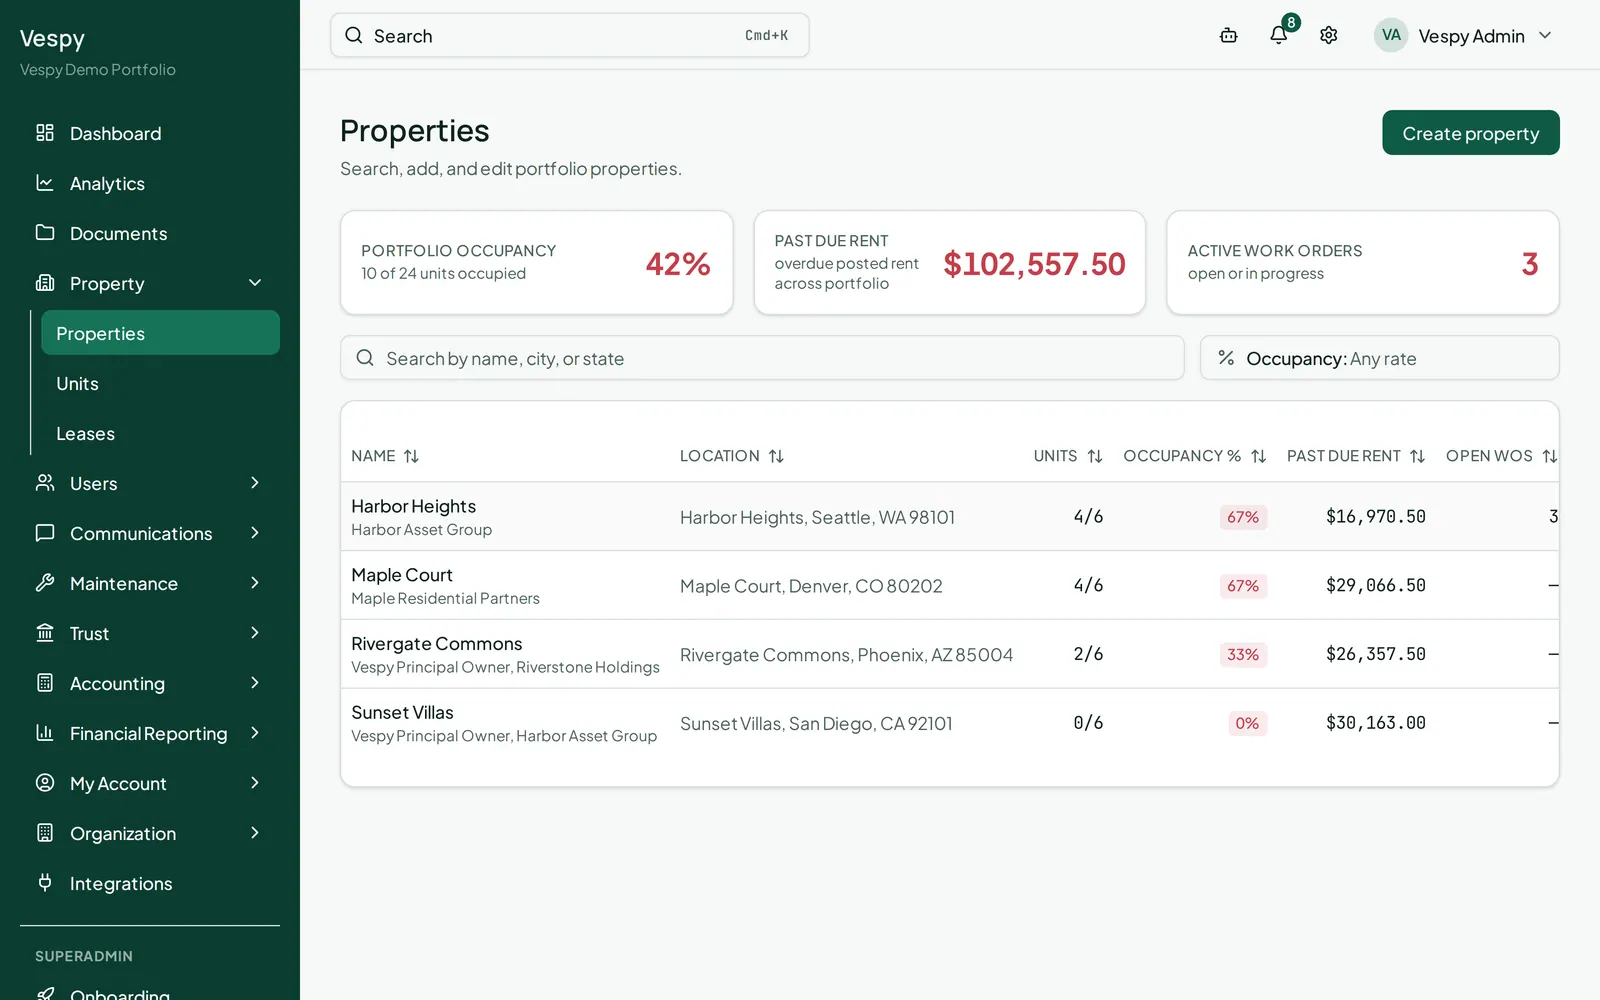
## Afterwards
[Section titled “Afterwards”](#afterwards)
* [Reading your portfolio analytics](/workflows/reading-your-portfolio-analytics/) — trend charts, as opposed to these point-in-time reports.
* [Chart of accounts and transaction history](/workflows/chart-of-accounts-and-transactions/) — for digging into the individual entries behind these numbers.
# Setting up management fees
> Automate what your organization keeps from an owner's rent, as a flat amount, a percentage, or both.
A management fee rule turns “we keep 10% of rent” into something calculated for you every month, instead of a manual expense you have to remember to create.
## 1. Create a rule
[Section titled “1. Create a rule”](#1-create-a-rule)
Open the owner from **Users > Owners**, find the **Management Fees** card on their page, and click **Add rule**:
* **Property** — which property this rule applies to
* **Fee type** — Percentage, Flat, or Hybrid (both)
* **Percentage** (for Percentage or Hybrid)
* **Owner rent-basis share** (for Percentage or Hybrid) — what portion of this property’s collected rent belongs to this owner. For a property with a single owner, that’s the whole thing; for a property split between co-owners, it’s their share
* **Flat amount** (for Flat or Hybrid)
* **Monthly generation day** — when the fee calculates each month
Click **Save rule**.
## 2. See what it’s generated
[Section titled “2. See what it’s generated”](#2-see-what-its-generated)
Each rule shows its status, a plain-language summary of the formula (like “8.00% of 100.00% owner-share collected rent”), and when it last ran. A **run history** table below the rules shows every past calculation — the rent it was based on and the fee it produced.
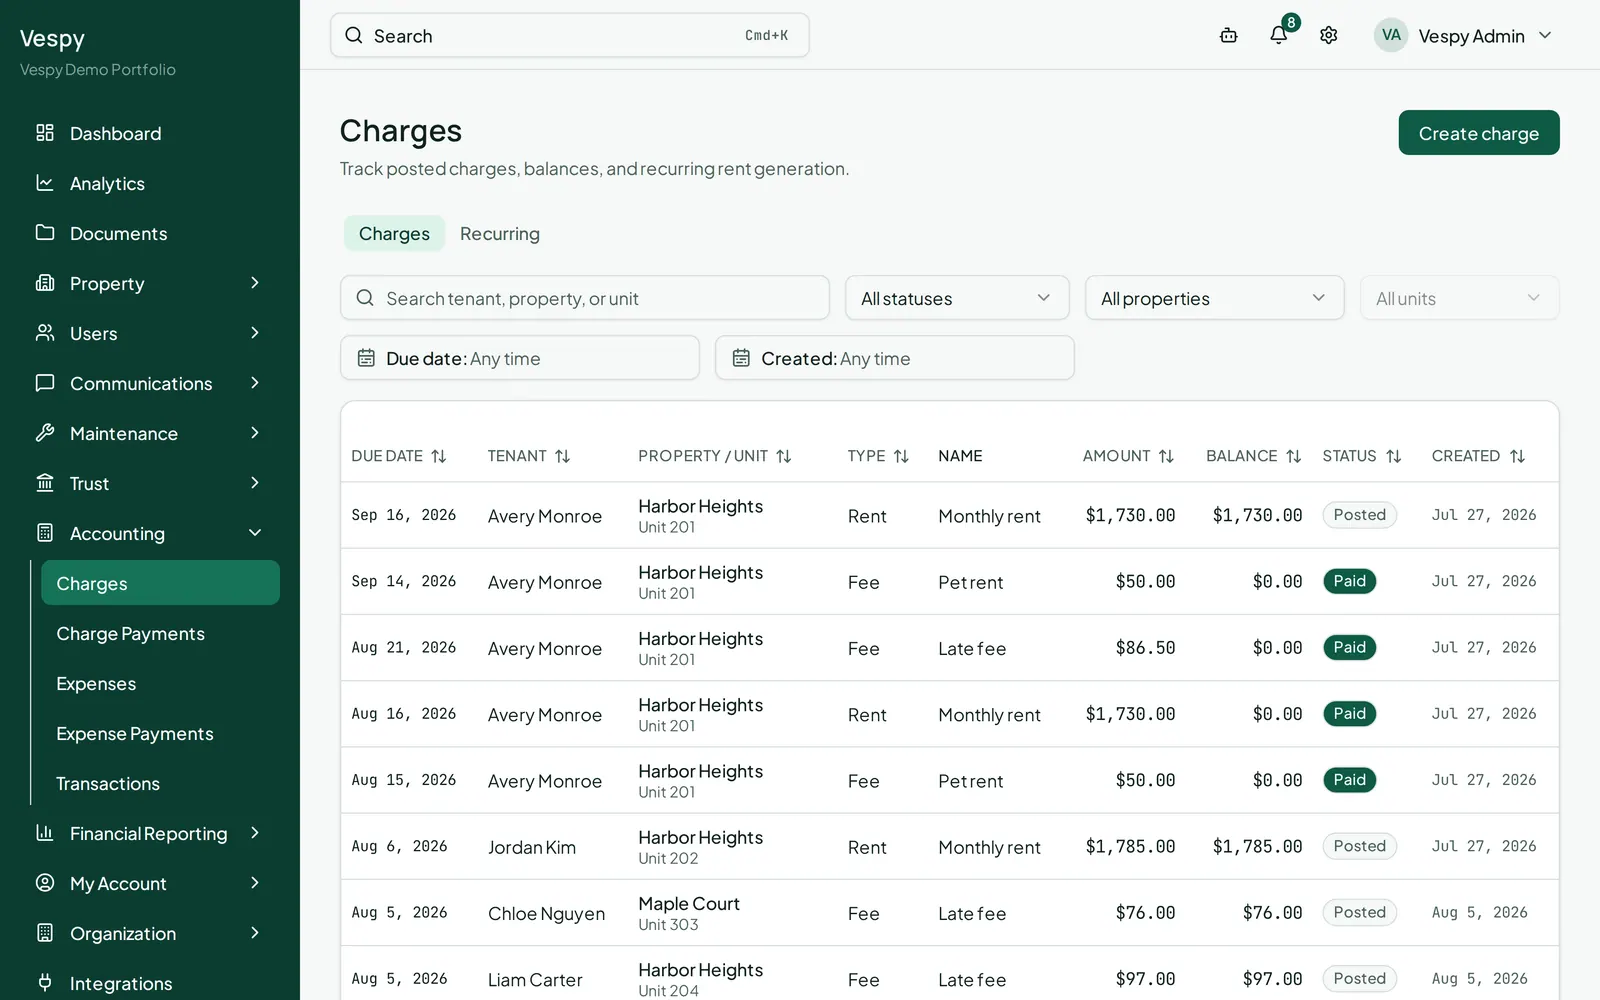
Note
Fee runs happen automatically each month on the generation day you set — there’s no button to trigger one by hand. Each run posts as an expense against the property, same as any other cost, so it shows up in that property’s financials too.
## 3. Change or end a rule
[Section titled “3. Change or end a rule”](#3-change-or-end-a-rule)
Click **Revise** on an existing rule to change its terms going forward — past runs keep whatever terms they actually calculated under, so this doesn’t rewrite history. Click **End** to stop the rule (with a confirmation first); it stops after the current full month, and nothing already generated is touched.
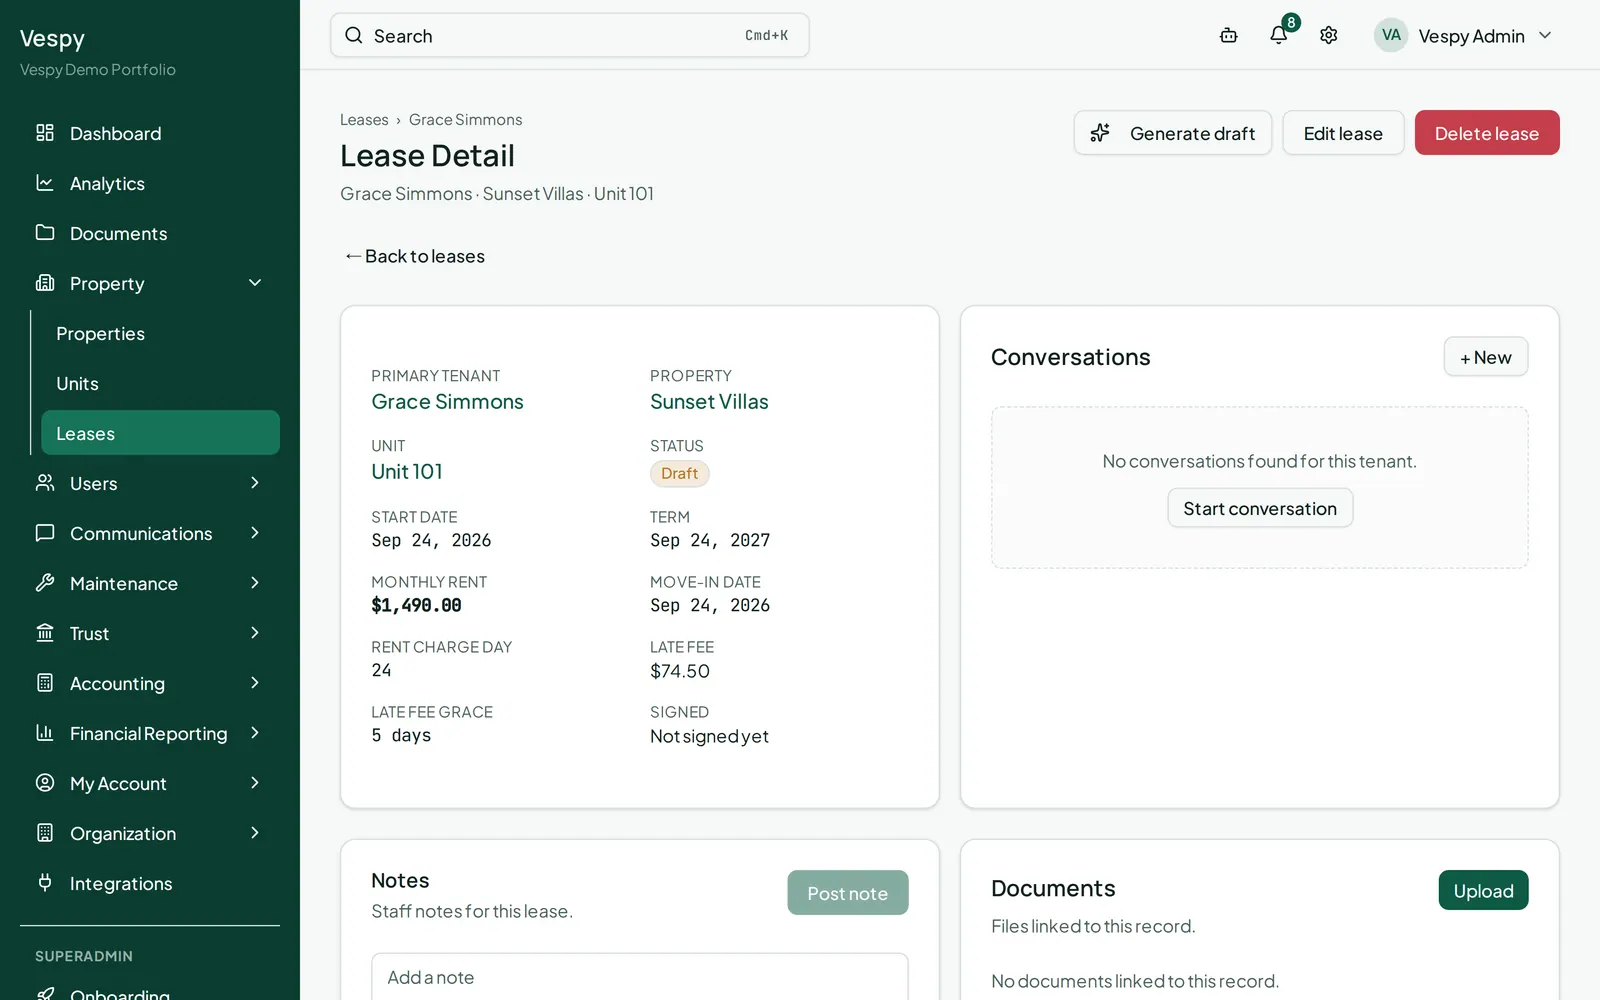
## Afterwards
[Section titled “Afterwards”](#afterwards)
* [Adding an owner](/workflows/adding-an-owner/) — the owner’s ledger reflects fees deducted here.
* [Closing the books each month](/workflows/closing-the-books-each-month/) — management fee expenses flow into the same period close.
# Accepting your tenant portal invite
> What happens when you click the invite link your property manager sent you, from setting a password to landing on your dashboard.
If your property manager has invited you to the tenant portal, you’ll get a link by email. Here’s what to expect when you click it.
## 1. Open the link
[Section titled “1. Open the link”](#1-open-the-link)
The link validates your invite automatically. If it’s expired or already used, you’ll see a message saying so — ask your property manager for a new one. Otherwise, you’re taken straight to creating your account.
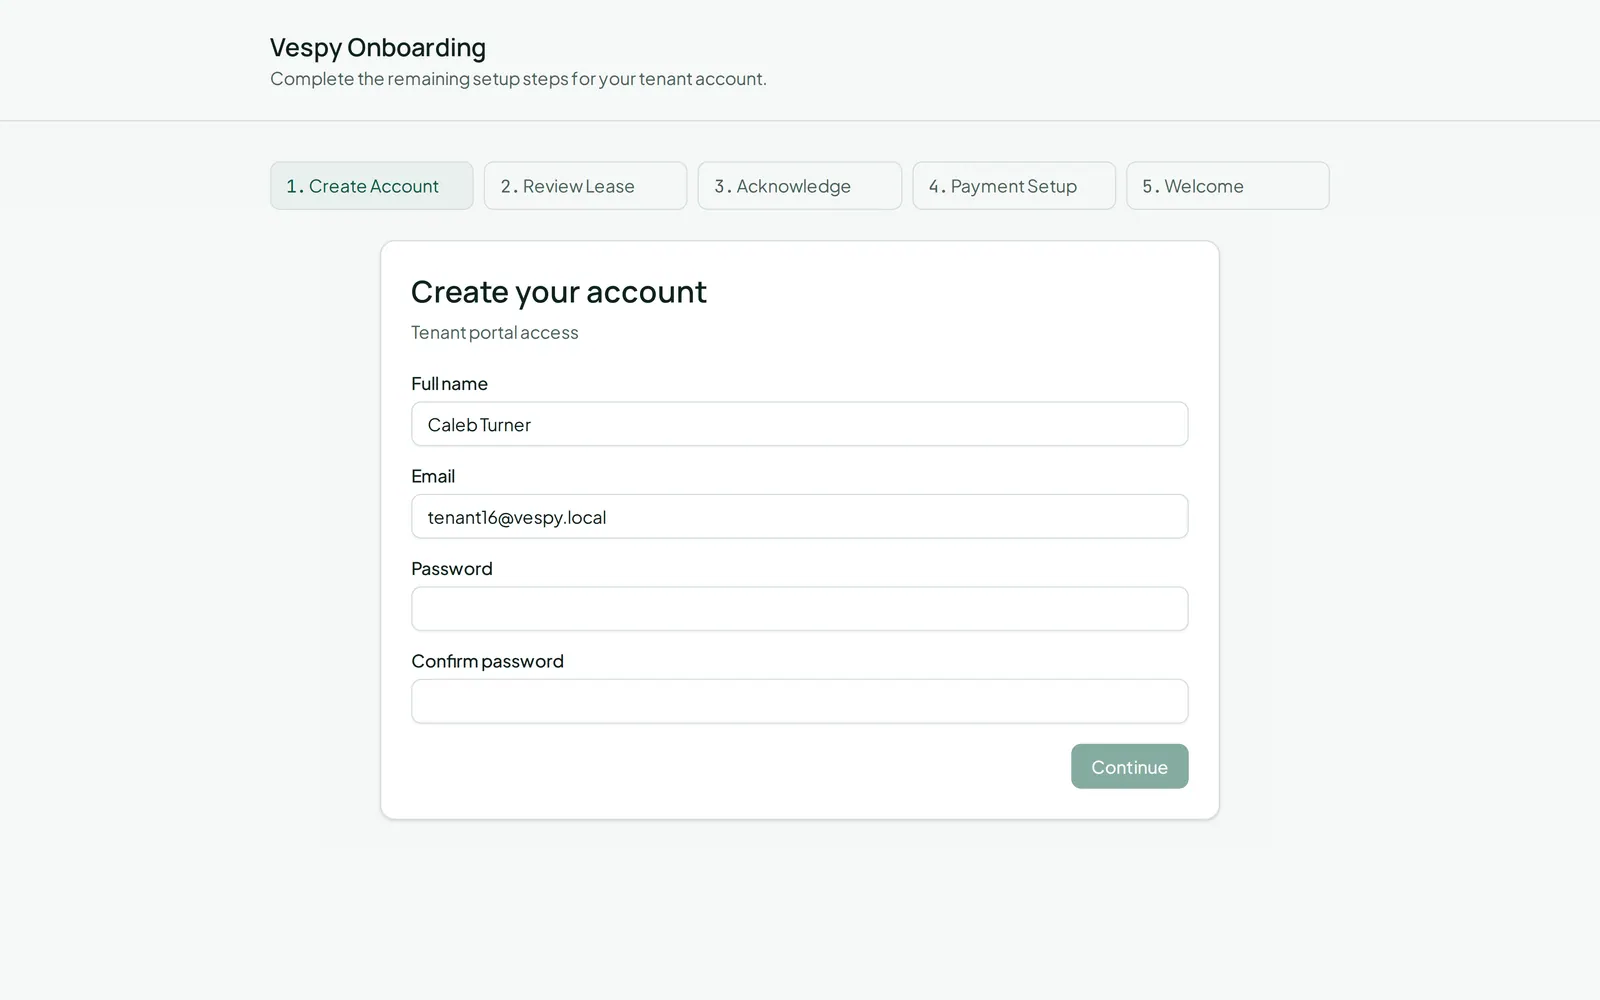
## 2. Set a password
[Section titled “2. Set a password”](#2-set-a-password)
Your name and email are already filled in and can’t be changed here (they come from your tenant record). Just choose a **Password** and confirm it — at least 8 characters.
## 3. Review your lease (if it’s attached to your invite)
[Section titled “3. Review your lease (if it’s attached to your invite)”](#3-review-your-lease-if-its-attached-to-your-invite)
If your invite is linked to a specific lease, you’ll see a short summary — property, unit, start and end dates, and monthly rent. Check **“I have reviewed the lease terms”** to continue.
## 4. Acknowledge
[Section titled “4. Acknowledge”](#4-acknowledge)
A short acknowledgement step (house rules and policies) comes next — check the box and continue.
Note
The payment setup step right after this is a placeholder for now — it just offers a **Skip for now** button. Real payment methods and autopay are set up later, from inside the portal — see [Paying rent, saving a payment method, and setting up autopay](/workflows/tenant-portal/paying-rent-and-autopay/).
## 5. You’re in
[Section titled “5. You’re in”](#5-youre-in)
The last screen confirms your account is ready. Click **Go to Dashboard** to land on your tenant portal home page.
## Afterwards
[Section titled “Afterwards”](#afterwards)
* [Paying rent, saving a payment method, and setting up autopay](/workflows/tenant-portal/paying-rent-and-autopay/)
* [Filing and following up on a maintenance request](/workflows/tenant-portal/filing-a-maintenance-request/)
# Filing and following up on a maintenance request
> Report a repair issue, track its status, and stay in touch with property management about it.
Go to **Maintenance** in your portal to see your past requests, or file a new one.
## 1. Submit a request
[Section titled “1. Submit a request”](#1-submit-a-request)
Click **Submit request** and fill in:
* **Title**, **Description**
* **What type of issue?** — pick a category, or **Skip for now**
* **Urgency** — low, normal, high, or emergency
* **Attachments** — photos or files, if you have them
* **Entry Instructions** — anything a repair person would need to get in (a gate code, a pet on-site, and so on)
## 2. Track it
[Section titled “2. Track it”](#2-track-it)
Your maintenance list shows every request’s status — Open, In progress, Completed, or Cancelled — along with its priority and category. Search or filter to find an older one.
## 3. Follow up
[Section titled “3. Follow up”](#3-follow-up)
Open a request to see its full details, any attachments you added, and updates from property management as they work on it. Use **Post comment** to ask a question or add more information.
Note
Once filed, you can’t edit or cancel a request yourself — the title, description, priority, and category are locked in. If something changes, add a comment explaining it.
## Afterwards
[Section titled “Afterwards”](#afterwards)
* [Messaging property management](/workflows/tenant-portal/messaging-property-management/) — for anything outside of a specific maintenance request.
# Messaging property management
> Start a conversation, follow up on an existing one, and keep track of what you've been notified about.
Go to **Messages** in your portal to reach out to property management directly.
## Start or continue a conversation
[Section titled “Start or continue a conversation”](#start-or-continue-a-conversation)
Click **Contact Management** to open a compose box — add a subject (optional) and your message, then **Send**. Existing conversations are listed below, each showing the last message and whether it has anything unread.
Open a conversation to see the full back-and-forth and reply from there. You can keep replying as long as the conversation is still open; once property management closes it, the reply box goes away.
Note
Need a copy of a conversation for your records? Click **Export PDF** at the top of the thread.
## Notifications
[Section titled “Notifications”](#notifications)
**Notifications** lists everything you’ve been alerted about — clicking one marks it read and takes you straight to whatever it’s about.
## Afterwards
[Section titled “Afterwards”](#afterwards)
* [Notification preferences and contact info](/workflows/tenant-portal/notification-preferences/) — choose how and when you’re notified.
# Notification preferences and contact info
> Choose which alerts reach you, on which channels, and manage your email/SMS consent.
Go to **Settings** in your portal — this is also the only settings page you have; there’s no separate page for editing your name or password.
## Choosing what reaches you
[Section titled “Choosing what reaches you”](#choosing-what-reaches-you)
You’ll see a row for each category — Maintenance, Messaging, and Rent — with a toggle for Email and SMS (in-app is always on) and a choice of **Immediate** or **Daily digest** for email delivery.
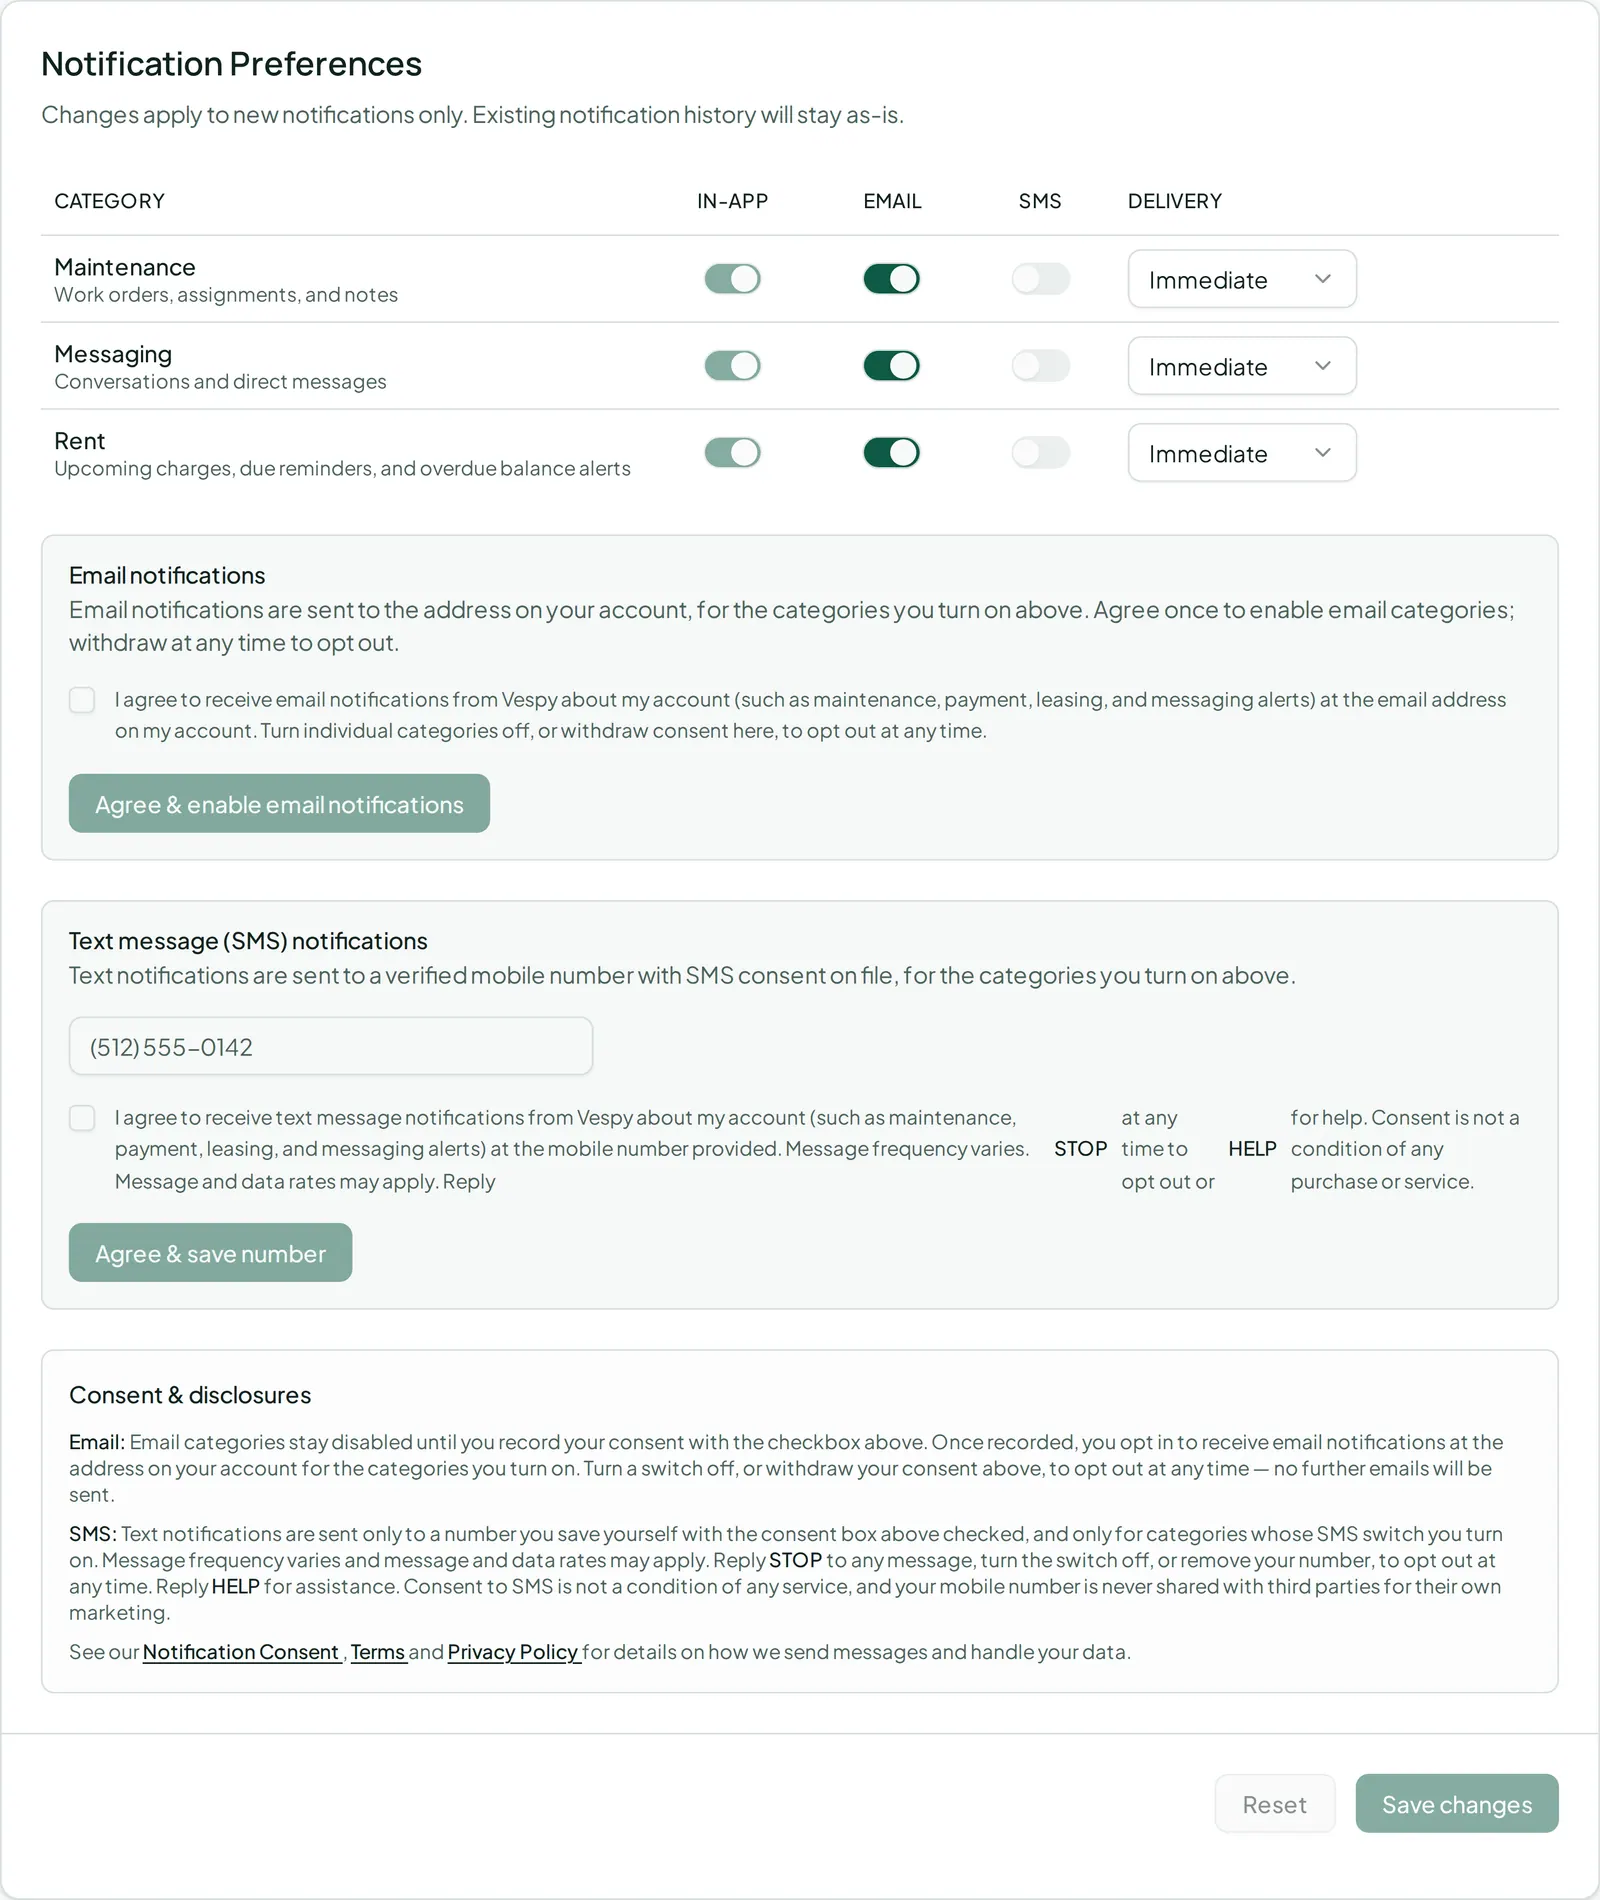
## Turning on email or SMS
[Section titled “Turning on email or SMS”](#turning-on-email-or-sms)
Toggling email on for the first time requires checking a consent box and clicking **Agree & enable email notifications**. You can withdraw that consent later, which turns email back off across every category.
For SMS, enter your phone number, check the required consent box, and click **Agree & save number**. Once saved, you can **Change number** or **Remove** it.
## Testing it
[Section titled “Testing it”](#testing-it)
Use the **Send test notification** buttons (In-app, Email, SMS) to confirm each channel is actually reaching you before you rely on it.

Don’t forget to click **Save changes** once you’re happy with your choices.
## Afterwards
[Section titled “Afterwards”](#afterwards)
* [Messaging property management](/workflows/tenant-portal/messaging-property-management/)
# Paying rent, saving a payment method, and setting up autopay
> Pay open charges, save a card or bank account, and turn on autopay so rent takes care of itself.
Go to **Payments** in your portal to pay rent, manage saved payment methods, and turn on autopay.
## 1. Pay what you owe
[Section titled “1. Pay what you owe”](#1-pay-what-you-owe)
Check off the open charges you want to pay — each shows its name, due date, and balance. As you select charges, you’ll see a running subtotal, a processing fee (which varies depending on whether you’re paying by card or bank account), and a grand total.
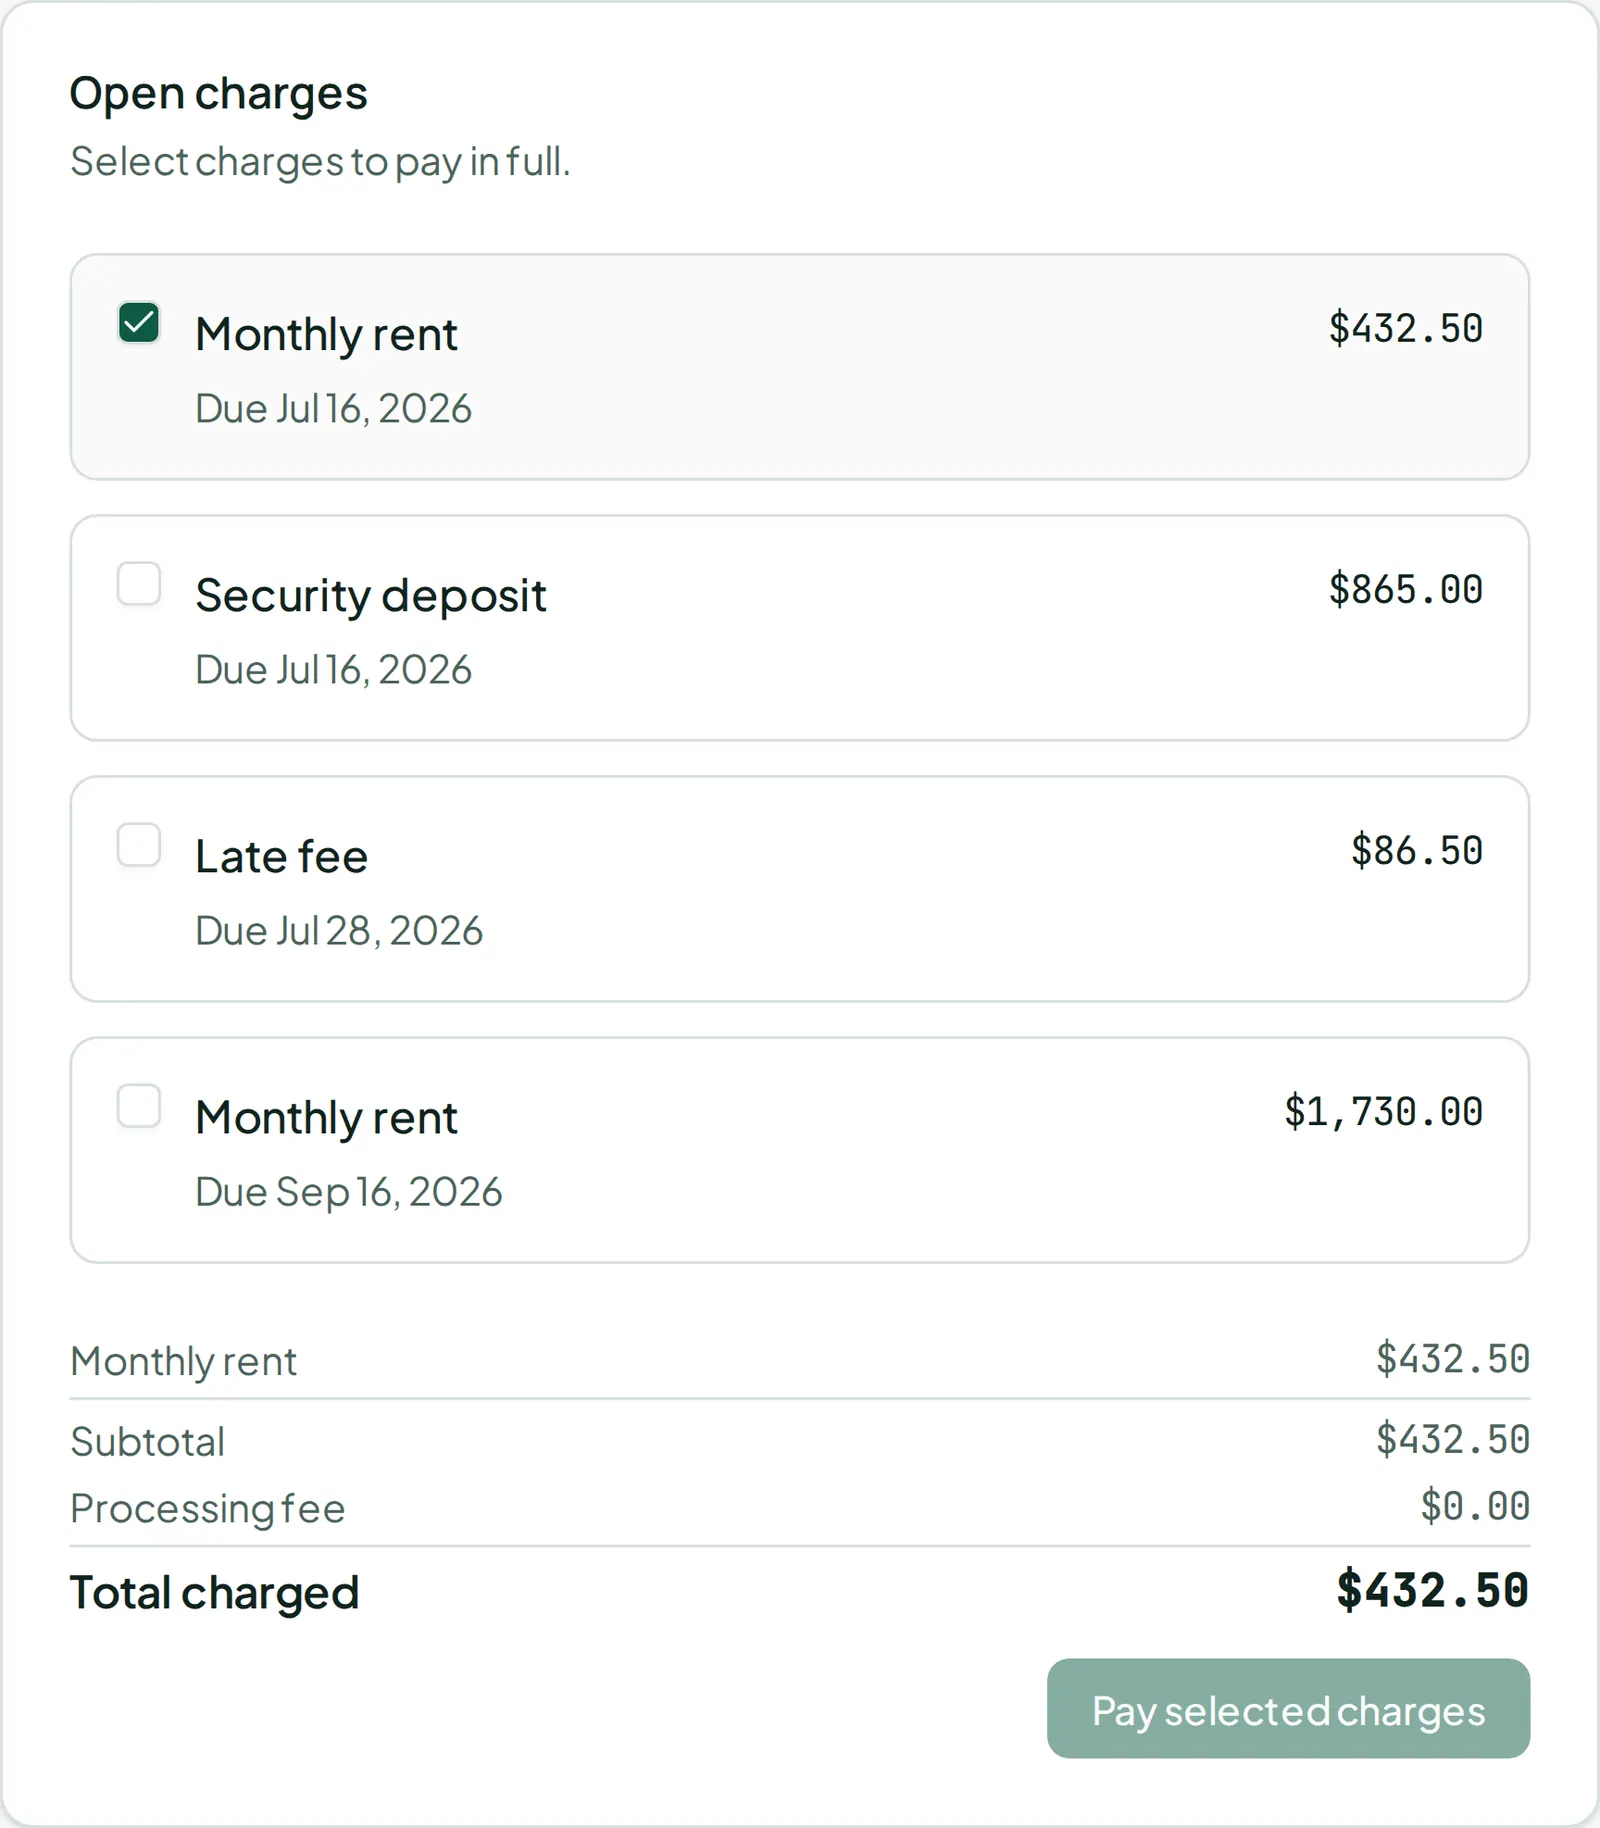
## 2. Add a payment method
[Section titled “2. Add a payment method”](#2-add-a-payment-method)
Click **Add payment method** and enter your card or bank account details in the secure form that opens. Cards and verified US bank accounts are both supported. Once saved, it shows up as a card with the last 4 digits and its status, along with what fee applies if you pay with it.
Note
You can’t remove a payment method that’s currently set for autopay — disable autopay or switch it to a different method first.
## 3. Pay
[Section titled “3. Pay”](#3-pay)
Pick a saved method and click **Pay selected charges** to complete the payment.
## 4. Turn on autopay
[Section titled “4. Turn on autopay”](#4-turn-on-autopay)
The **Autopay** section lets you enable automatic payment of unpaid rent on your lease’s rent-charge day each month, using whichever saved payment method you choose. Click **Enable autopay** (you’ll need a saved payment method first) or **Disable autopay** if you want to turn it off.
## Checking your balance and history
[Section titled “Checking your balance and history”](#checking-your-balance-and-history)
**Ledger** gives you a read-only view of this month’s activity — charges, payments, and your running balance — if you just want to check where things stand without making a payment.
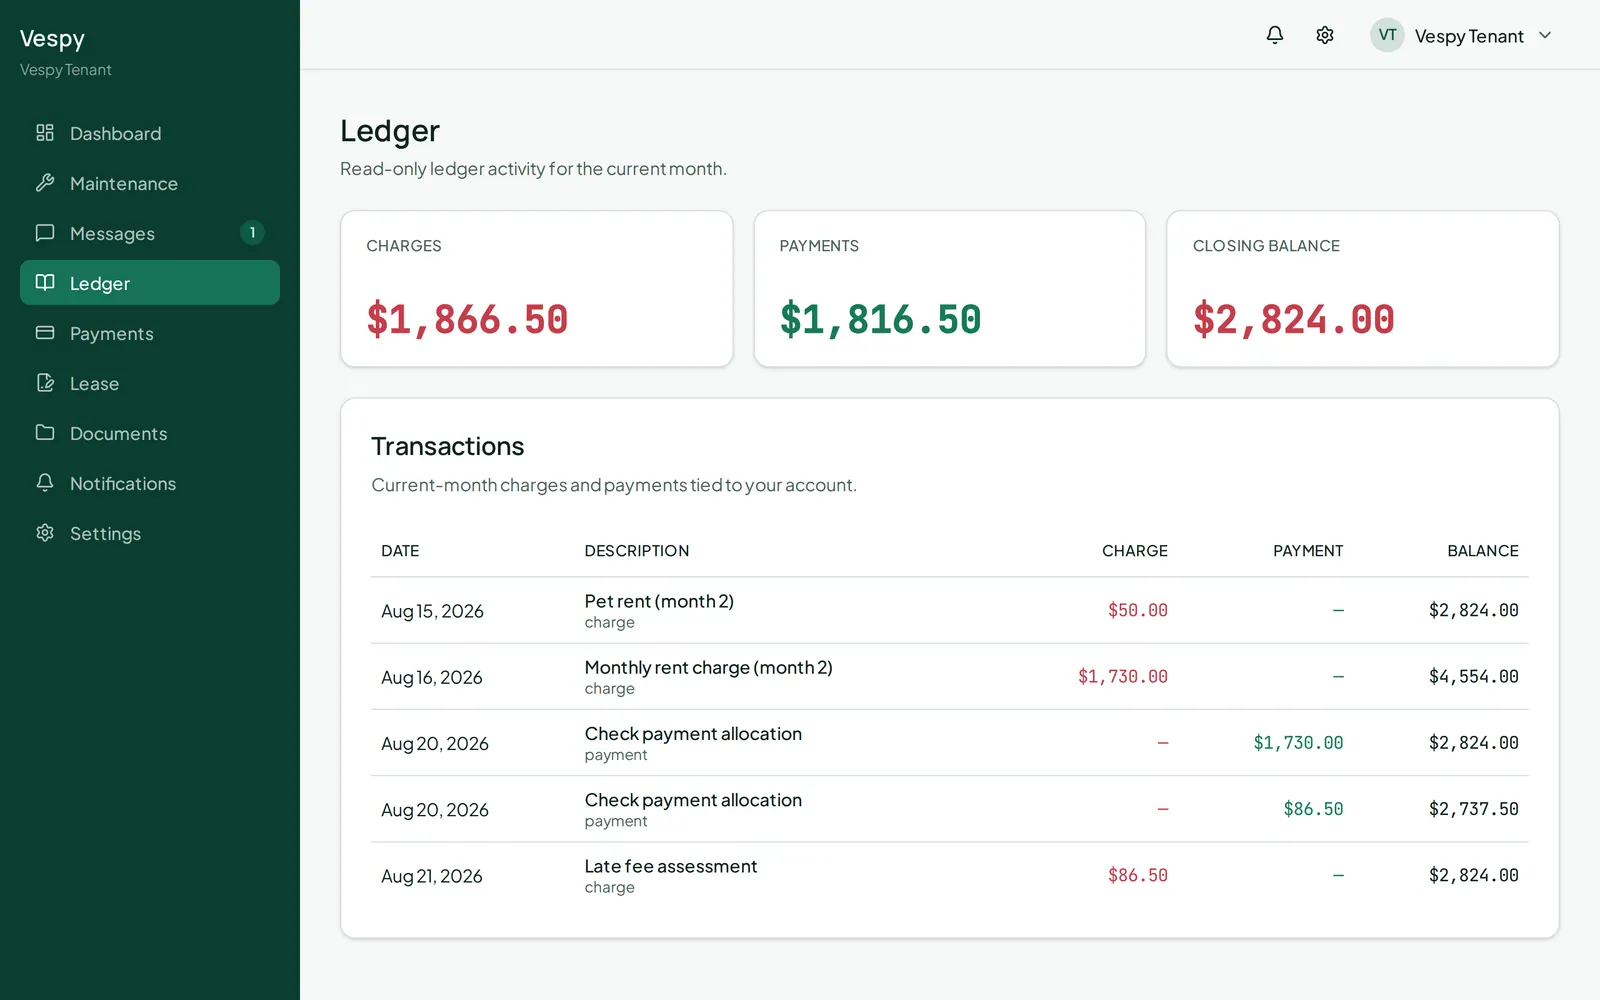
## Afterwards
[Section titled “Afterwards”](#afterwards)
* [Filing and following up on a maintenance request](/workflows/tenant-portal/filing-a-maintenance-request/)
* [Viewing your lease and documents](/workflows/tenant-portal/viewing-your-lease-and-documents/)
# Viewing your lease and documents
> Check your lease terms and download anything property management has shared with you.
Two read-only pages for reference — nothing to fill in, just information to check or download.
## Your lease
[Section titled “Your lease”](#your-lease)
Go to **Lease** to see your lease status, monthly rent, start and end dates (or “Month-to-month” if that’s your term), and when it was signed. Any signed lease documents are listed here too, each with a **Download** button.
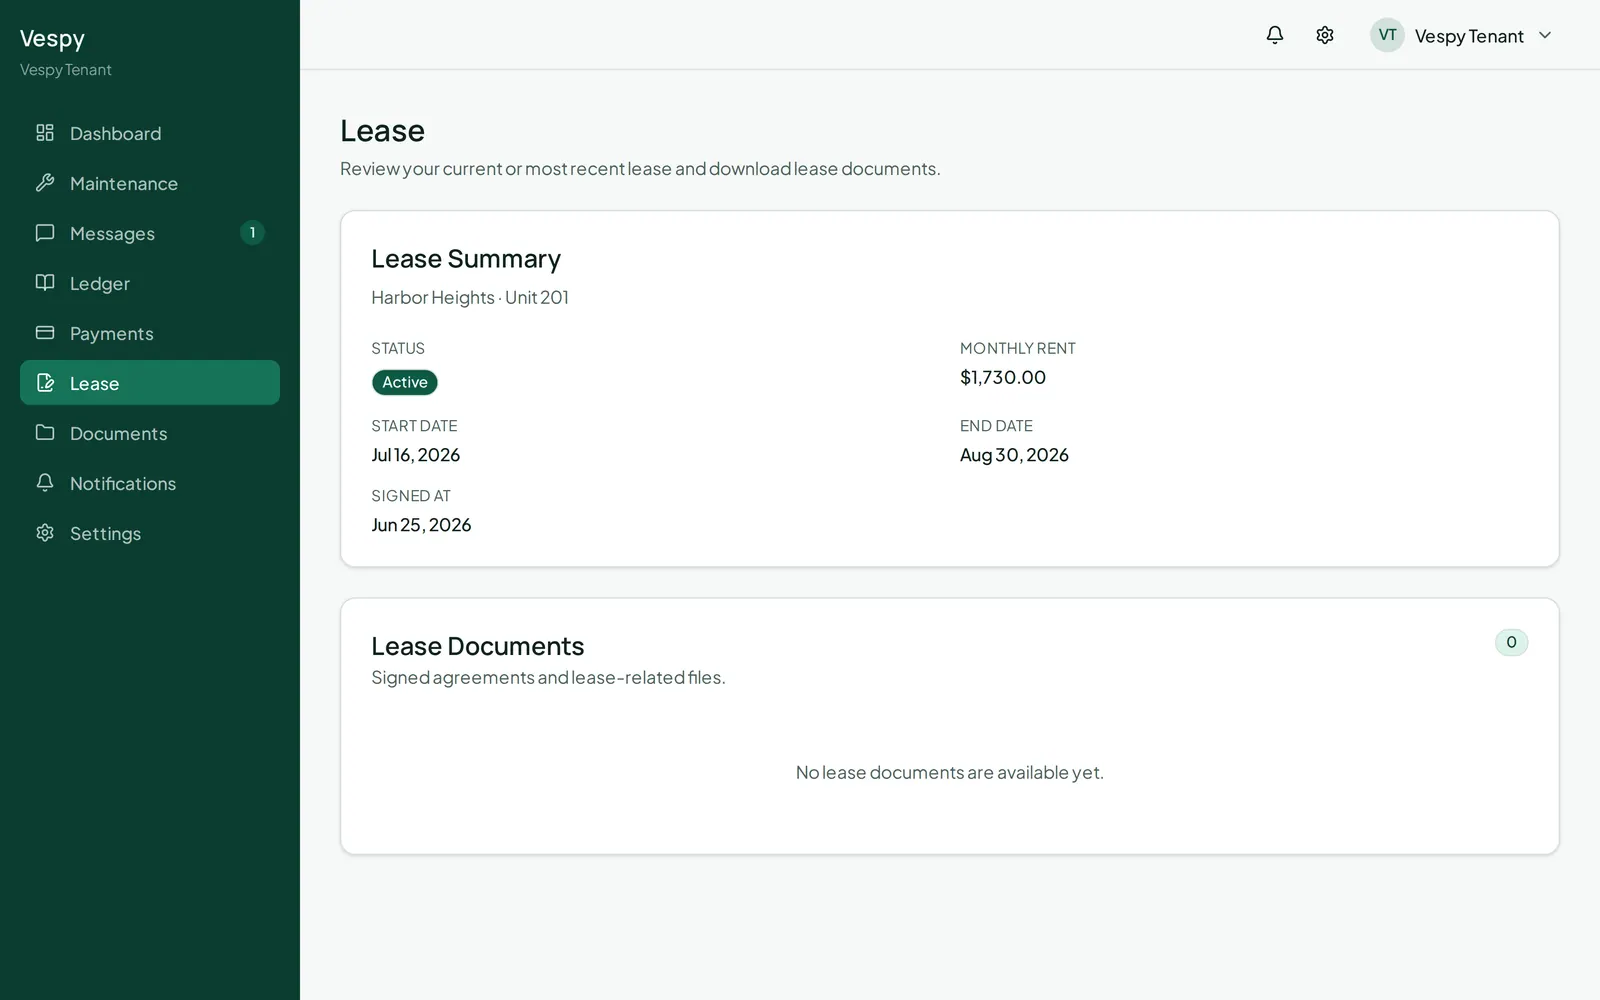
## Your documents
[Section titled “Your documents”](#your-documents)
Go to **Documents** for anything else property management has shared with you — each one downloadable.
Note
You can’t upload documents yourself from here. If you need to share a file with property management, attach it to a [maintenance request](/workflows/tenant-portal/filing-a-maintenance-request/) or send it through a [message](/workflows/tenant-portal/messaging-property-management/) instead.
## Afterwards
[Section titled “Afterwards”](#afterwards)
* [Paying rent, saving a payment method, and setting up autopay](/workflows/tenant-portal/paying-rent-and-autopay/)
# Using the AI portfolio assistant
> Ask questions about your portfolio in plain language, from anywhere in the app, and jump straight to what it references.
Click the assistant icon in the top navigation, from anywhere in the app, to open a side panel for asking questions in plain language — about properties, tenants, leases, charges, payments, work orders, messages, or reports.
## Asking a question
[Section titled “Asking a question”](#asking-a-question)
Type your question and the answer streams in as it’s generated. Click **Stop** if you want to cut a response short. The assistant is read-only — it answers questions about your data, but doesn’t create or change anything on your behalf.
Note
The assistant knows what page you’re looking at. If you ask a question while viewing a specific lease, or a filtered report, it takes that into account automatically — you don’t need to repeat context it can already see.
## Following a source
[Section titled “Following a source”](#following-a-source)
Answers that reference specific records show clickable source links below the response — clicking one jumps straight to that property, tenant, lease, or whatever it pointed to, and closes the panel.
## Starting fresh
[Section titled “Starting fresh”](#starting-fresh)
Your conversation sticks around as you navigate the app, so you can keep asking follow-up questions. Click **Clear conversation** (the trash icon) to start over.
## Afterwards
[Section titled “Afterwards”](#afterwards)
* [Reading your portfolio analytics](/workflows/reading-your-portfolio-analytics/) and [Running and exporting financial reports](/workflows/running-and-exporting-financial-reports/) — for questions better answered with a chart or an exportable statement.
# Getting started as a vendor
> Accept your vendor portal invite and get oriented on your dashboard.
If a property manager has invited you to the vendor portal, you’ll get a link by email.
## 1. Accept your invite
[Section titled “1. Accept your invite”](#1-accept-your-invite)
Click the link. It validates automatically — if it’s expired or already used, you’ll see a message saying so; ask for a new one. Otherwise, you’re taken to create your account: your email is pre-filled, your name is pre-filled but editable, and you just need to choose a password. Click **Create account** and you’re in — no extra steps after this.
Note
The screen briefly mentions a “tenant account” in its header — that’s just shared page styling with the tenant invite flow and doesn’t apply to you; nothing about your vendor account is affected.
## 2. Your dashboard
[Section titled “2. Your dashboard”](#2-your-dashboard)
You’ll land on your dashboard, showing your open and in-progress work order counts, and a compliance status — flagging anything missing or expiring soon on your documents, or confirming everything’s up to date. Below that, your active work orders and recent activity.
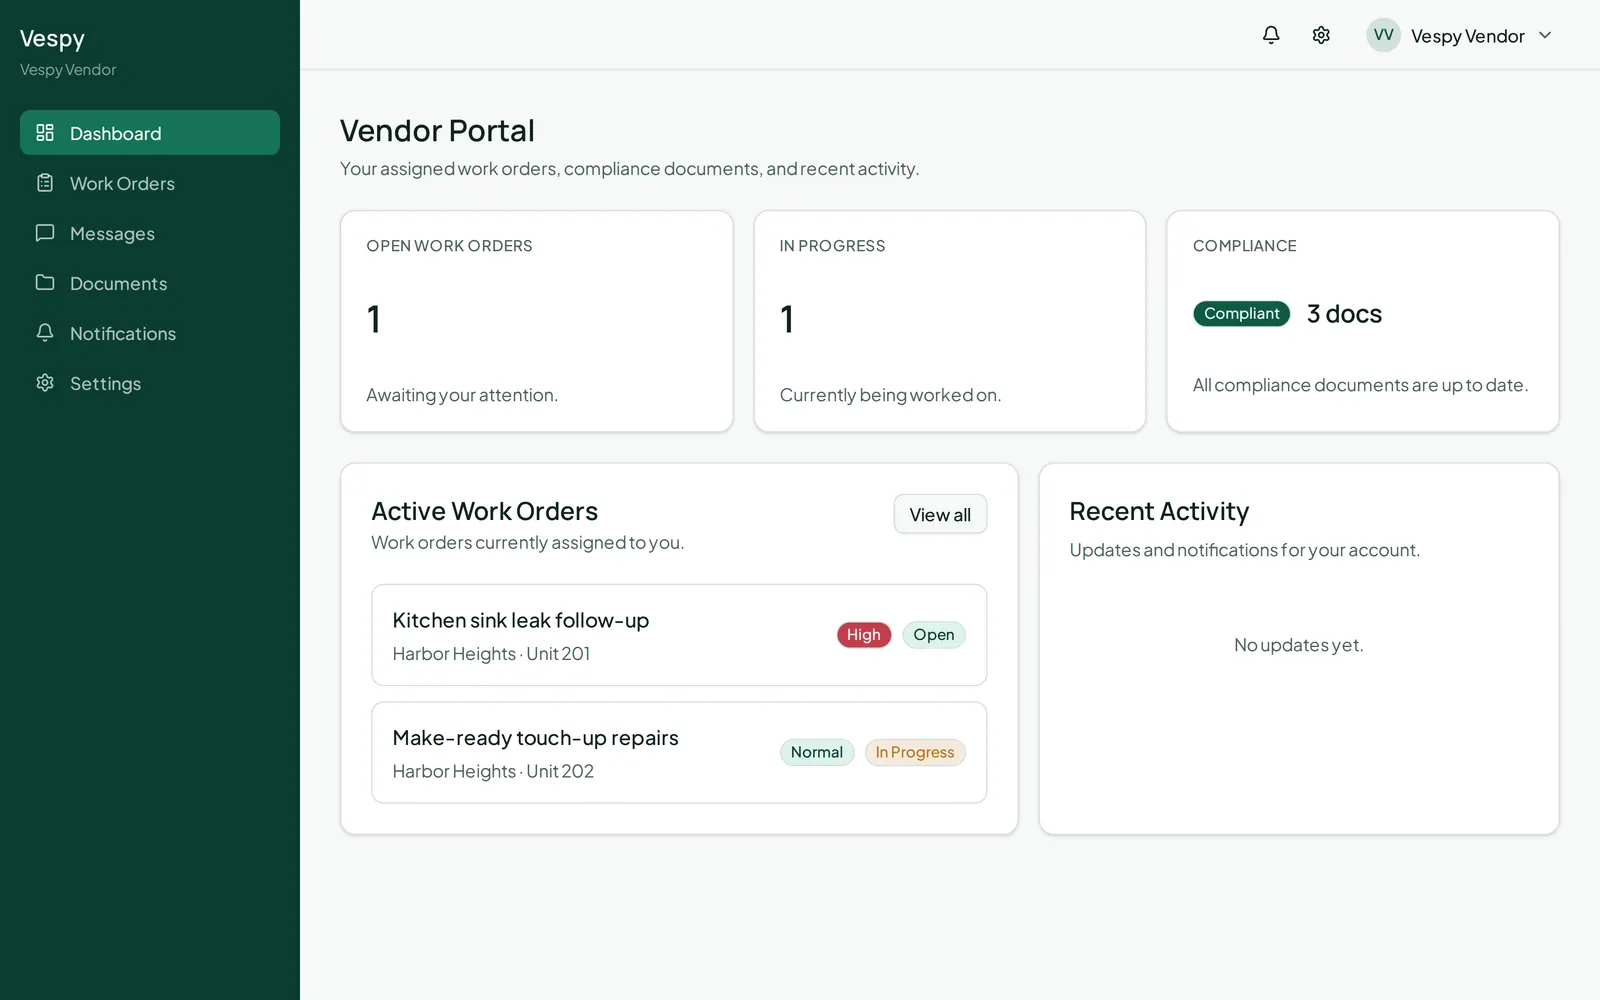
## Afterwards
[Section titled “Afterwards”](#afterwards)
* [Viewing and commenting on your work orders](/workflows/vendor-portal/viewing-and-commenting-on-work-orders/)
* [Uploading your compliance documents](/workflows/vendor-portal/uploading-compliance-documents/)
# Messaging and notifications
> Message property management directly, and control which alerts reach you and how.
## Messaging
[Section titled “Messaging”](#messaging)
Go to **Messages** to see your conversations with property management, or start a new one. Open a thread to reply — as long as it’s still open — and use **Export PDF** if you want a copy for your records.
## Notifications
[Section titled “Notifications”](#notifications)
**Notifications** lists everything you’ve been alerted about; click one to mark it read and jump to whatever it’s about.
## Your preferences
[Section titled “Your preferences”](#your-preferences)
Go to **Settings** — the only settings page you have, so it’s also where you’d look for anything account-related. Choose which categories (Maintenance, Compliance, Messaging) reach you by Email and SMS (in-app is always on), and whether email arrives immediately or as a daily digest. Turning on email or SMS requires a one-time consent step, and **Send test notification** buttons let you confirm each channel actually reaches you.
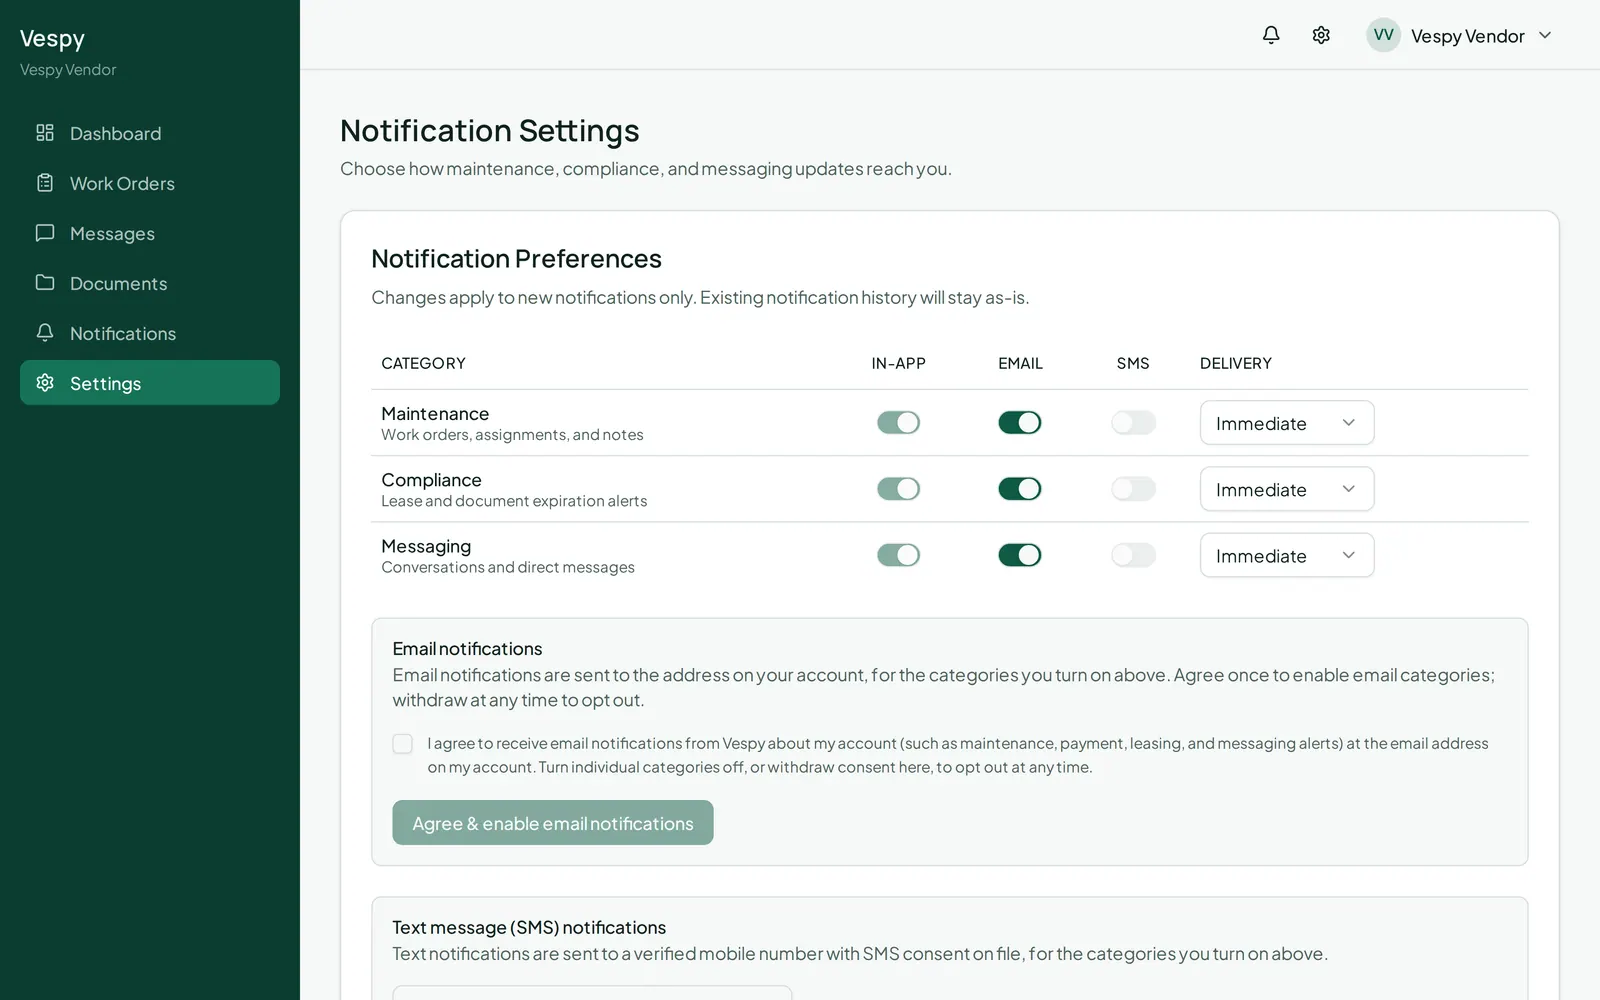
## Afterwards
[Section titled “Afterwards”](#afterwards)
* [Getting started as a vendor](/workflows/vendor-portal/getting-started/)
* [Viewing and commenting on your work orders](/workflows/vendor-portal/viewing-and-commenting-on-work-orders/)
# Uploading your compliance documents
> Keep your certificate of insurance, W-9, and license on file, and track when they need renewing.
Go to **Documents** in your portal to manage the paperwork property managers need on file for you.
## Checking your status
[Section titled “Checking your status”](#checking-your-status)
A banner at the top calls out anything missing, expired, or expiring soon — or confirms you’re fully up to date.
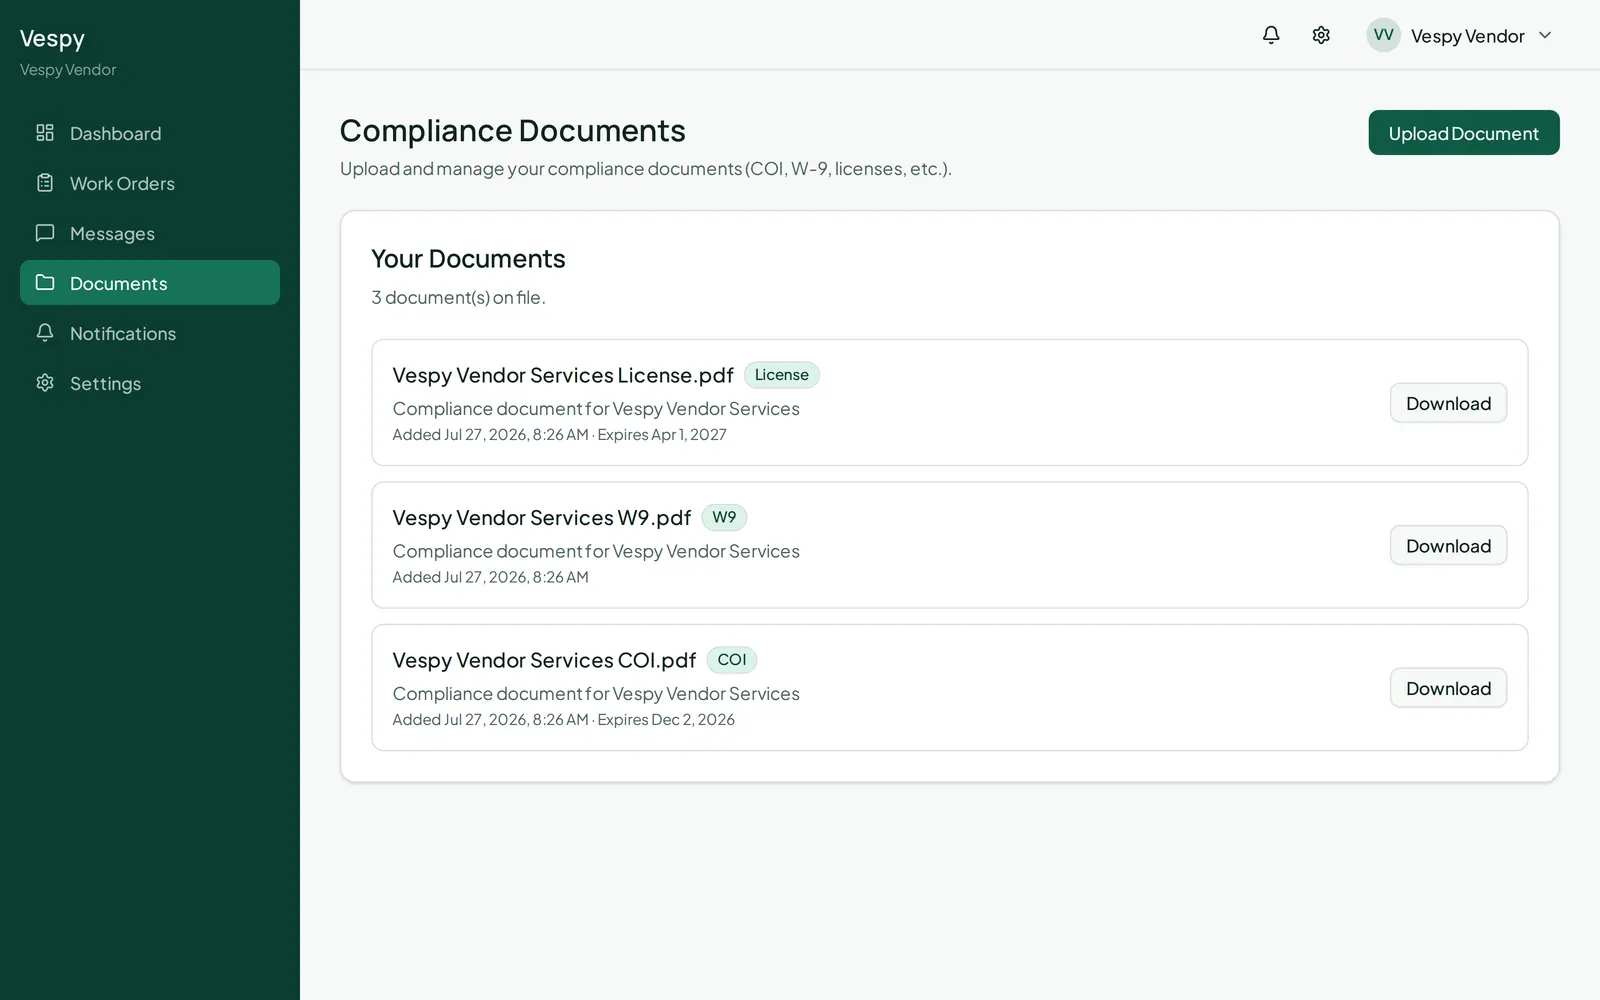
## Uploading a document
[Section titled “Uploading a document”](#uploading-a-document)
Click **Upload Document**:
* Choose a file — its name pre-fills the **Document Name** field, editable if you want something clearer
* **Category** — Certificate of Insurance (COI), W-9, License / Certification, Contract, or Other
* **Expiration Date** (optional) — set this so you (and property management) get ahead of anything about to lapse
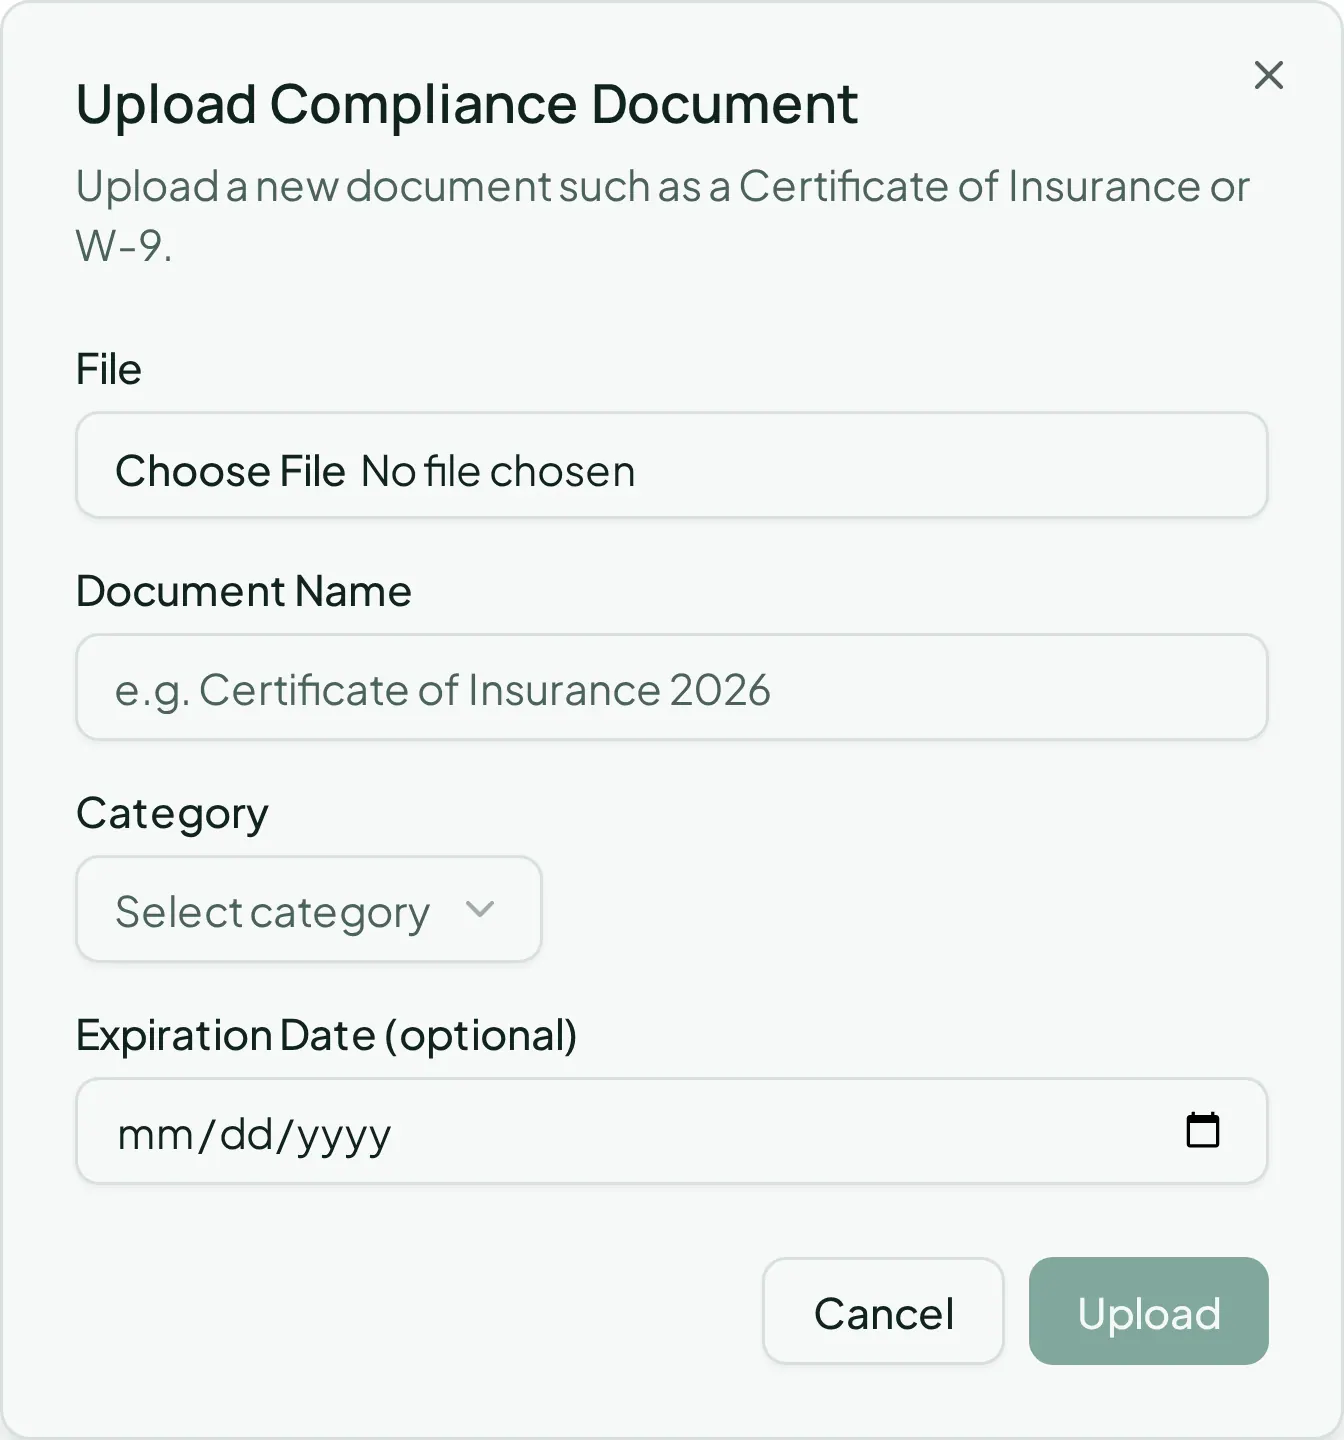
Your documents list shows category, description, when it was added, and its expiration date, each with a **Download** button.
## Afterwards
[Section titled “Afterwards”](#afterwards)
* [Viewing and commenting on your work orders](/workflows/vendor-portal/viewing-and-commenting-on-work-orders/)
# Viewing and commenting on your work orders
> See the jobs assigned to you and stay in touch with the property manager about them.
Go to **Work Orders** in your portal to see everything assigned to you. Search or filter by status or category to find a specific one.
## Job details
[Section titled “Job details”](#job-details)
Open a work order to see the property and unit, scheduled date, description, category, entry instructions, and any attachments (each downloadable).
## Staying in touch
[Section titled “Staying in touch”](#staying-in-touch)
Use **Post comment** to ask a question or give an update on your progress — your comments and any updates from staff show up together in a running feed, with who said what and when.
Note
You can’t change a work order’s status or reassign it yourself — only staff can do that. If the job’s status doesn’t reflect where things actually stand, leave a comment and they’ll update it.
## Afterwards
[Section titled “Afterwards”](#afterwards)
* [Uploading your compliance documents](/workflows/vendor-portal/uploading-compliance-documents/)
* [Messaging and notifications](/workflows/vendor-portal/messaging-and-notifications/)