Adding a vendor and paying them
Vendors are the contractors and service providers who do the work behind a maintenance request. Like tenants, a vendor record and a vendor login are separate things.
1. Add the vendor
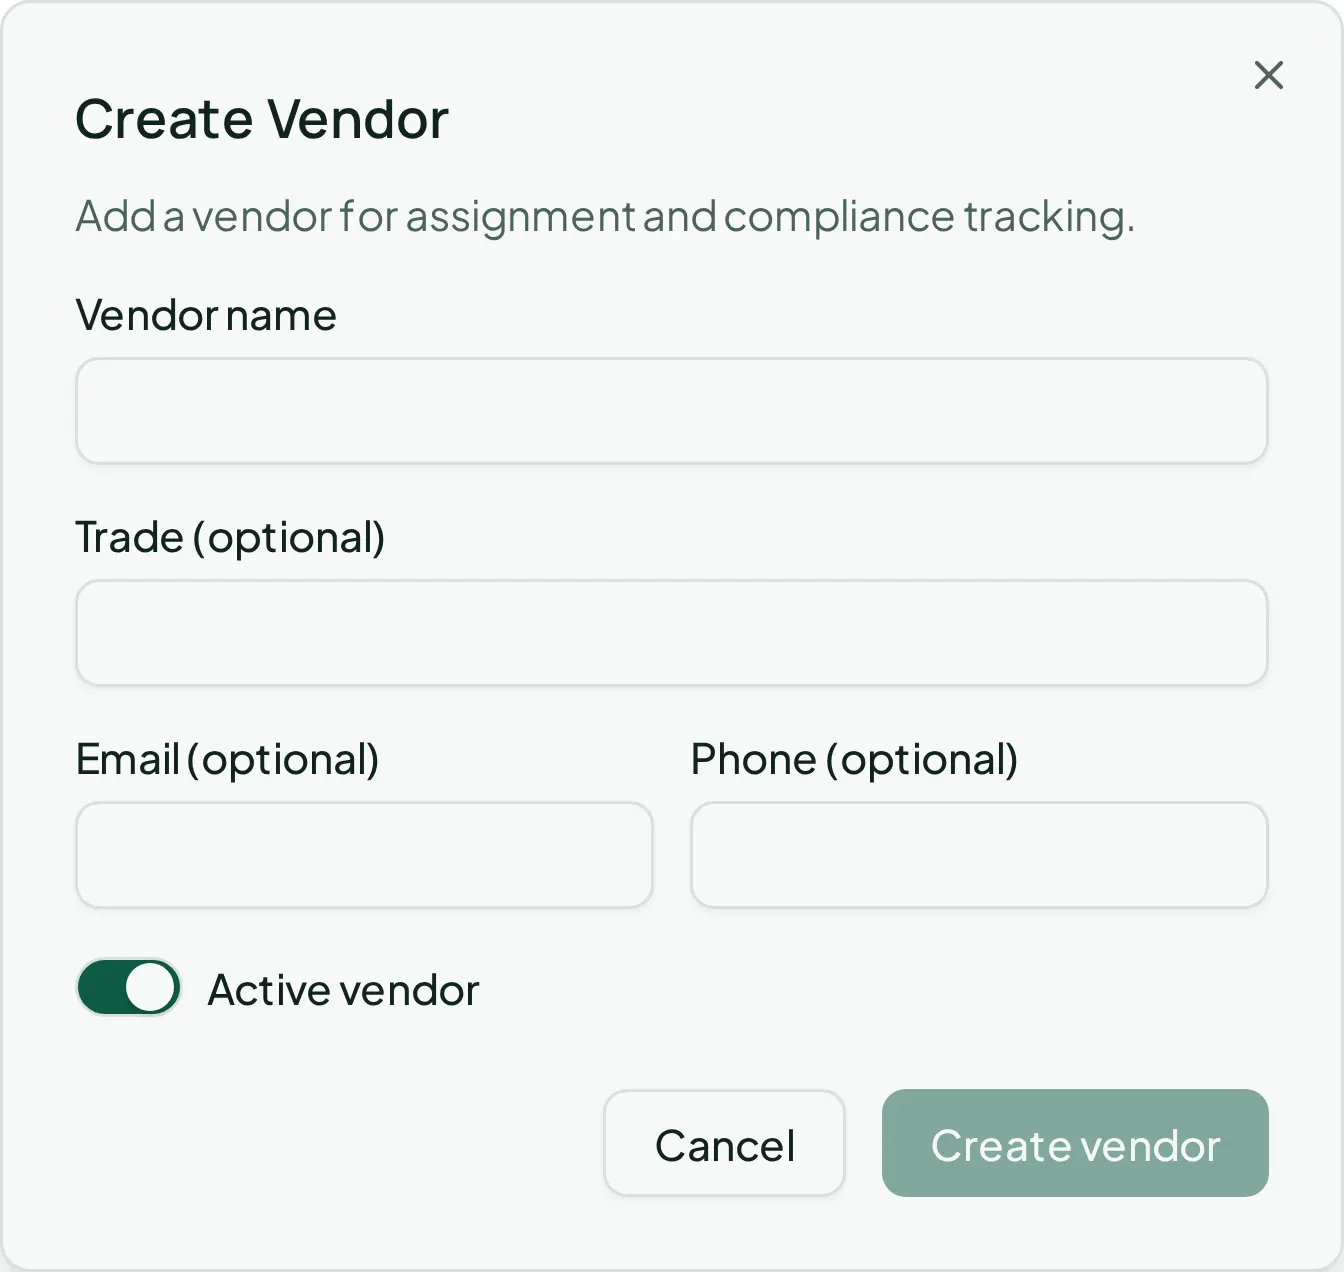
Section titled “1. Add the vendor”Go to Maintenance > Vendors and click Create vendor:
- Vendor name
- Trade (optional — plumbing, electrical, and so on)
- Email, Phone (optional)
- Active vendor (on by default)
2. Give them portal access
Section titled “2. Give them portal access”From the vendor’s own page, click Manage Invites, then New Invite, and pick Invite email (prefilled from their record). A Latest invite link panel with a Copy button appears after you create it, in case you’d rather send it yourself instead of relying on email delivery.
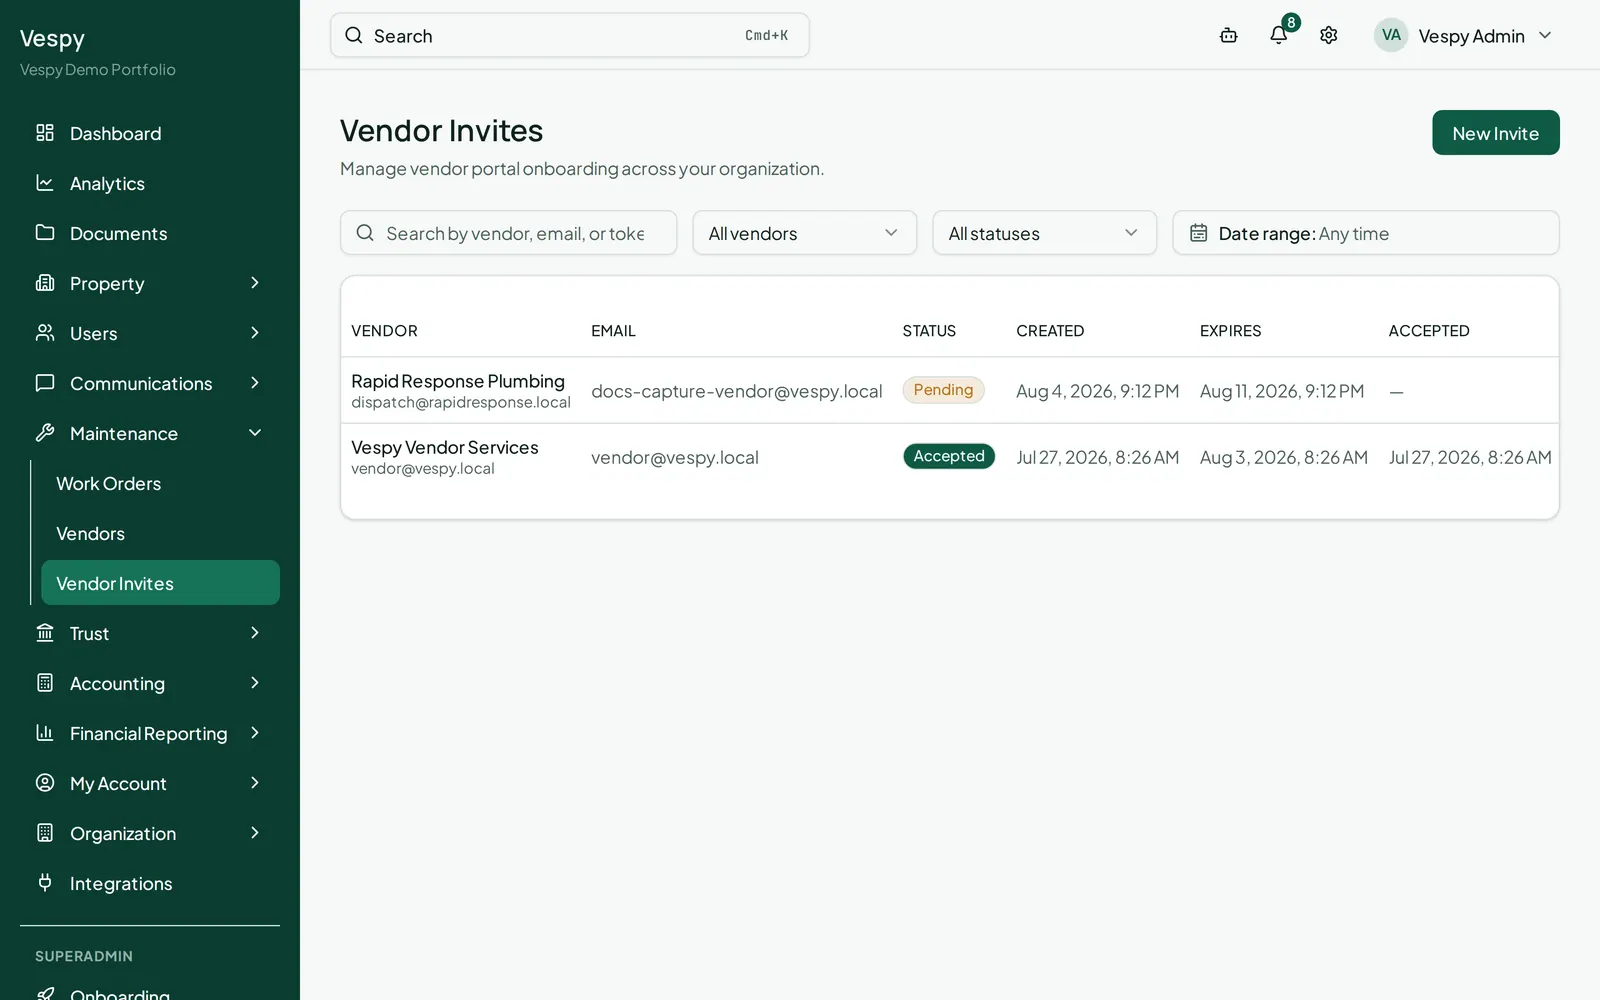
Once accepted, the vendor gets their own portal showing only the jobs assigned to them — never the rest of your portfolio.
3. Record what you owe them
Section titled “3. Record what you owe them”Go to Accounting > Expenses and click Create expense:
- Property
- Work order (optional) — picking one auto-fills the property, unit, lease, vendor, and a description for you
- Category, Amount, Date Incurred
- Vendor (or check Custom vendor if it’s a one-off you don’t want in your directory)
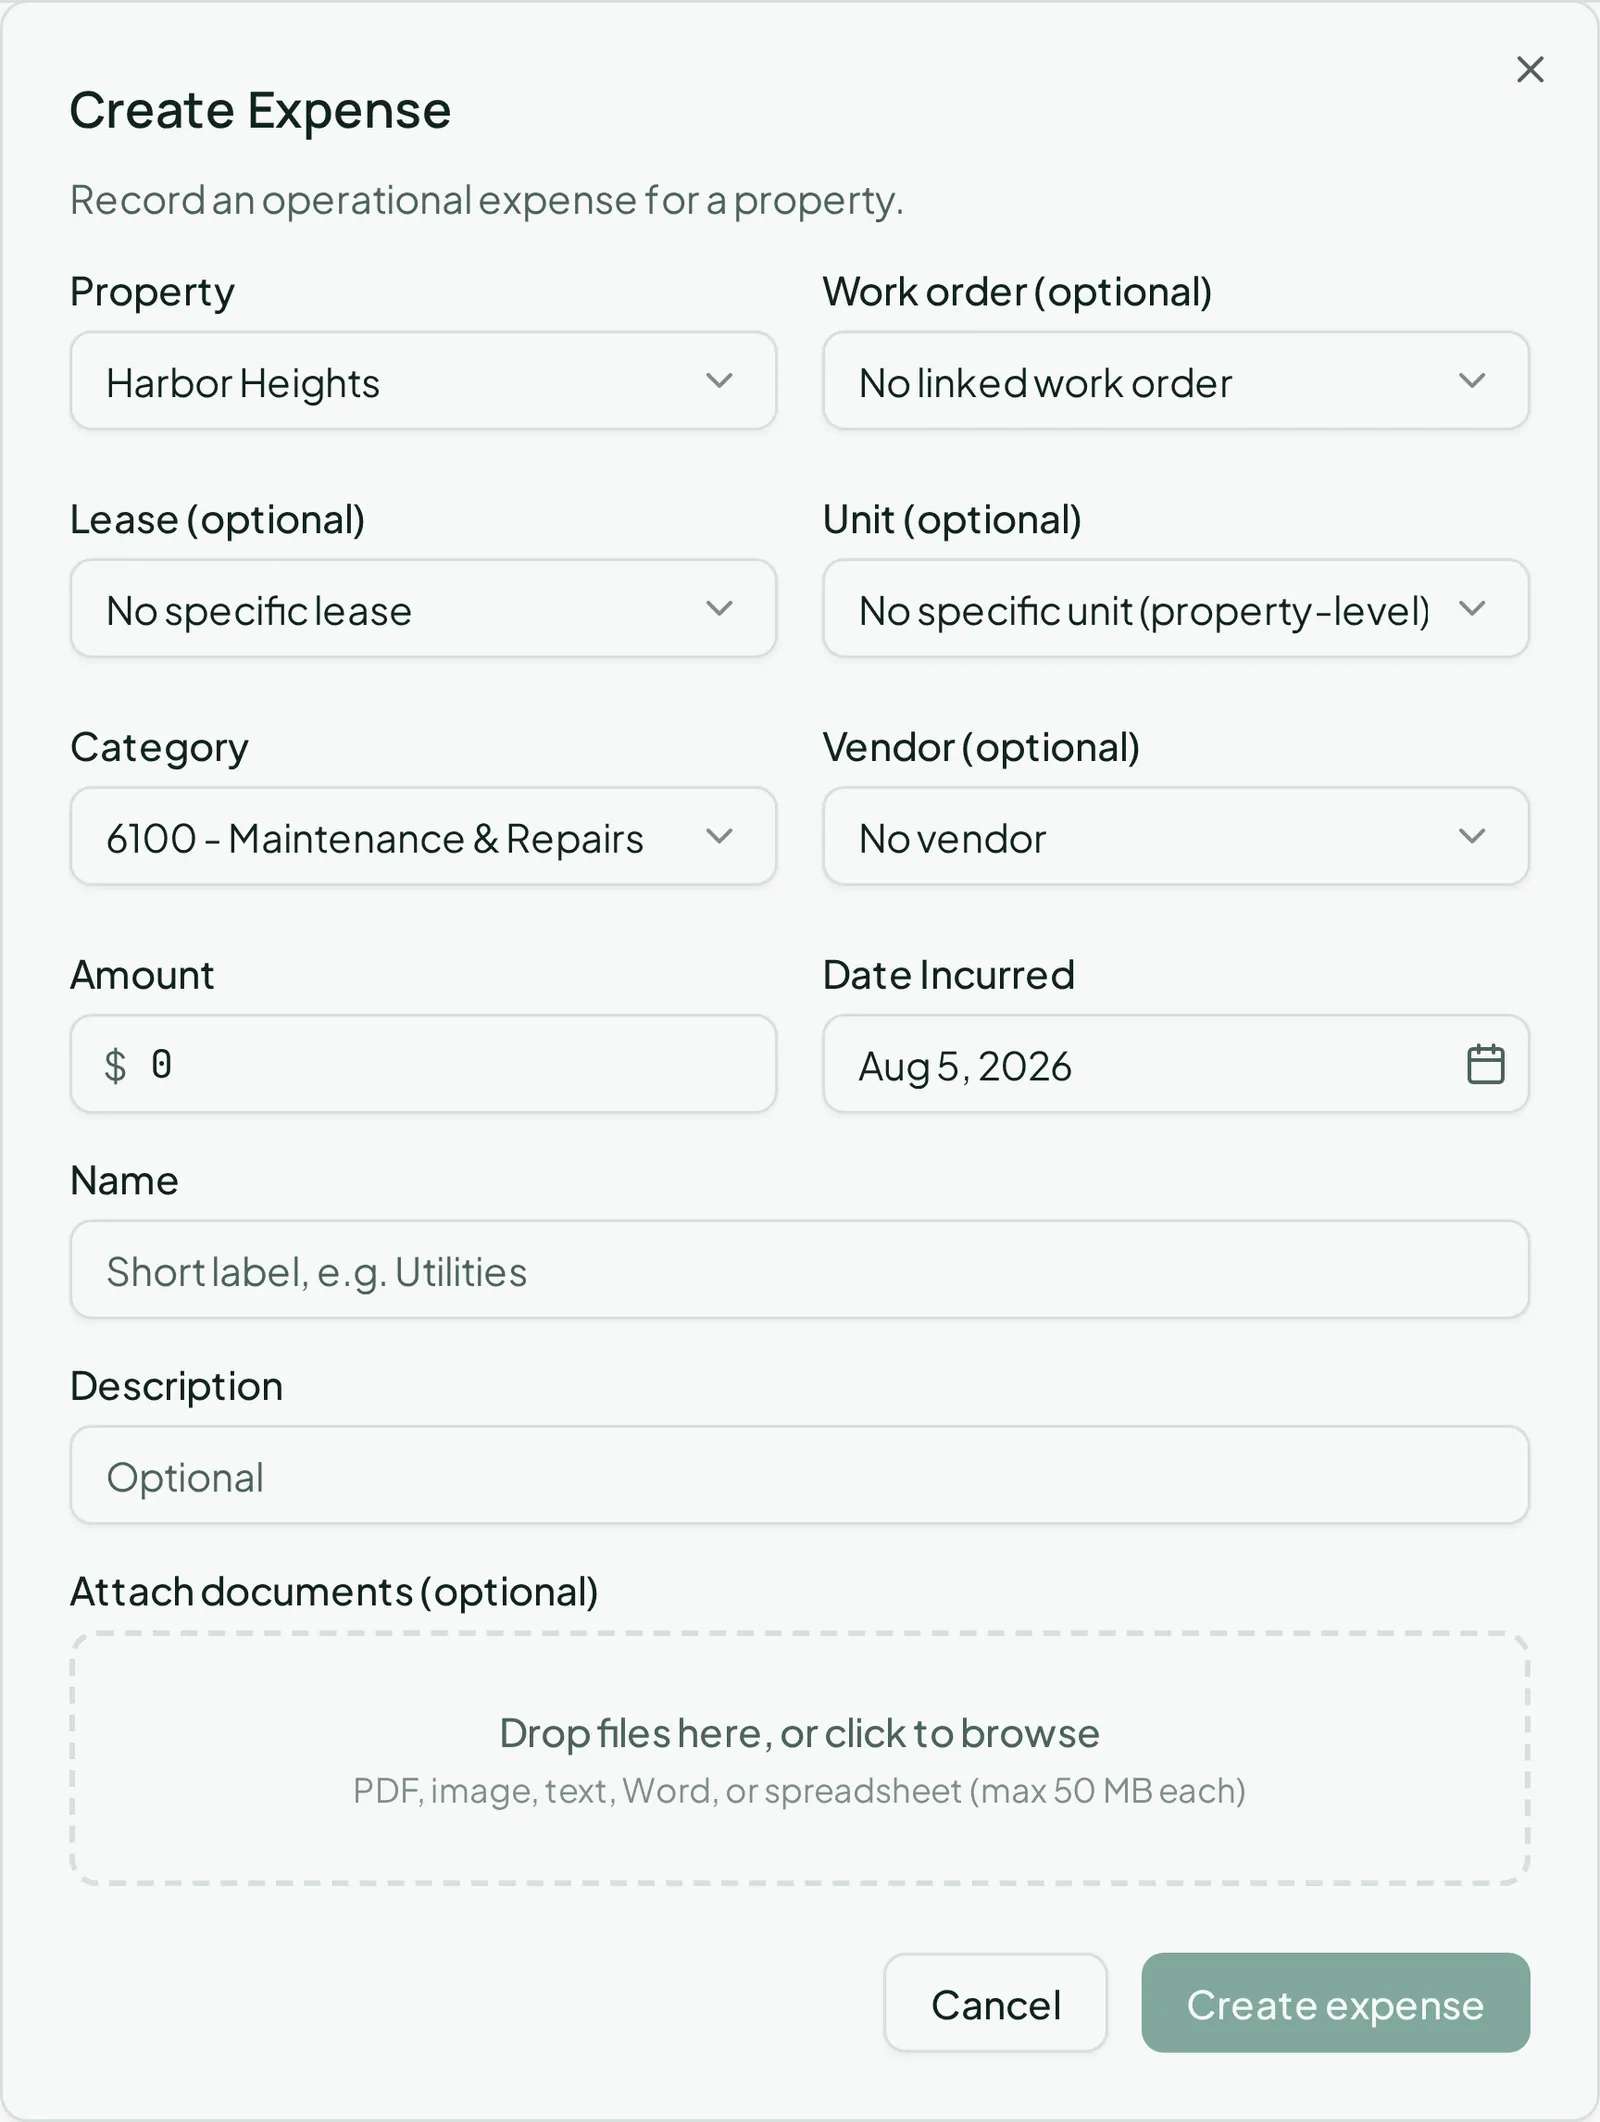
Linking a Work order here is what makes this cost show up on that job’s own page.
4. Pay them
Section titled “4. Pay them”Go to Accounting > Expense Payments and click Record expense payment:
- Expense — only expenses with a balance still owed show up here; the amount auto-fills to what’s outstanding
- Method, Paid Date
- Reference and Memo (optional)
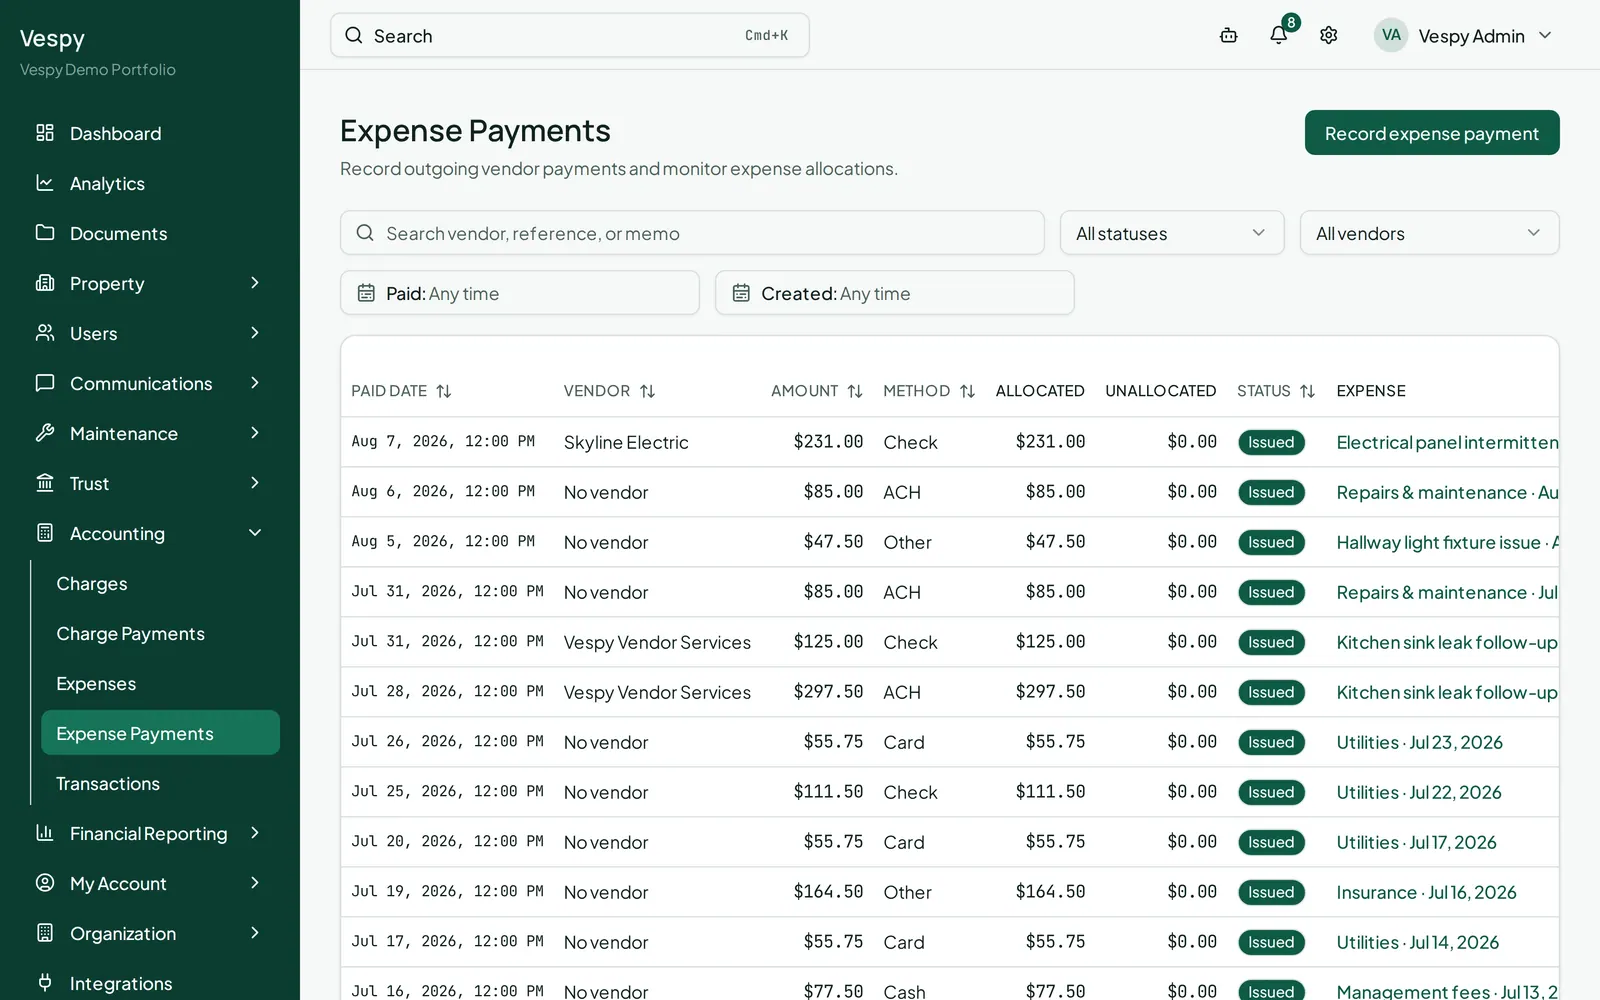
One payment can settle several expenses at once from the payment’s own detail page, the same way a rent payment can be split across multiple charges.
Afterwards
Section titled “Afterwards”- Managing maintenance requests — assigning this vendor to a job.
- Closing the books each month — expenses and expense payments both flow into the same ledger.