Bulk-importing your portfolio data via CSV
Go to Organization > Imports to bring in data in bulk rather than creating records one at a time.
1. Pick what you’re importing
Section titled “1. Pick what you’re importing”On the Single CSV tab, choose a resource type — property, unit, tenant, lease, and so on. Click Download template if you want a starting spreadsheet with the right columns already in place.
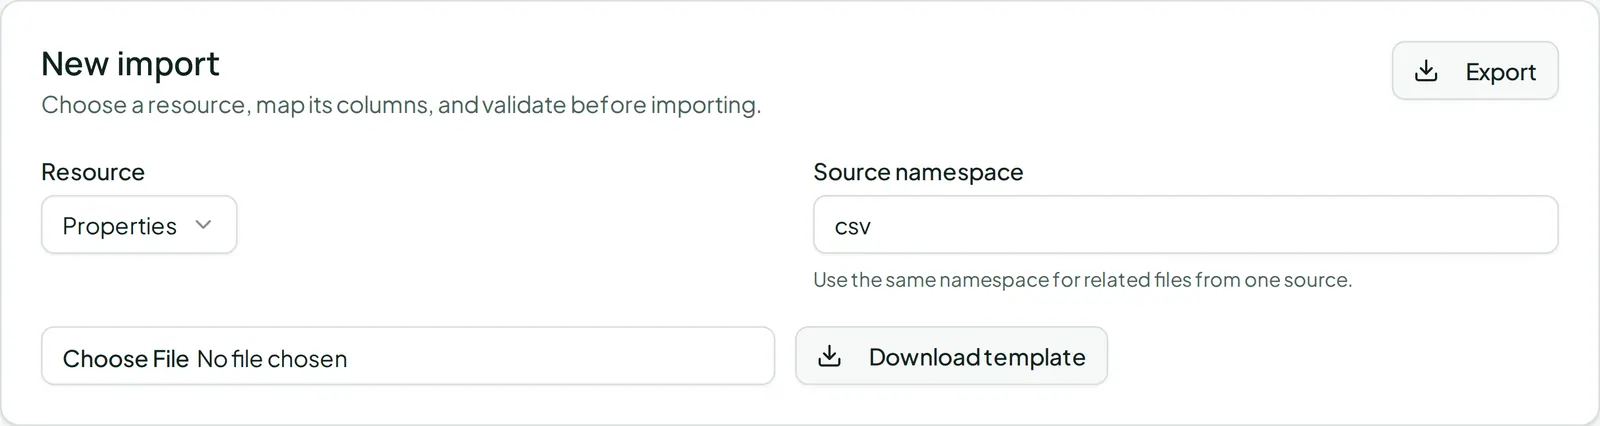
2. Upload and map columns
Section titled “2. Upload and map columns”Upload your CSV. Vespy tries to auto-map your columns to the right fields; review the
mapping and adjust any dropdown that guessed wrong. Fields marked with * are required.
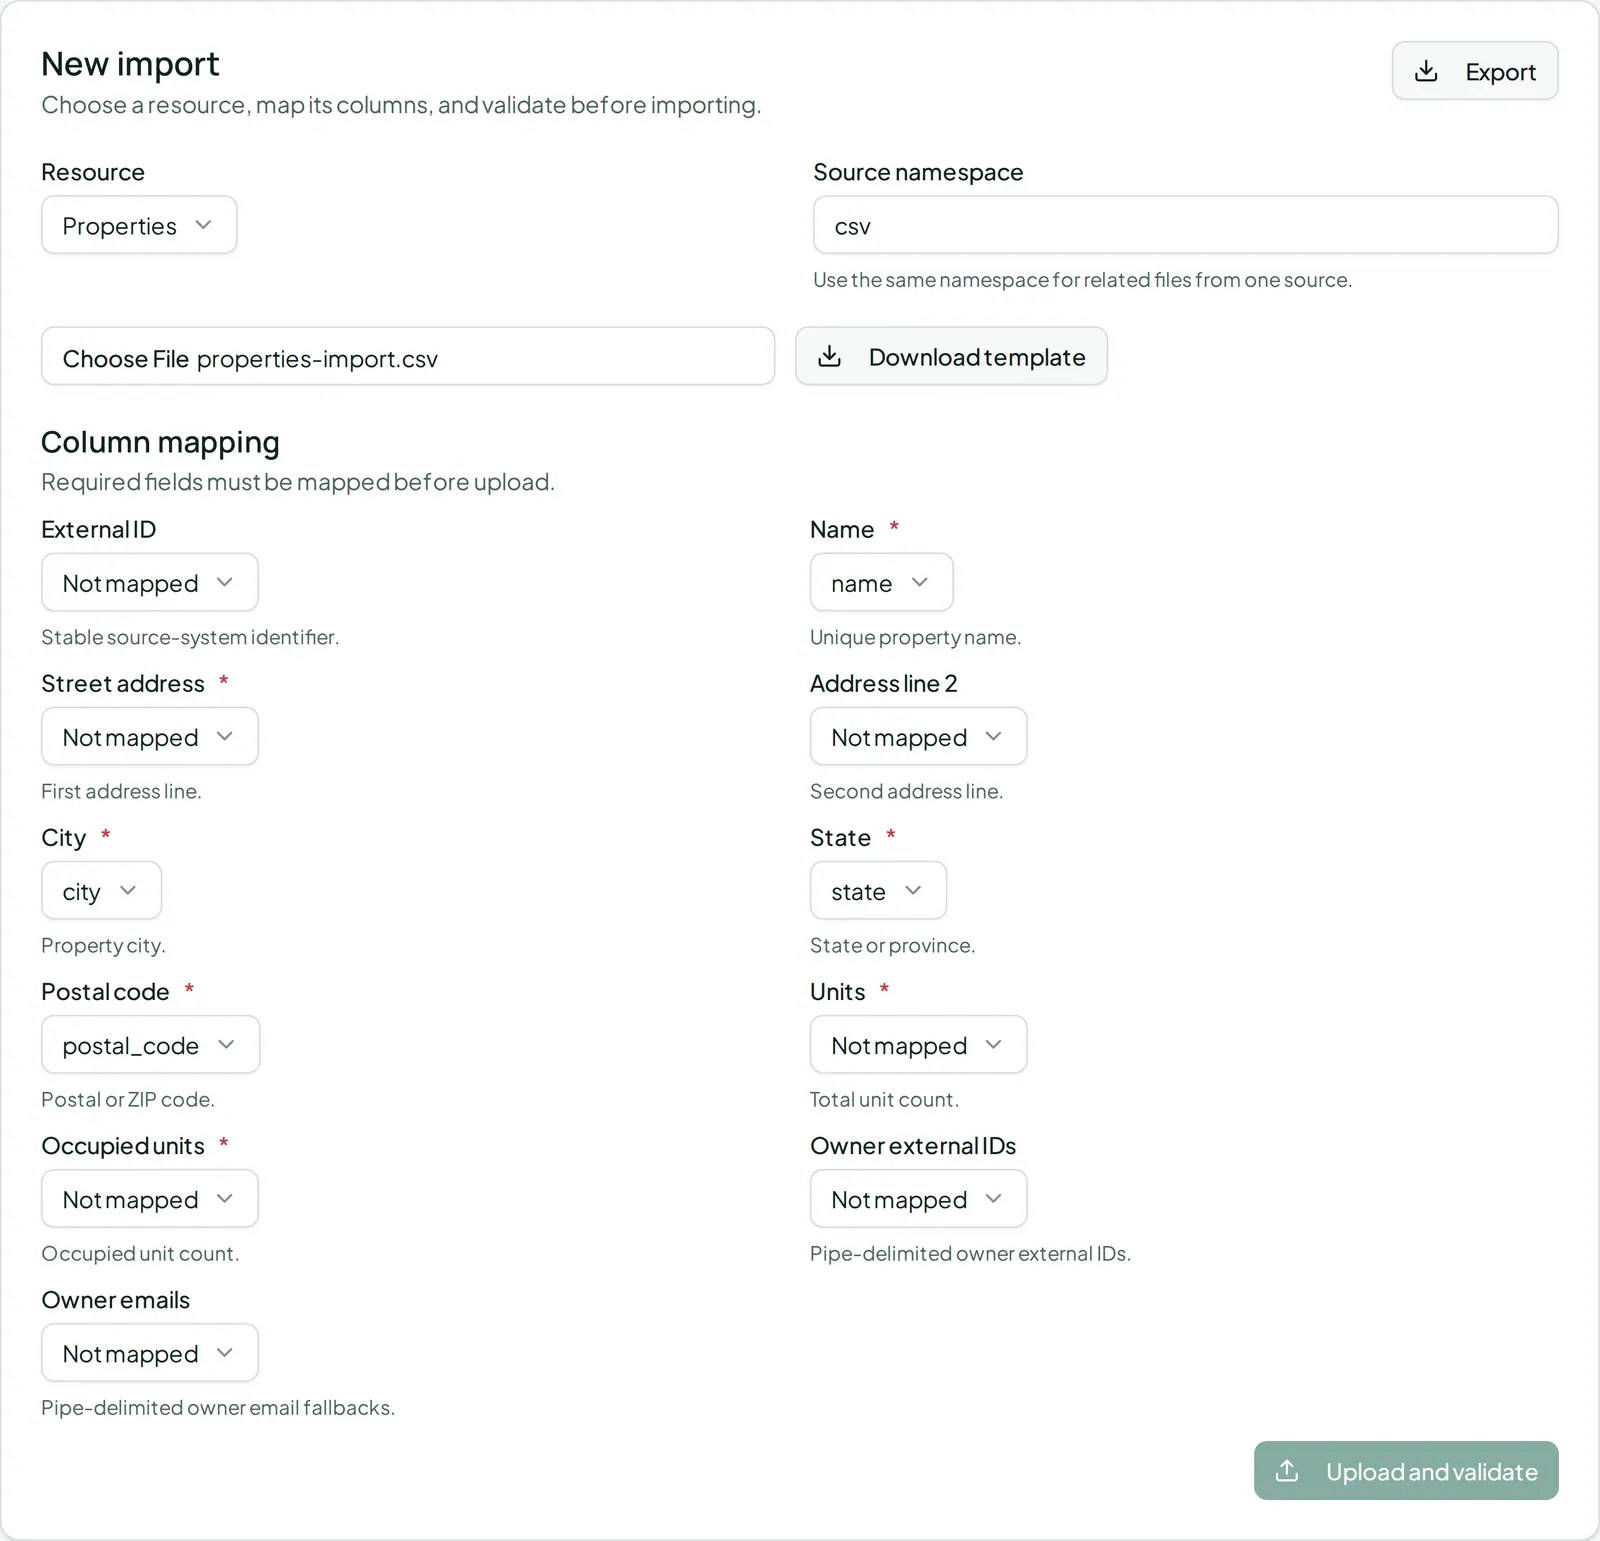
3. Validate before you commit
Section titled “3. Validate before you commit”Click Upload and validate. You’ll get a preview breaking down how many rows will be created, updated, left unchanged, merged as duplicates, or failed — nothing is imported yet at this point. If anything failed, Download failures gives you a CSV of just the problem rows so you can fix and re-upload them.
4. Start the import
Section titled “4. Start the import”Once the preview looks right, click Start import. The page checks in automatically every couple of seconds while it’s validating, queued, or processing, so you can watch it finish without refreshing.
5. Check past imports
Section titled “5. Check past imports”The Import history table lists everything you’ve imported before — click a row to reload its results if you need to double-check what happened.

Afterwards
Section titled “Afterwards”- Onboarding a property — the manual, one-at-a-time version of this same data.