Adding an owner
An owner is the person or entity a property is managed on behalf of. Attaching a property to its owner is what makes owner statements and management fees possible later, so it’s worth doing early.
1. Create the owner
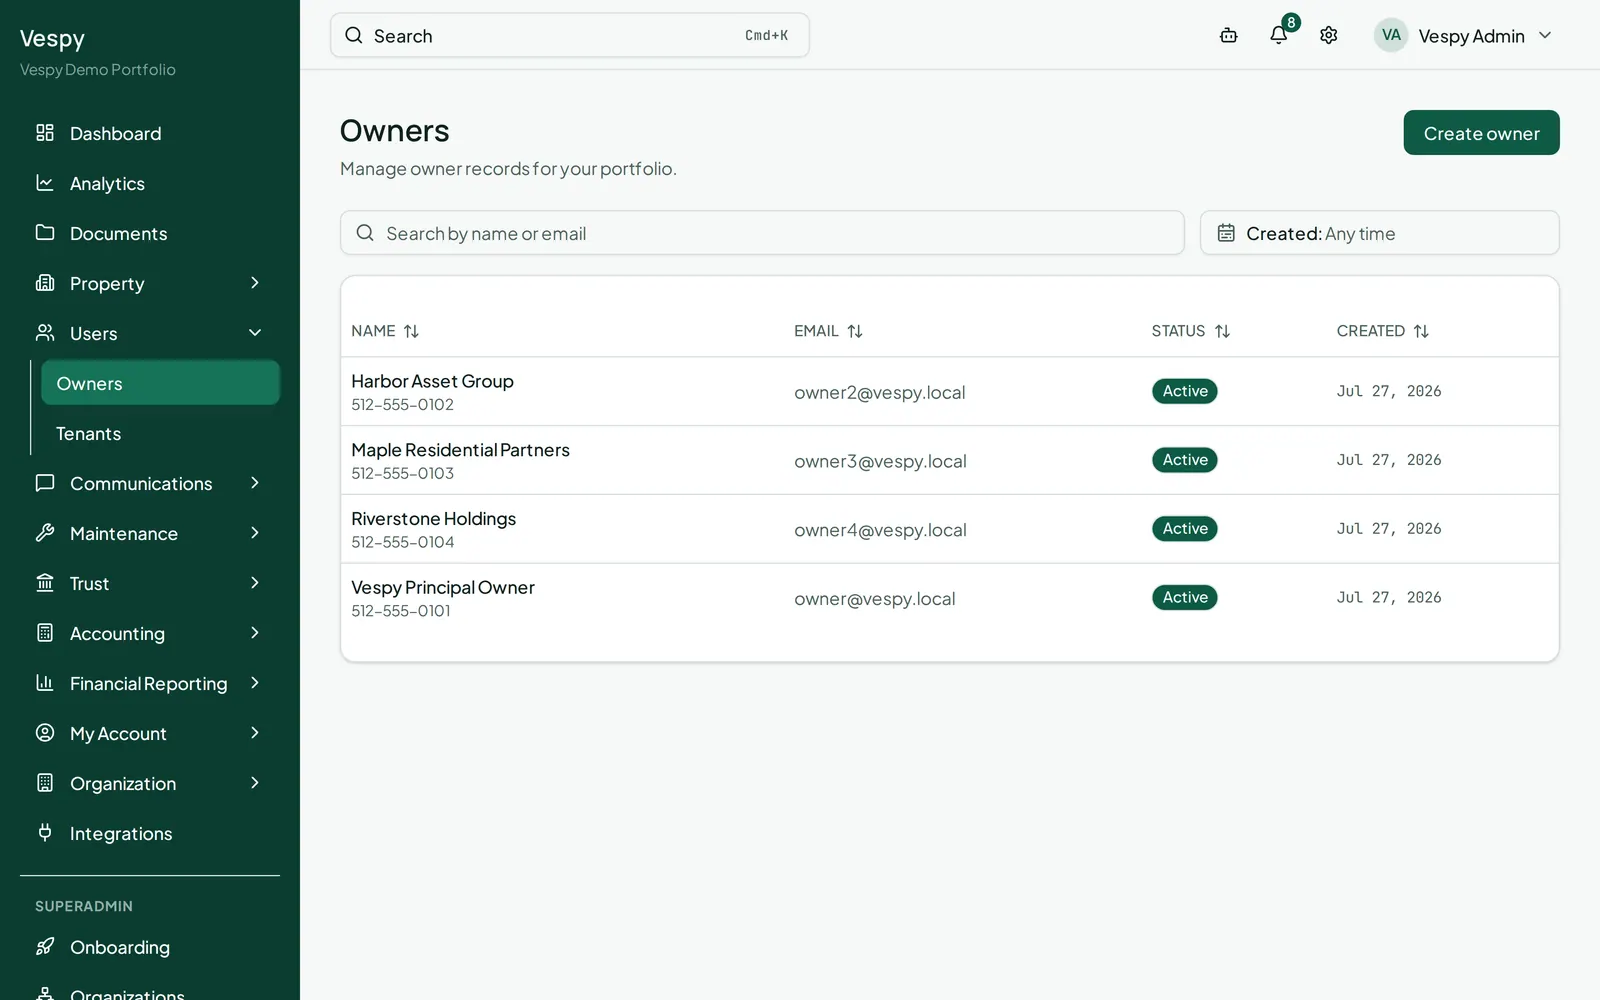
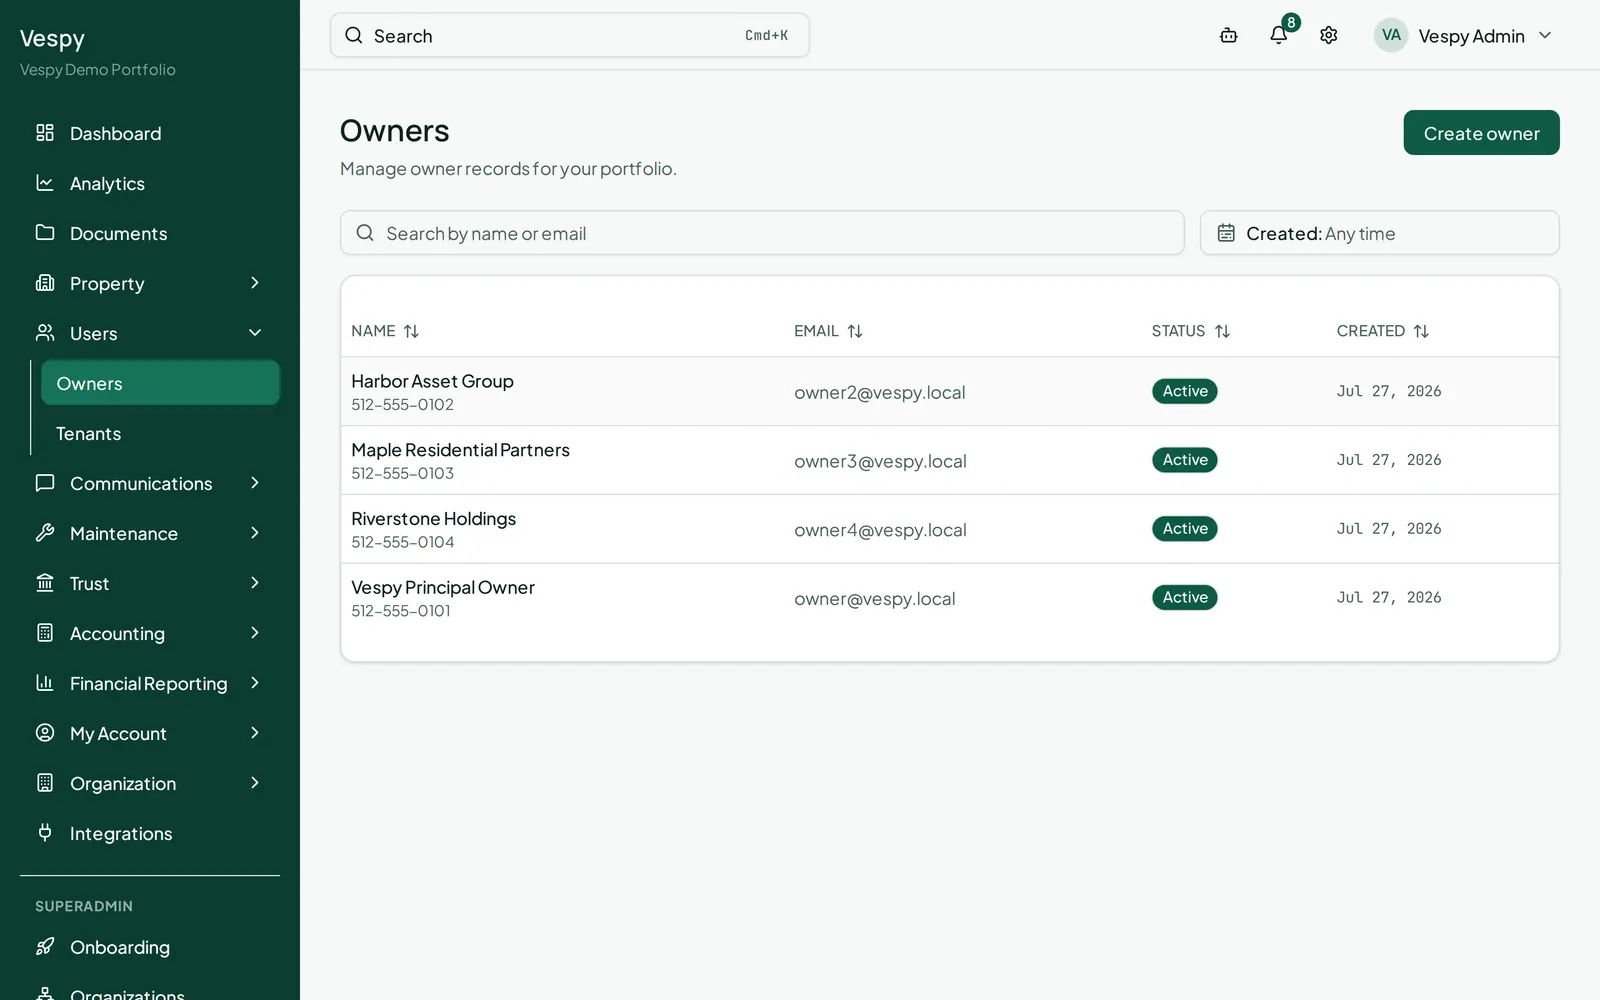
Section titled “1. Create the owner”Go to Users > Owners and click Create owner. Fill in:
- Owner name
- Owner email
- Phone (optional)
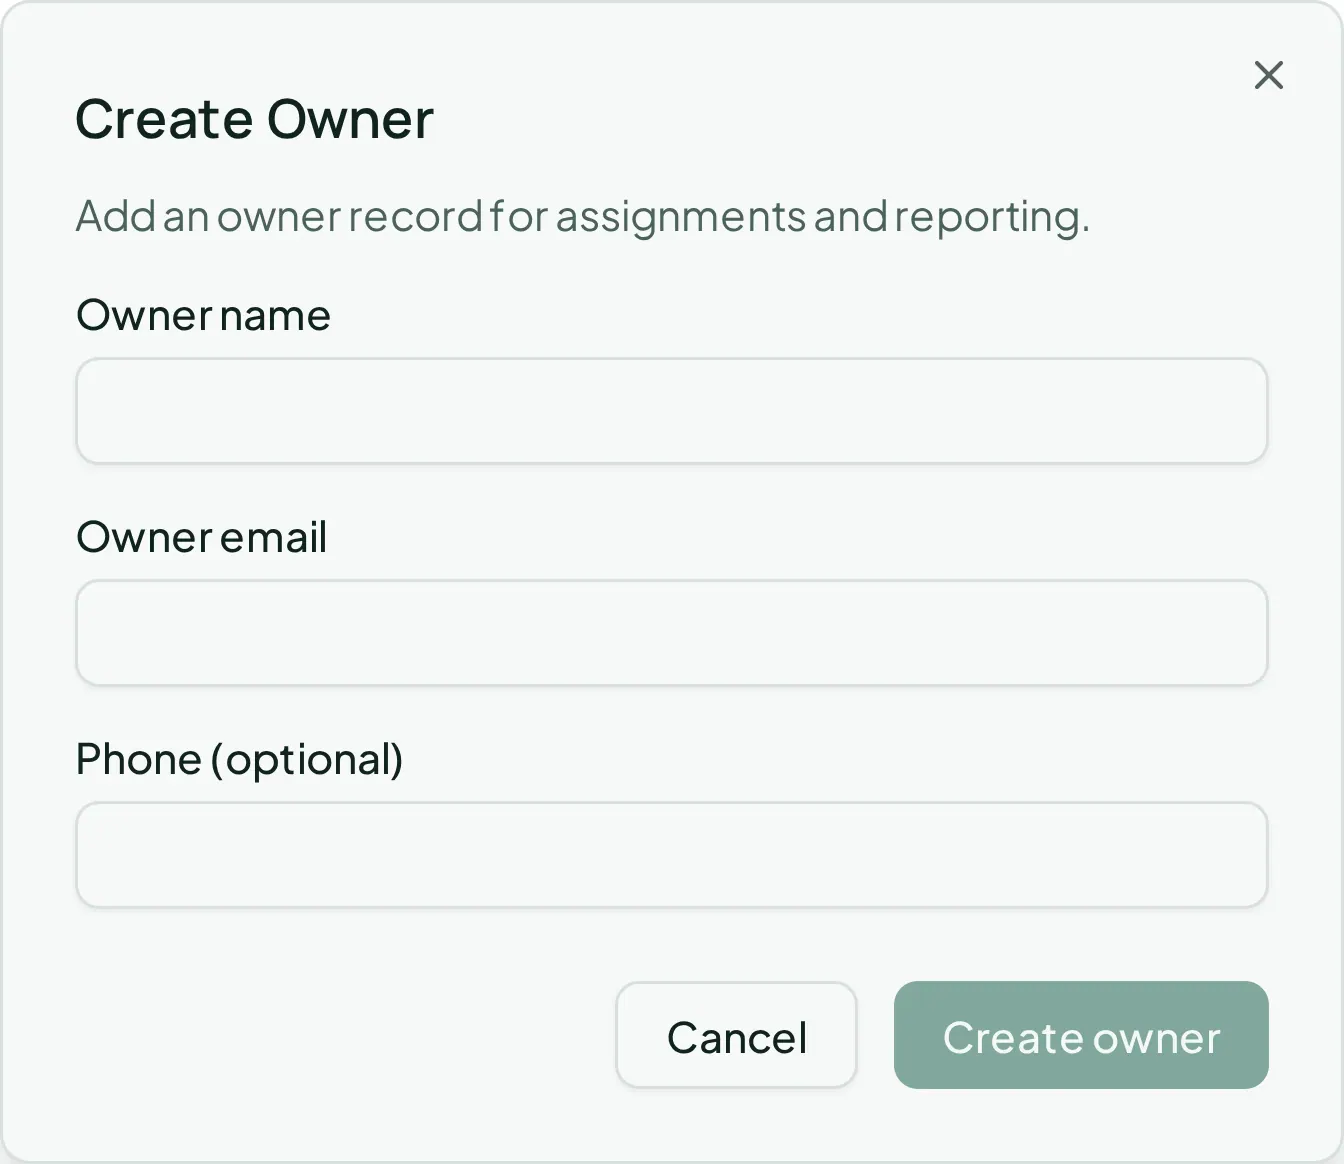
Click Create owner to save.
An owner record on its own has no login and no properties attached yet — it’s just a book of record until you connect it to something.
2. Attach a property
Section titled “2. Attach a property”This part happens on the property, not the owner:
- Go to Property > Properties (or open an existing property and click Edit property).
- In the Owners field, click the selector and check the owner(s) this property belongs to. Selected owners show up as chips you can remove.
- Save.
A property can have more than one owner checked at once, useful for co-owned properties or partnerships.
3. Check the owner’s activity
Section titled “3. Check the owner’s activity”Open the owner from Users > Owners to see their detail page: contact info, the properties attached to them, an owner ledger (everything that flows to them — rent collected, expenses paid, fees deducted), notes, and documents.
Afterwards
Section titled “Afterwards”- Onboarding a property — attach this owner while creating a property.
- Setting up management fees — automate what you keep from this owner’s rent, from the owner’s own page.